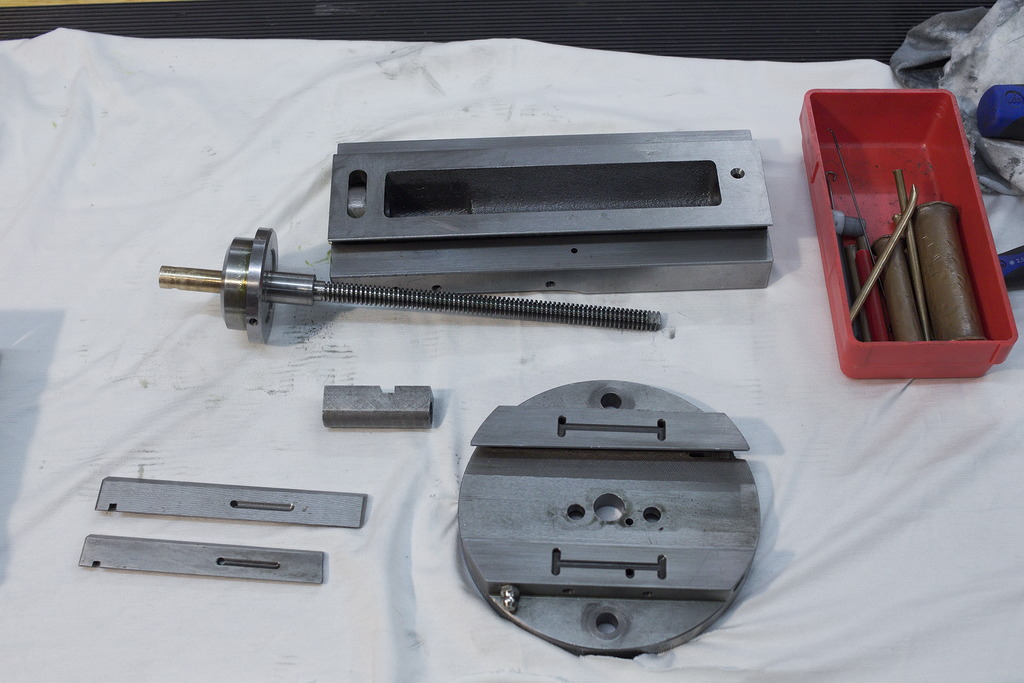
The original gib has been broken off on the end and had heavy wear, beyond adjustability. He supplied a new gib that he got from Schaublin as a blank.
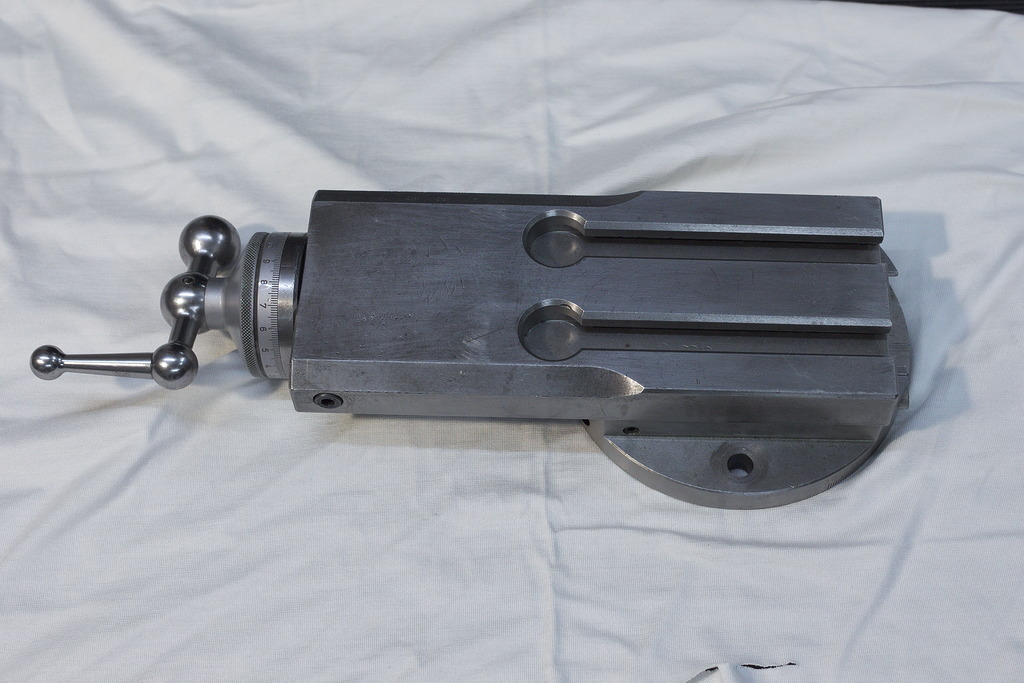
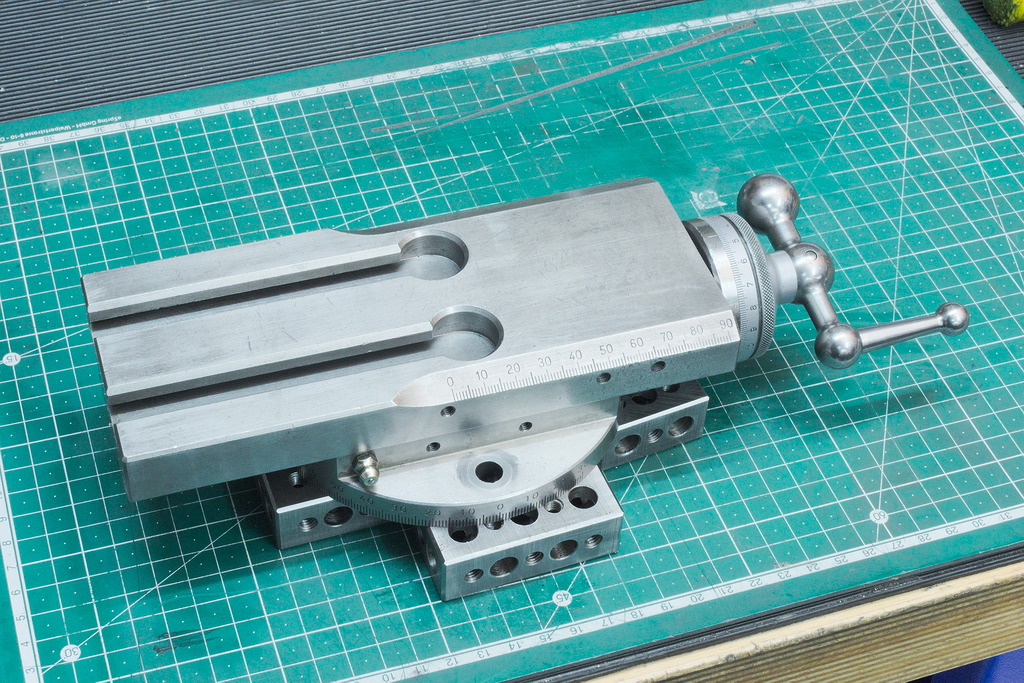
A customer sent me the compound slide off a Schaublin 102 lathe for rebuilding. That included scraping the ways and fitting a new gib.
The original gib has been broken off on the end and had heavy wear, beyond adjustability. He supplied a new gib that he got from Schaublin as a blank.
There is also a two part video series on the whole process:
Rebuilding a Schaublin 102 compound slide - Part 1
Rebuilding a Schaublin 102 compound slide - Part 2
And for more information about handscraping, what it is and why it is done, please go here:
Handscraping basics 1
Handscraping basics 2
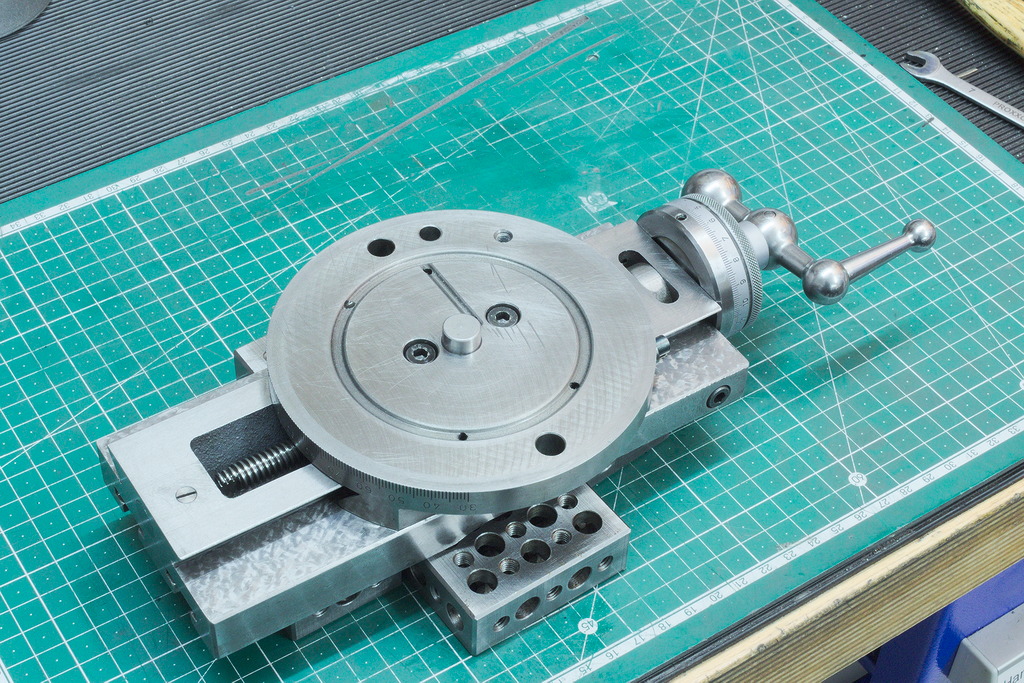
Before we start to do any actuall work, we have to take it apart and inspect the parts for wear and further damage that might cause problems down the road.
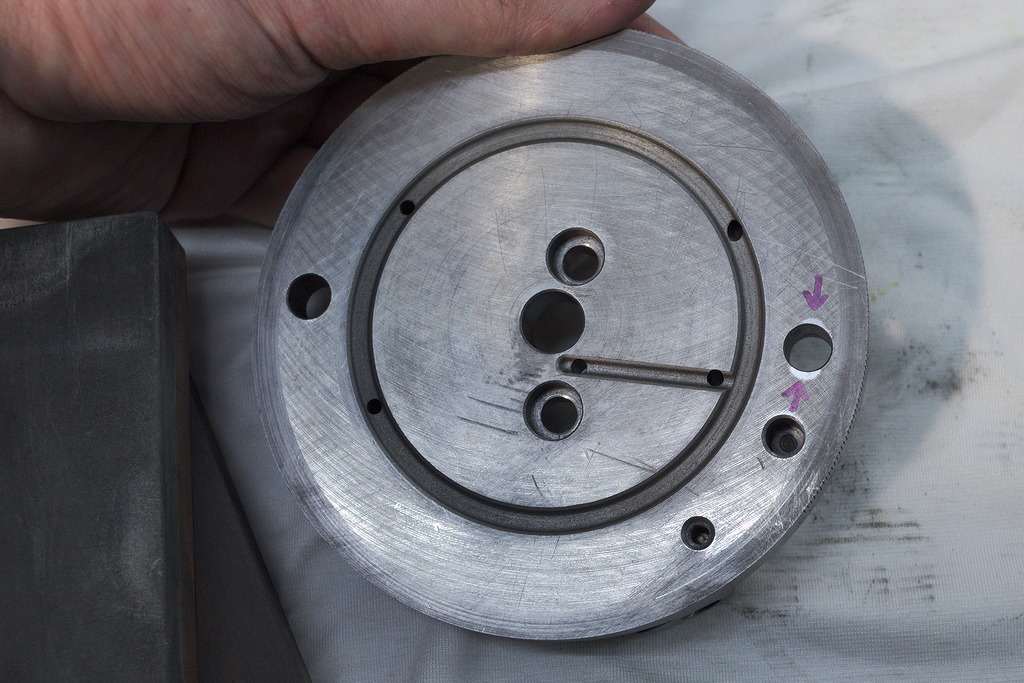
For example here, on the mounting surface of the compound to the cross slide, around the mounting holes, a burr had formed over time, that need to be stoned off very carefully.
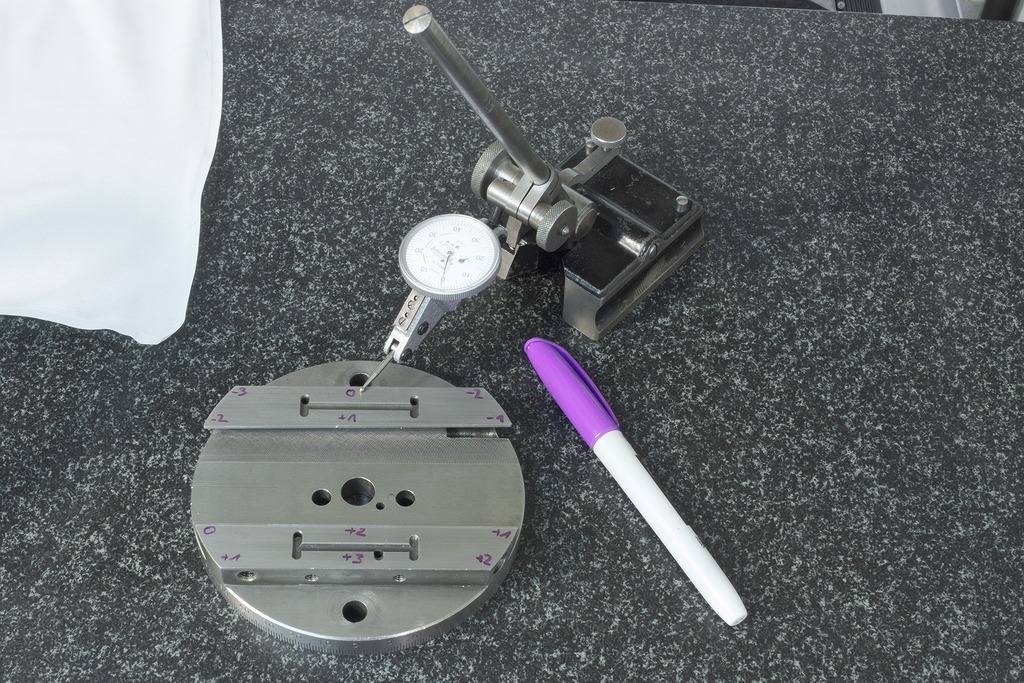
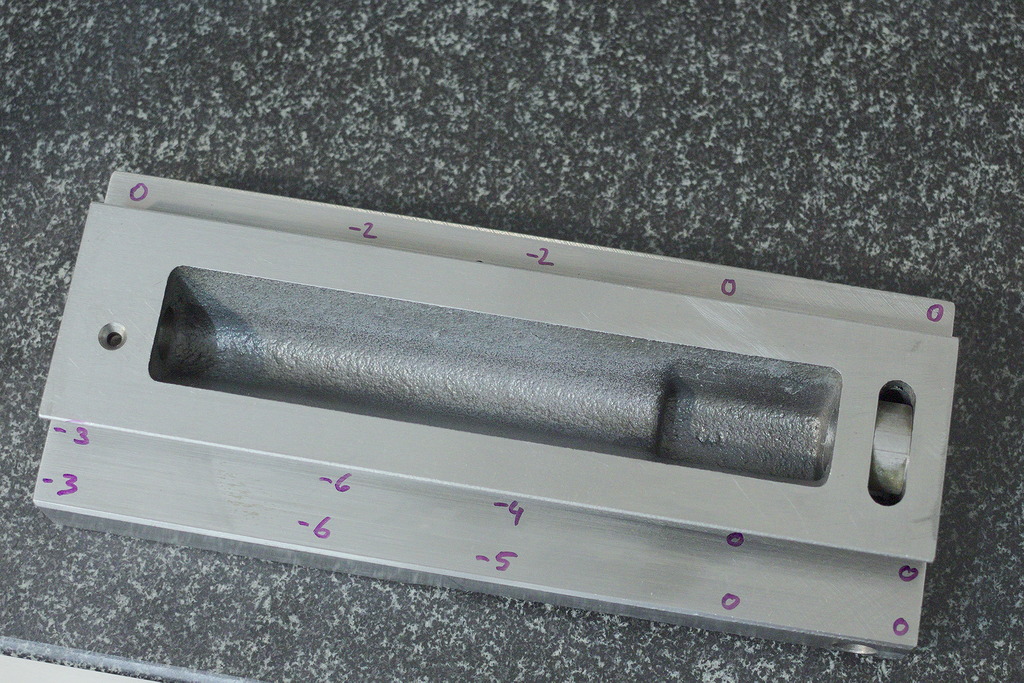
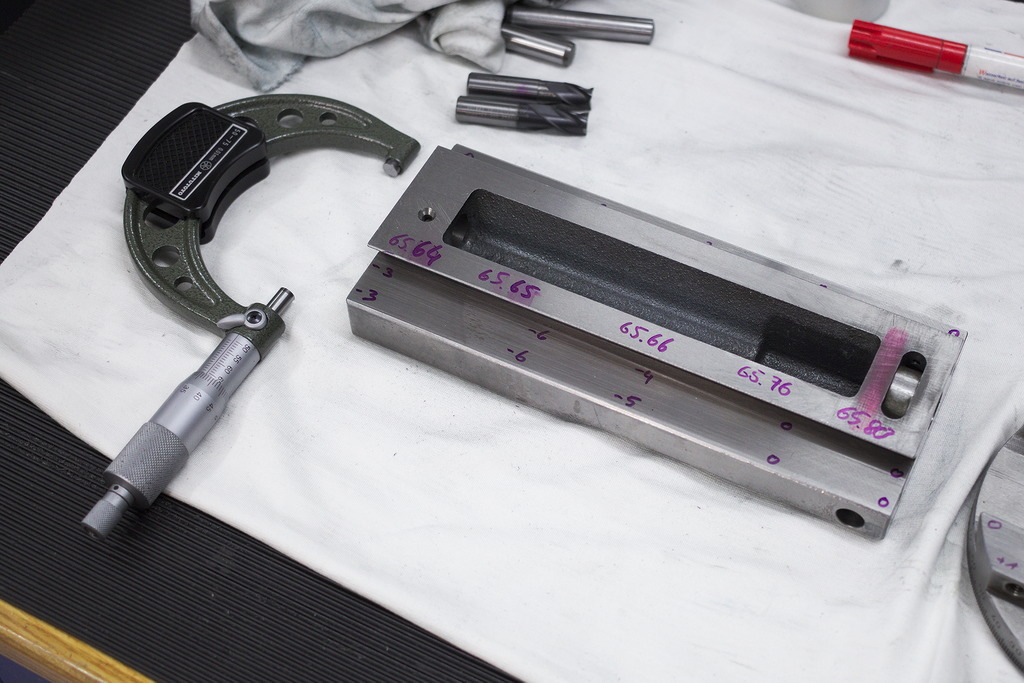
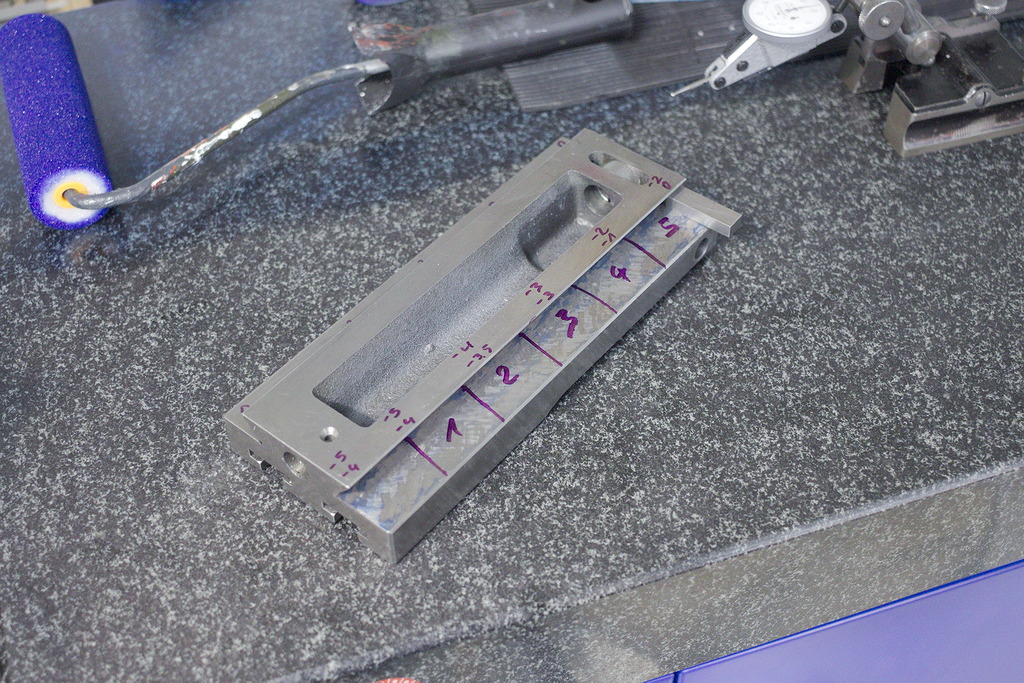
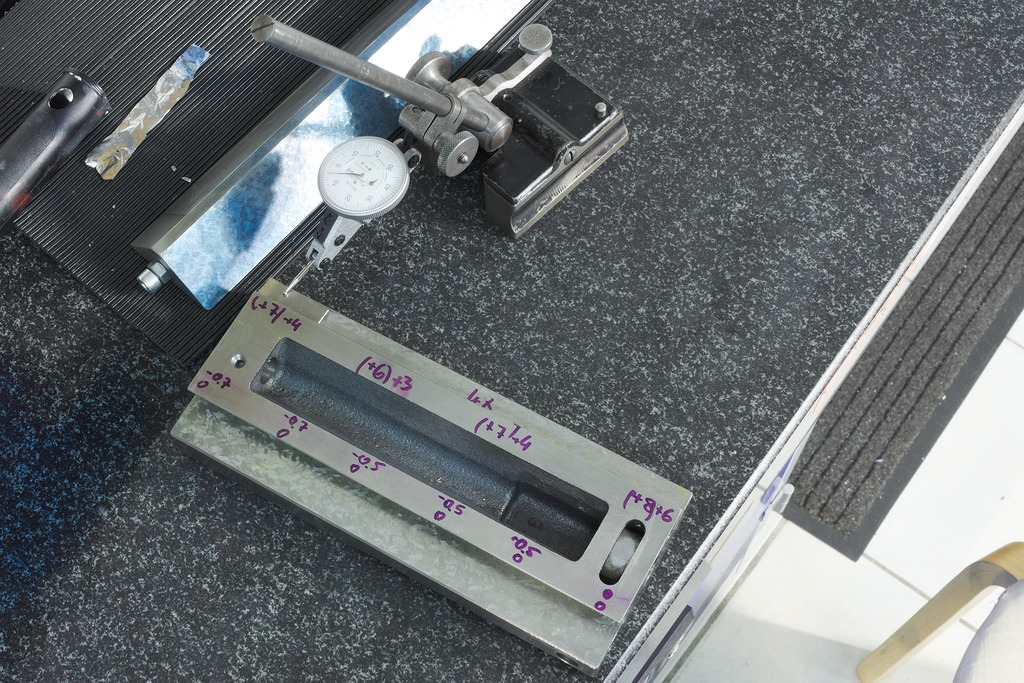
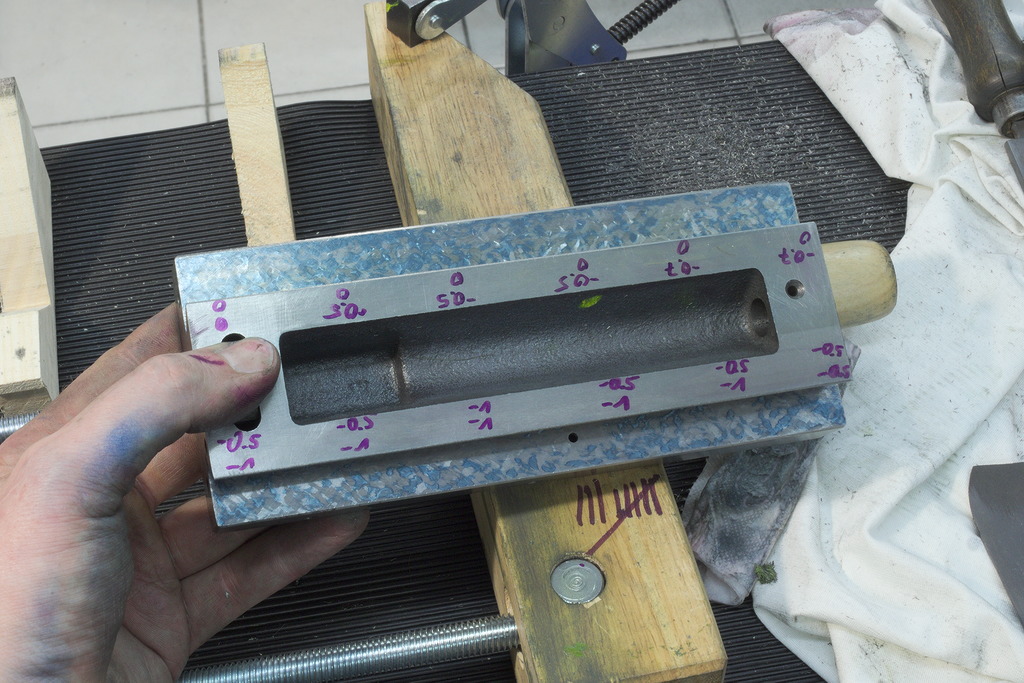
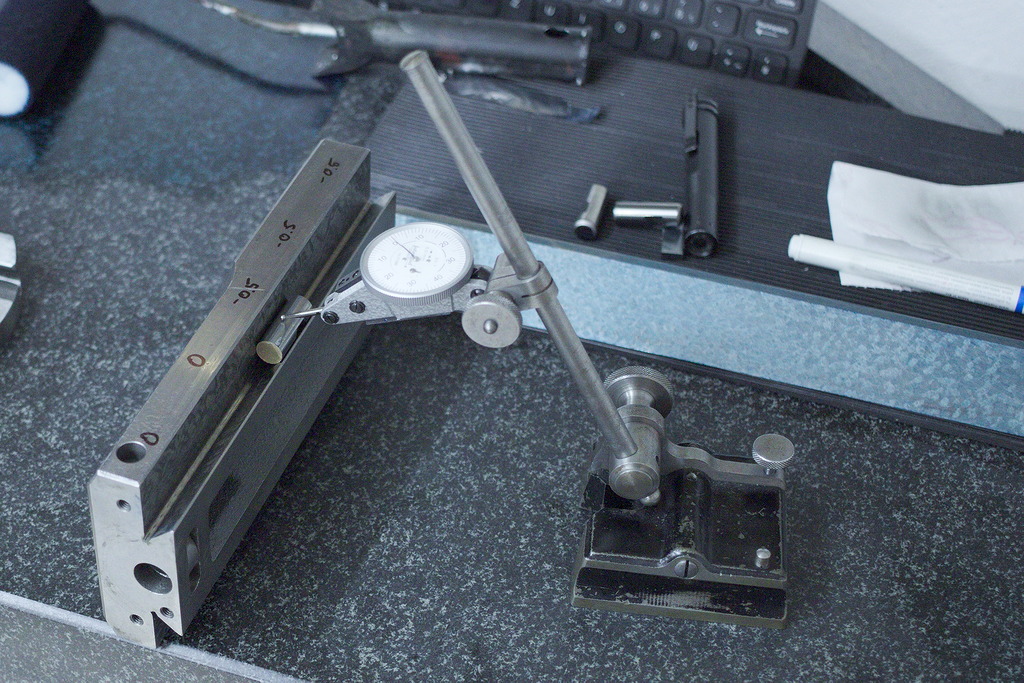
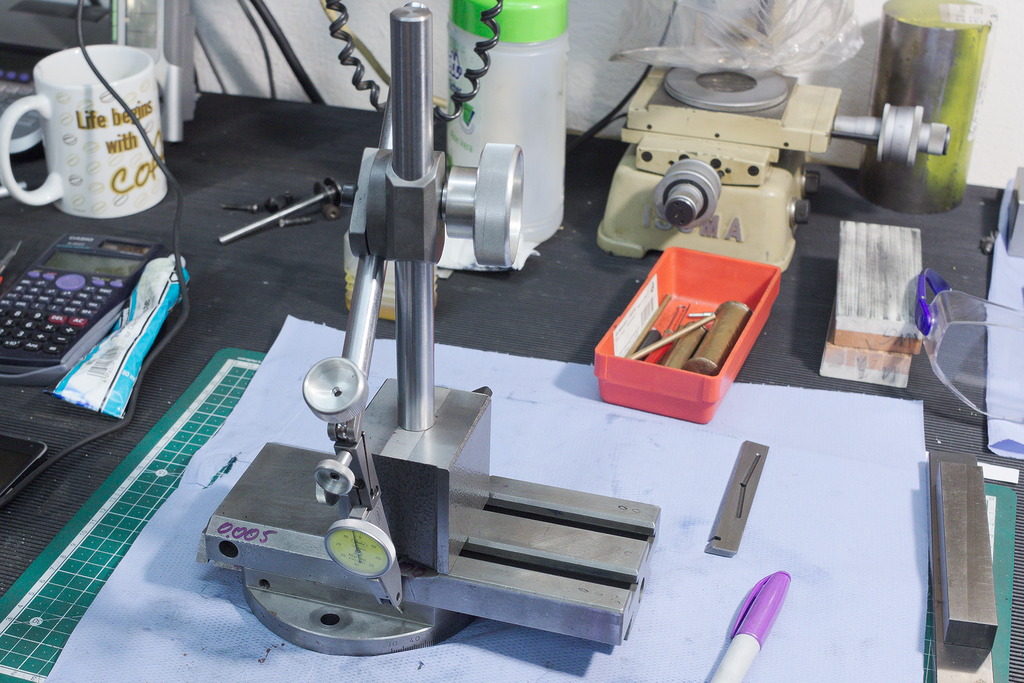
Checking for wear on the surface plate, numbers are in 0,01mm increments.
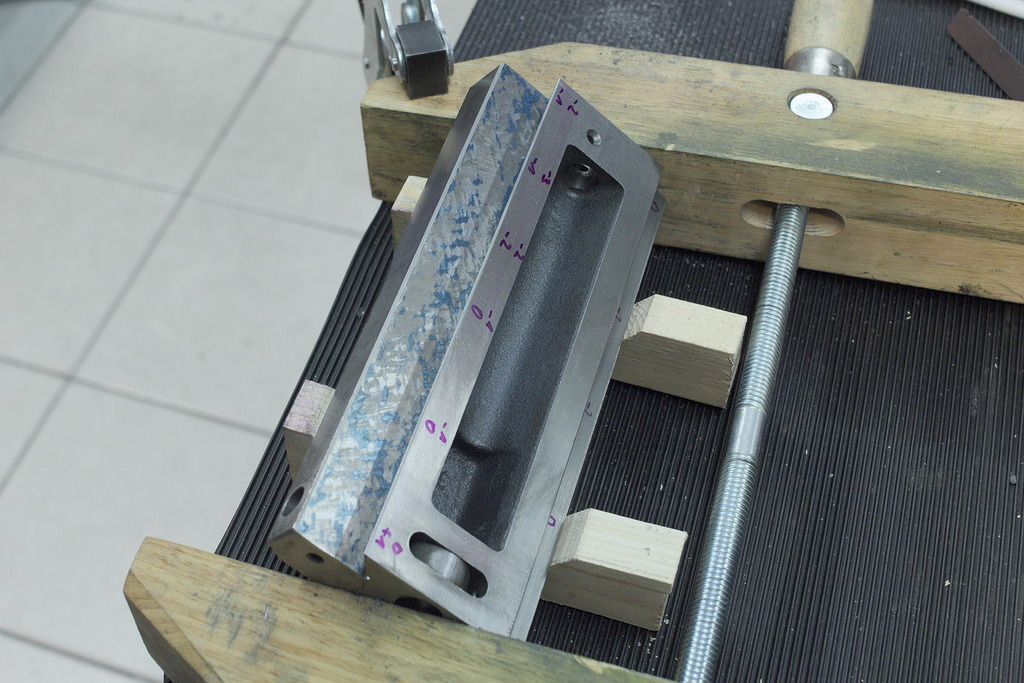
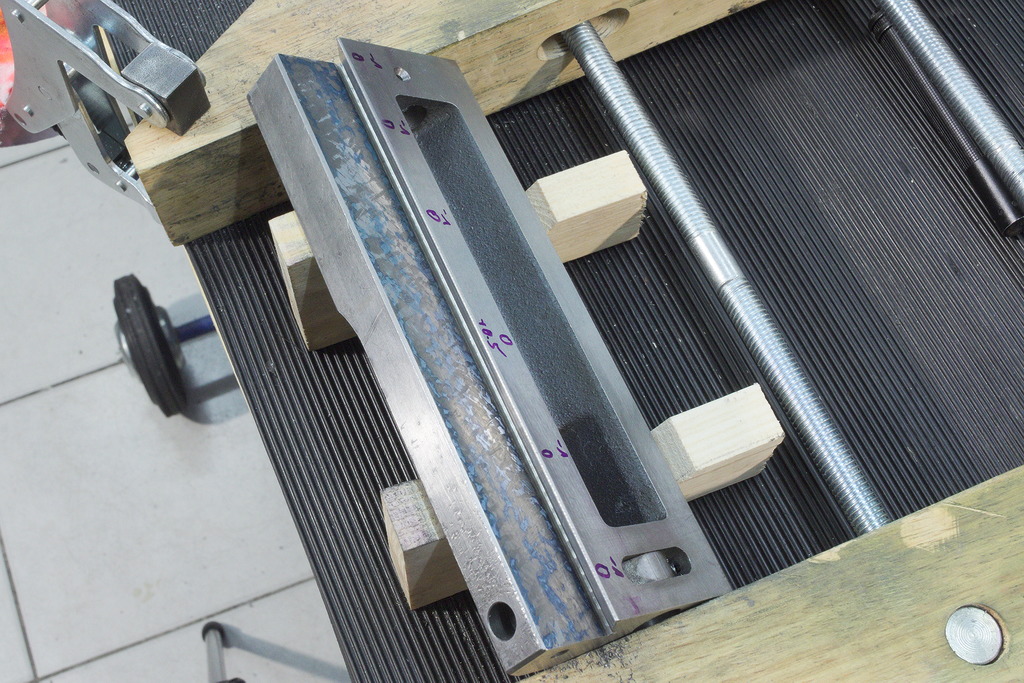
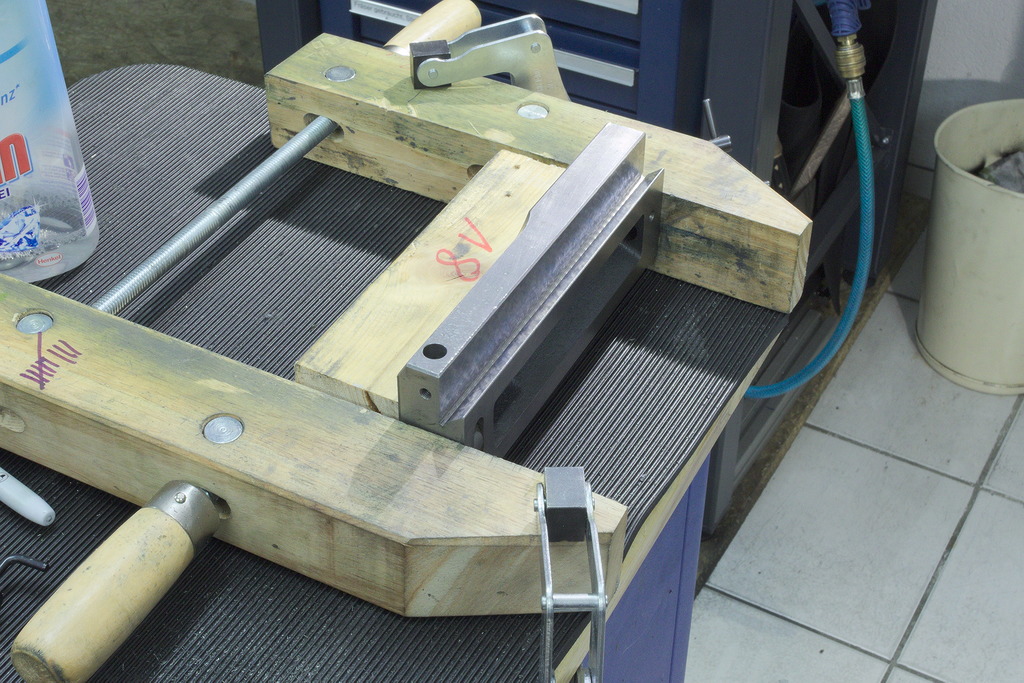
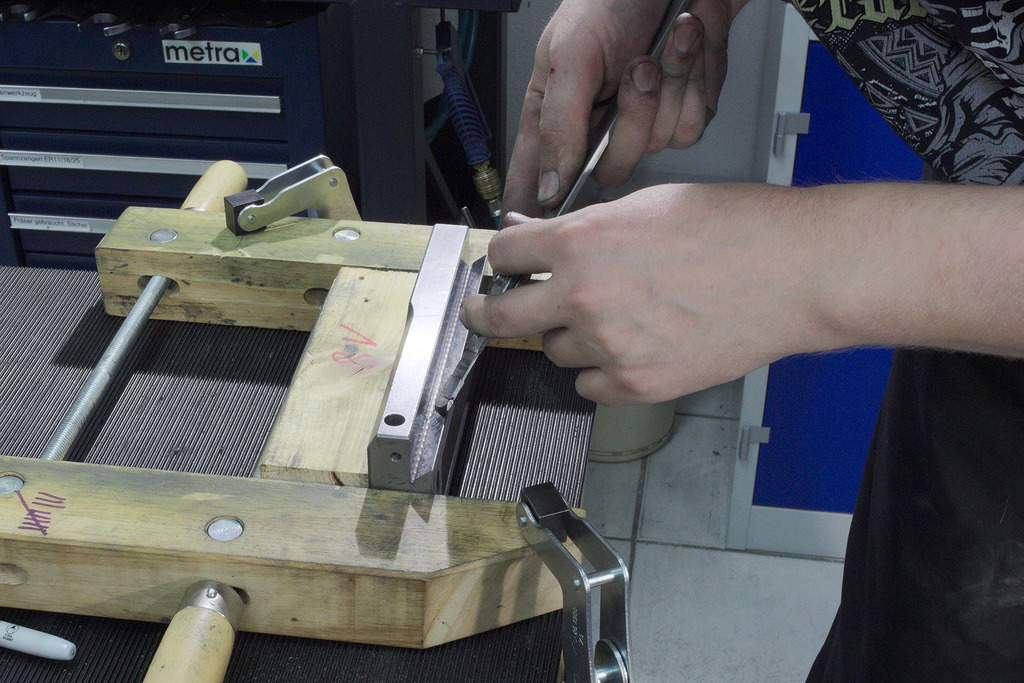
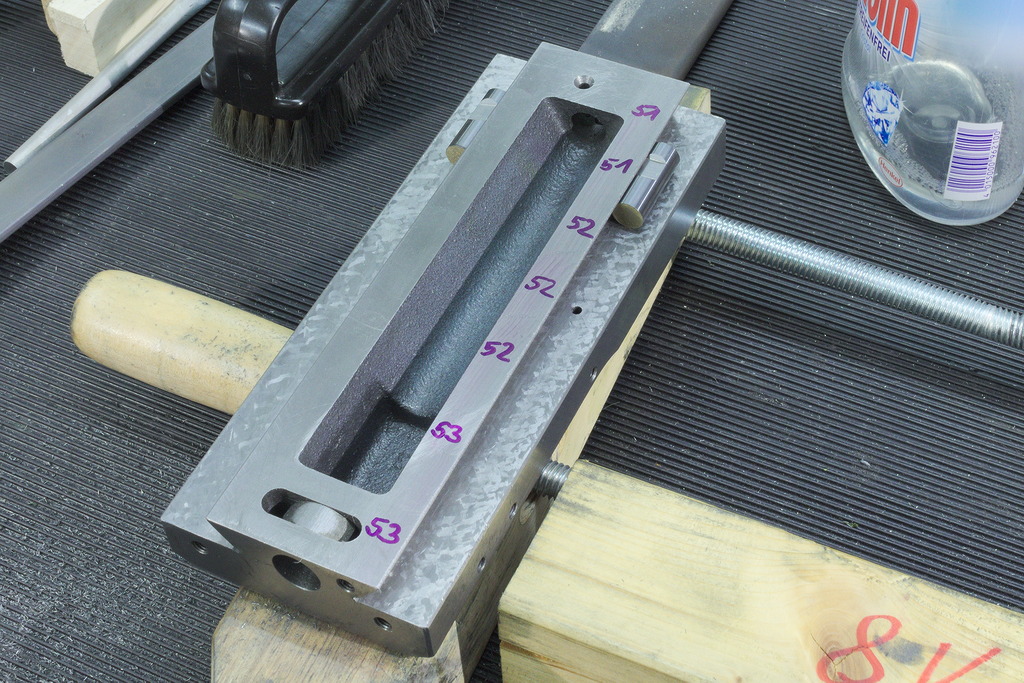
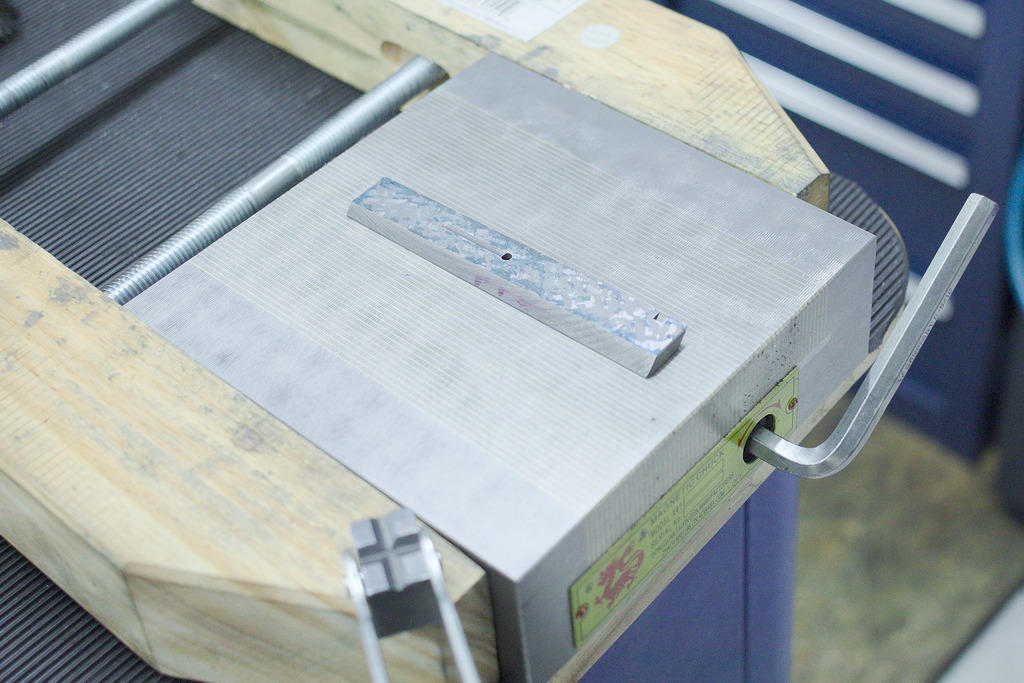
The setup for scraping the longer part of the slide. It is sitting in two wooden v-blocks and held by the large wooden clamp. A very sturdy setup without any danger of marring the work.

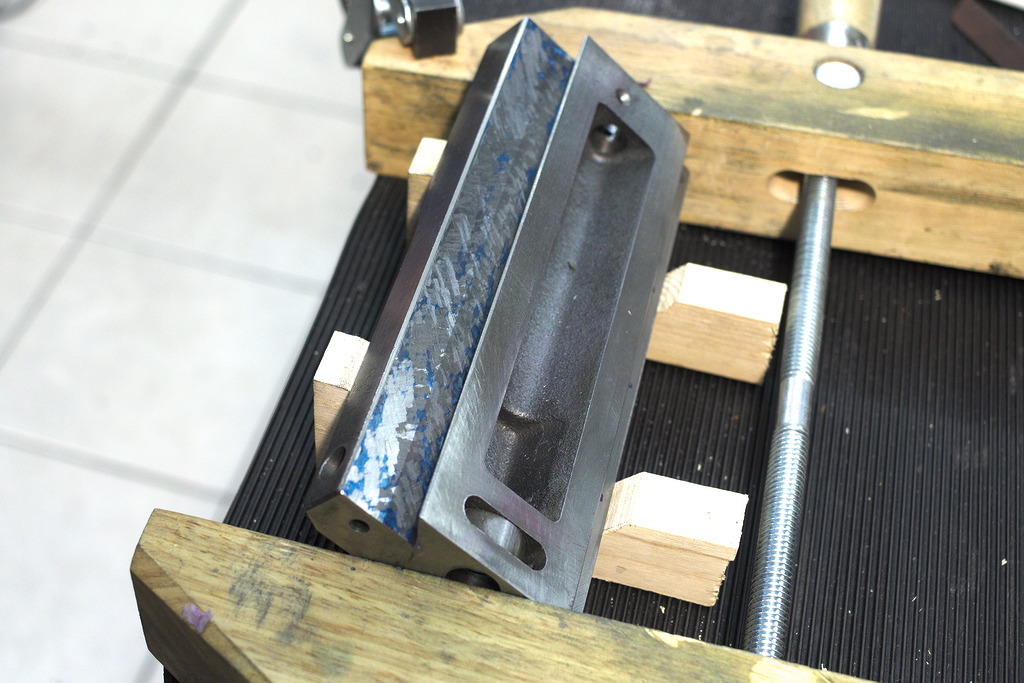
Step scraping is a fast way of removing a lot of material and get surfaces very close without measuring/bluing after each scraping pass.
Then the surface gets scraped for bearing:
Before I get to far with the first surface, the second one is scraped parallel and to the same height as the first one:
The parallel part of the dovetail on the lower part of the slide was easy, I was able to grind that surface, I only had to scrape it for bearing after that:
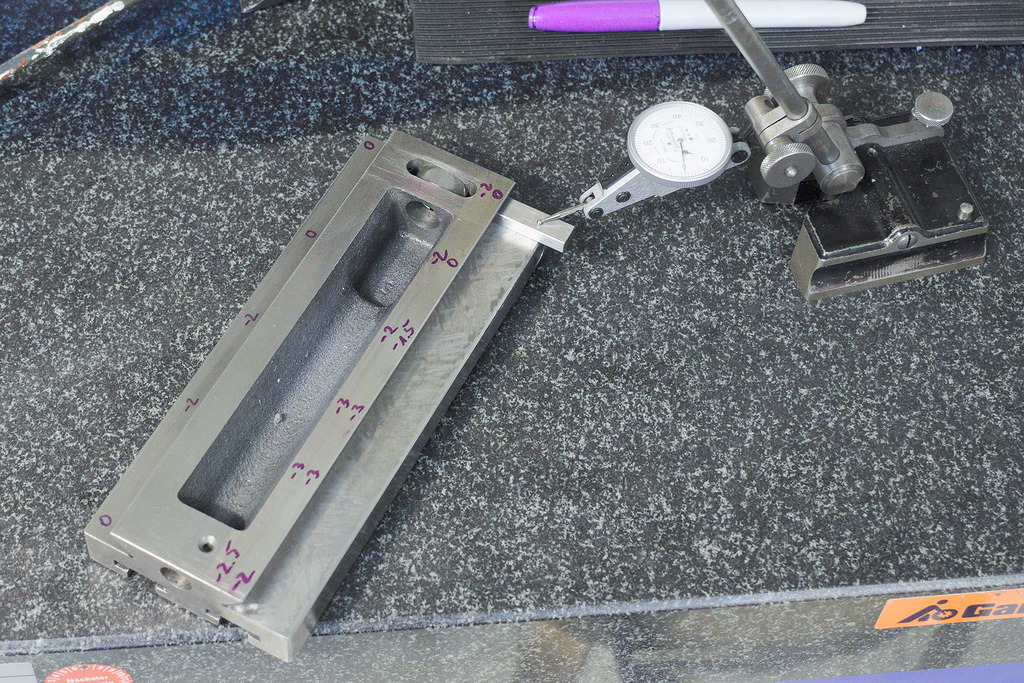
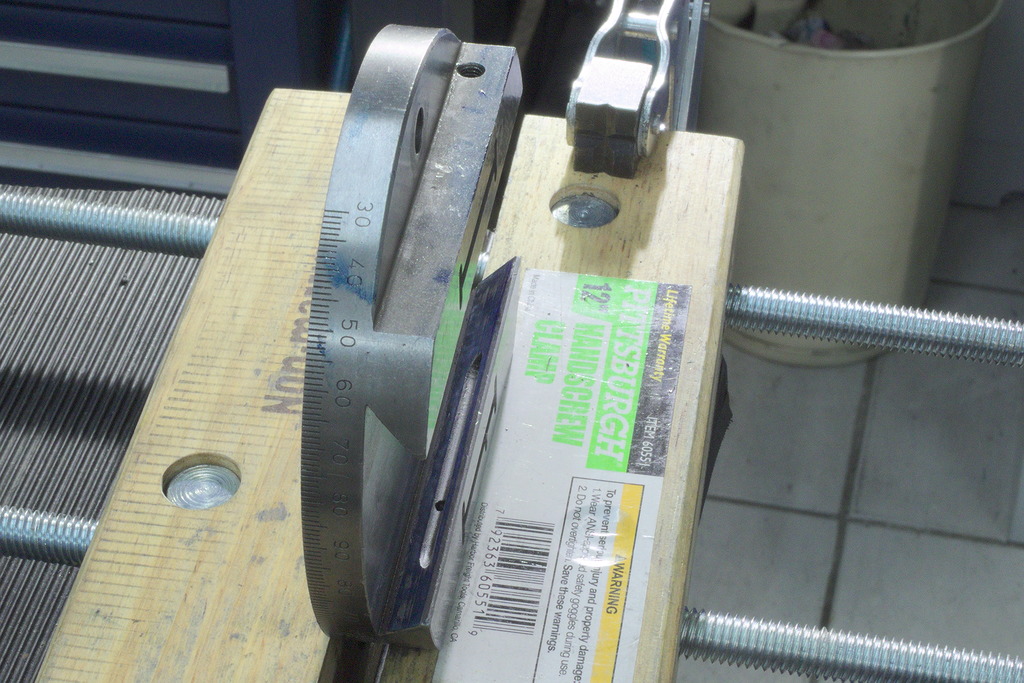
Checking the parallelism of the dovetail on the longer part of the slide to one of the outer surfaces:
This was scraped to be parallel – Not realy necessary, but it is nice, wenn the travel of the way lines up with the outer shape of the slide ;-)
Also important when a linear scale of some sort is mounted to a slide.
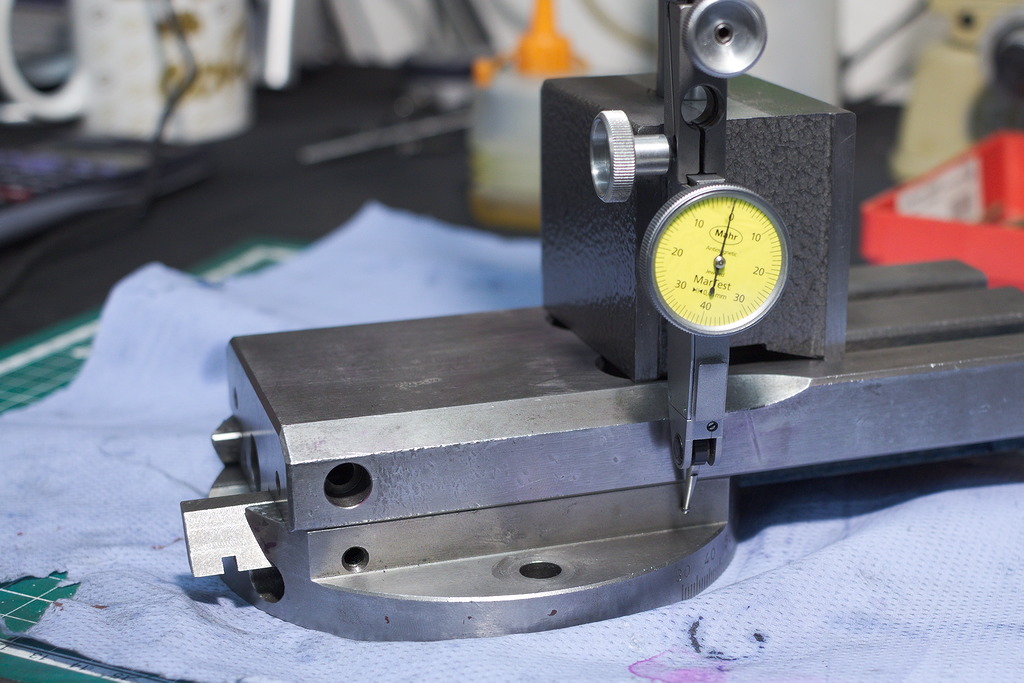
Checking the parallelism between the lower to the upper surface of the slide when assembled:
Scraping the dovetail parallel to itself:
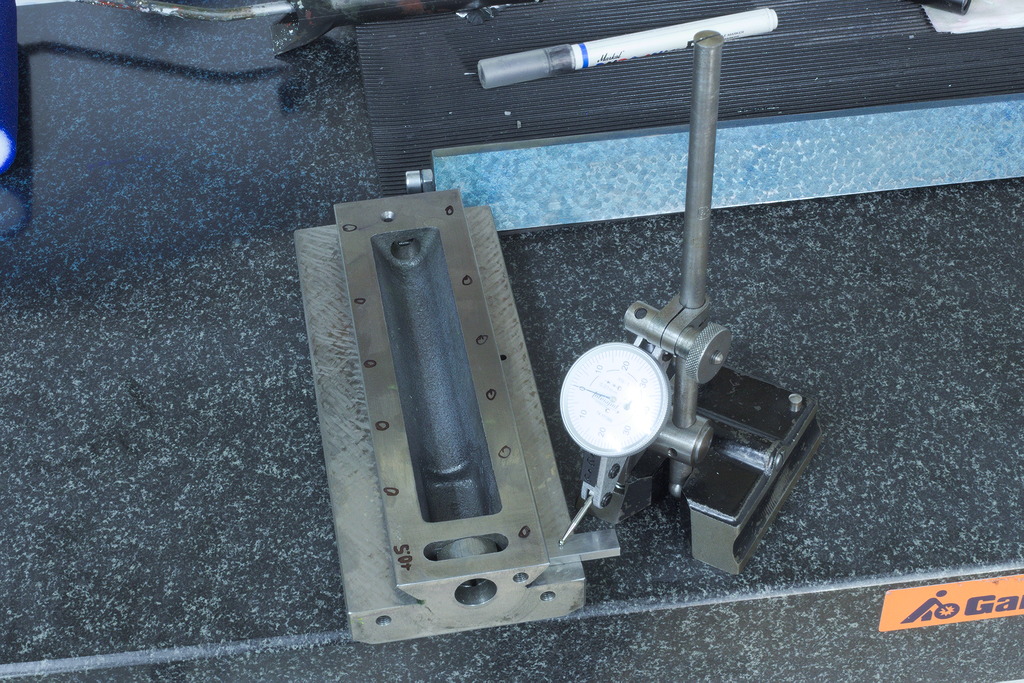
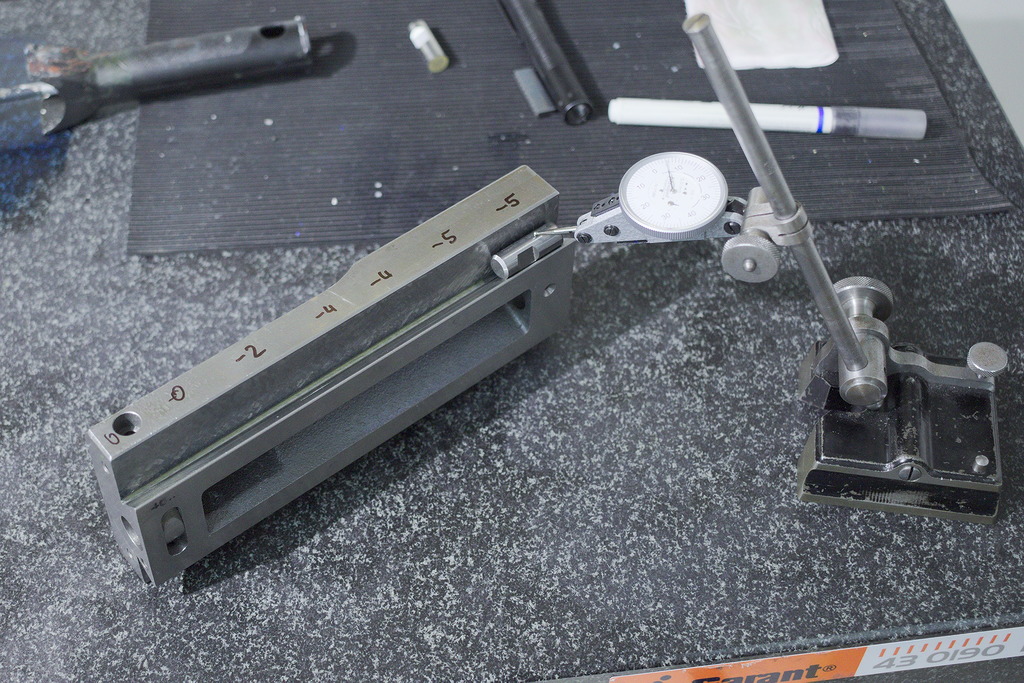
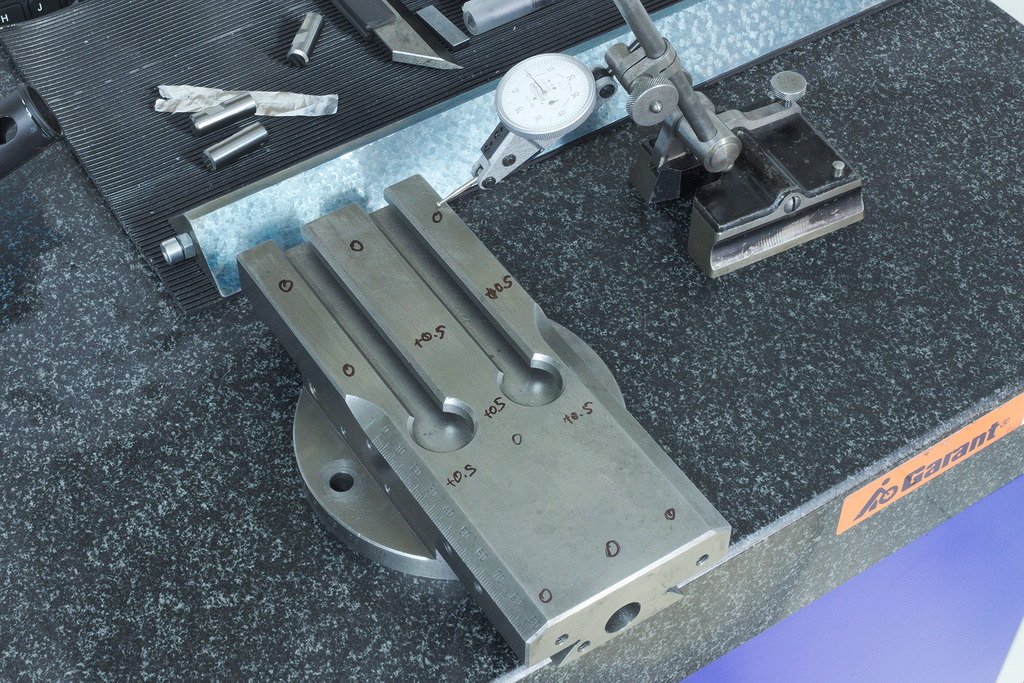
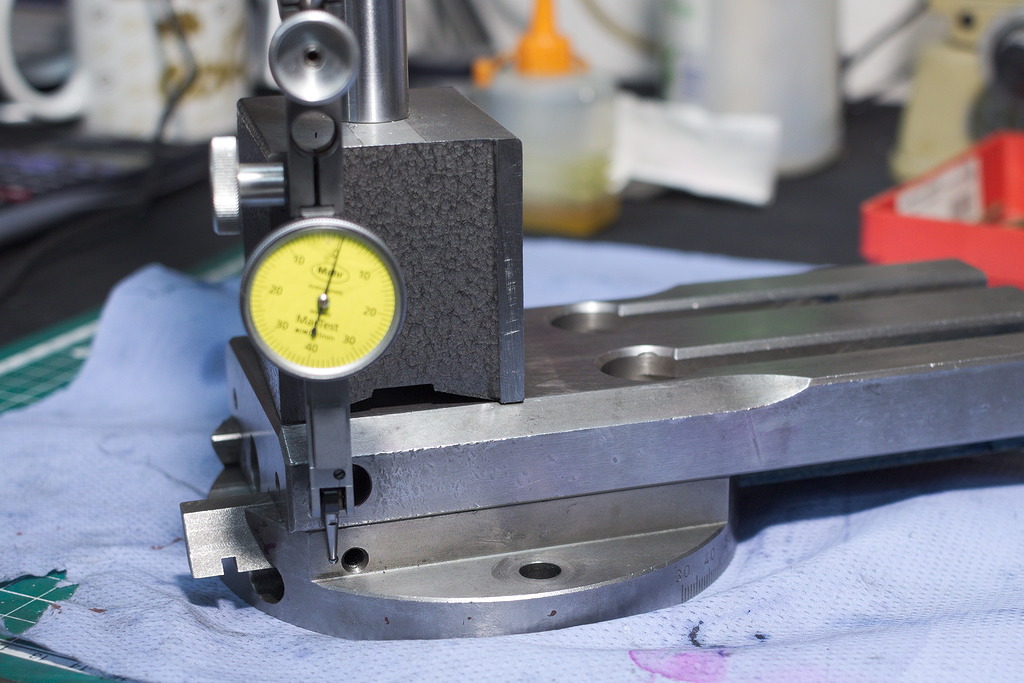
The parallelism is checked with round carbide pins and a micrometer. Here I am still off by 0,02mm end to end:
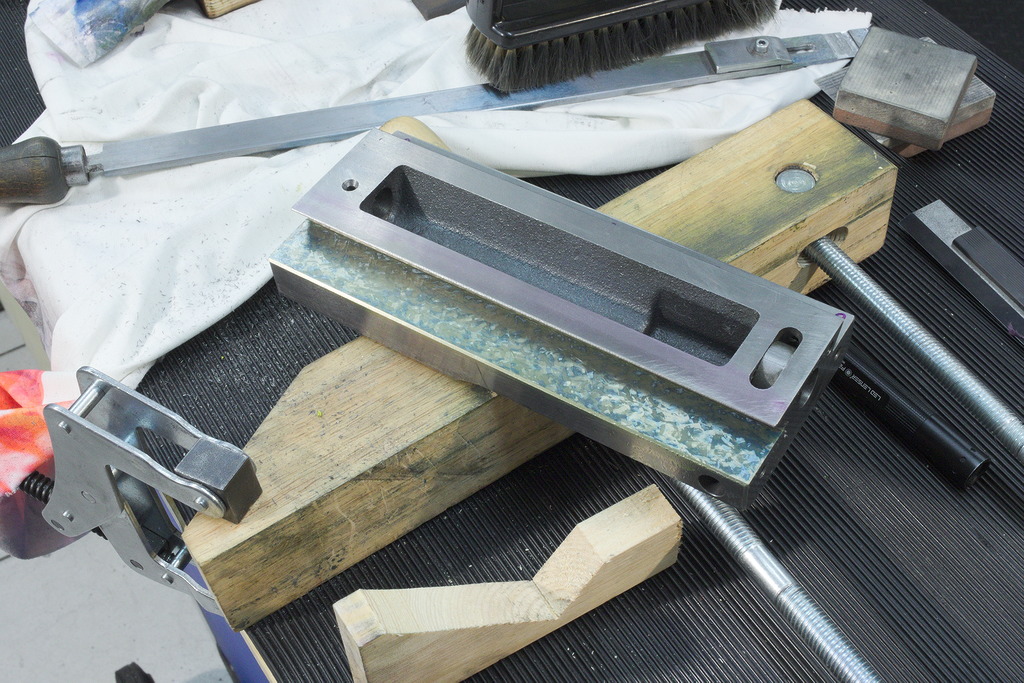
After this part was done, the lower part of the slide needed to be scraped. The parallel surfaces where already ground and scraped for bearing, now for the angled surfaces.
As the compound has a tapered gib, one side is parallel, the other one angled by the angle of the gib.
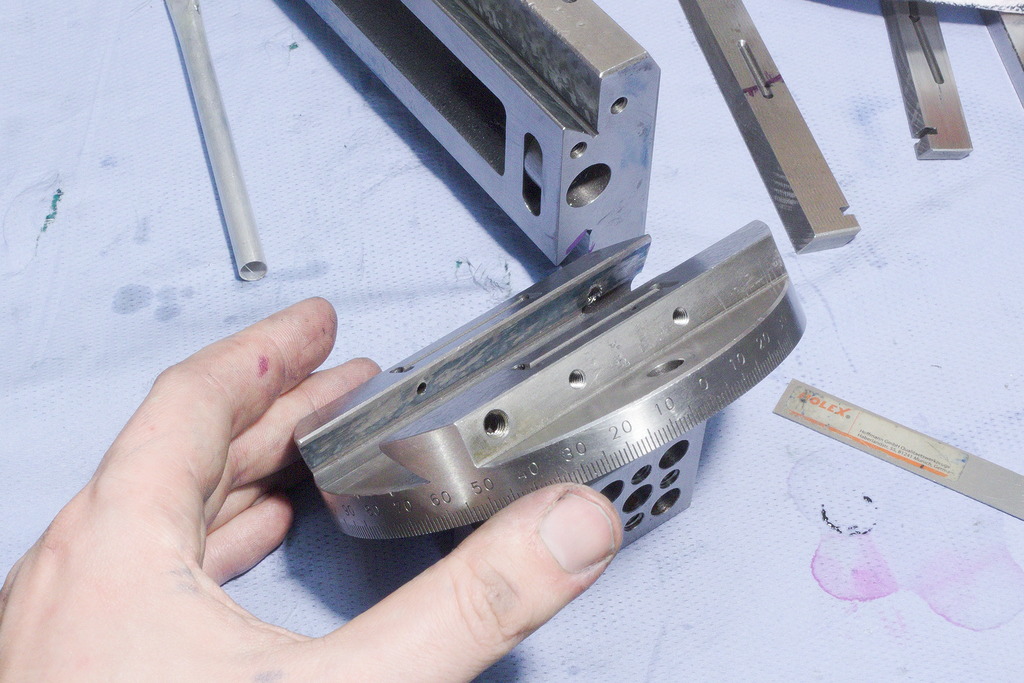
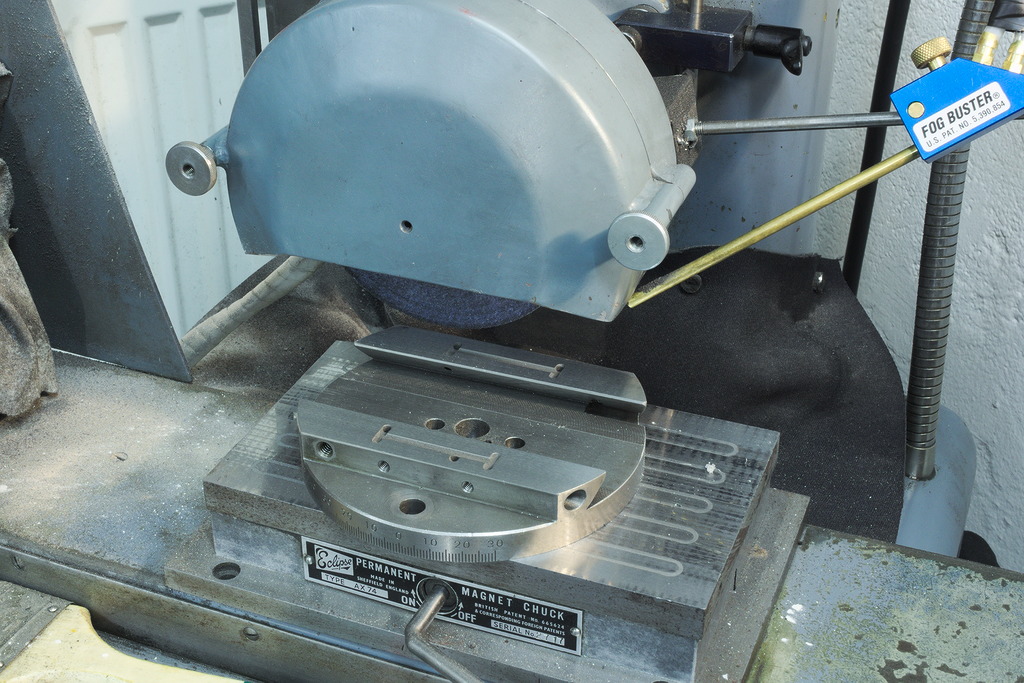
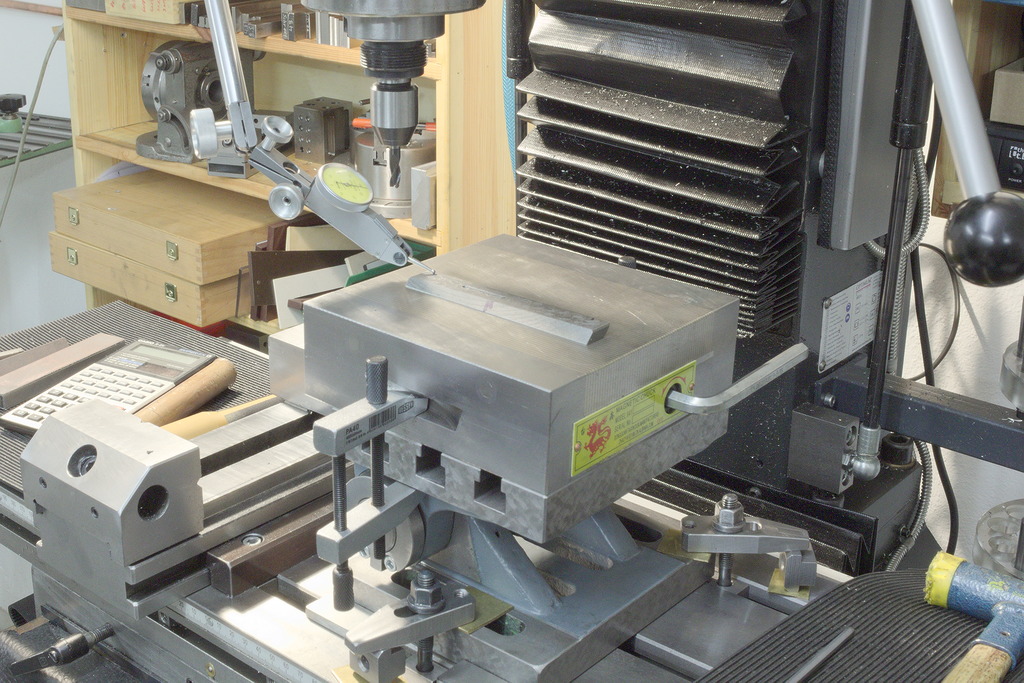
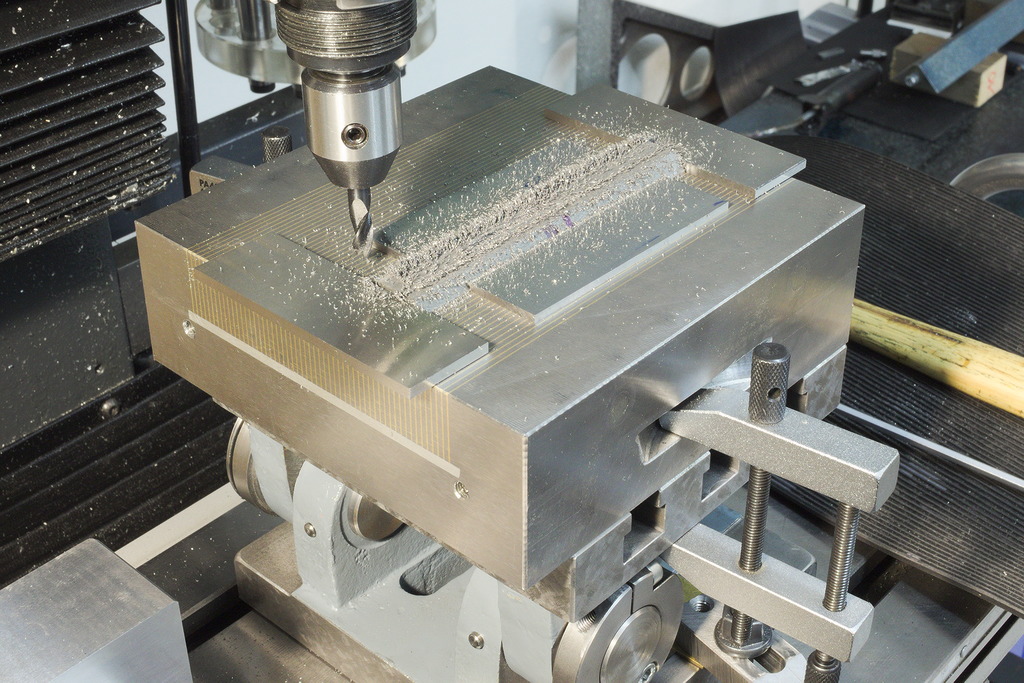
The gib came from Schaublin with 0,6mm allowance on it, so I figured I could mill it down on the angle table and the magnetic chuck:
Checking the fit of the gib: The gib is inserted in the slide and pushed with only very small amount of force.
Then the side to side play on each end of the slide is measured with an indicator, and this will give an indication on the fit of the gib. If the side to side play on both ends is the same, the fit of the gib is perfect.
The final fitting of the gib is done by scraping both sides, static and sliding. Both sides need to be flat. For holding a gib, a magnetic chuck is very usefull:
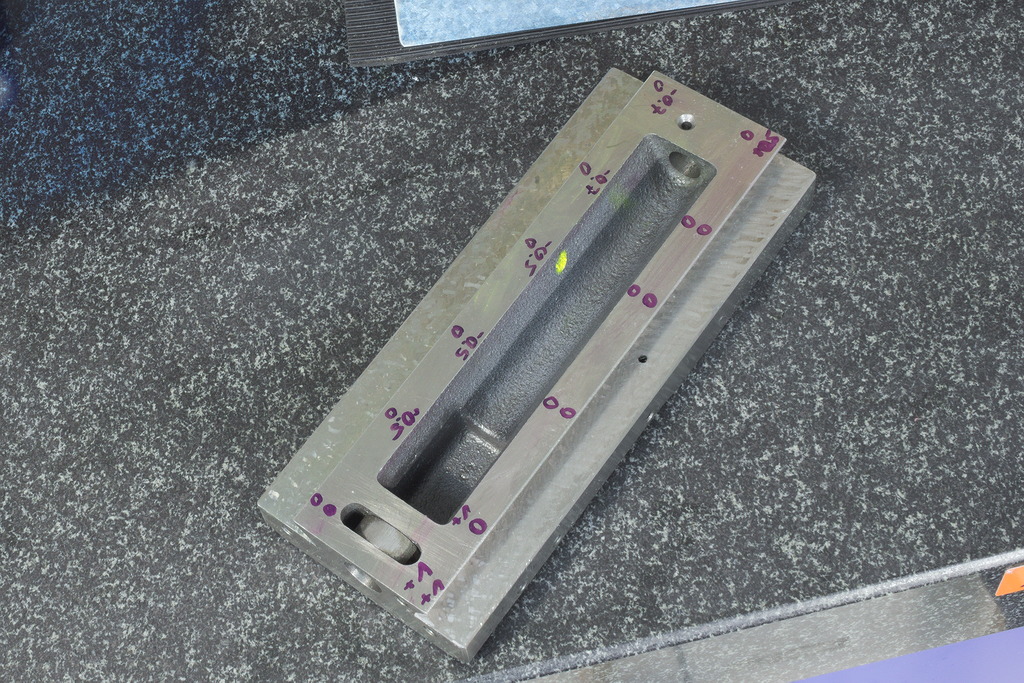
The completely rescraped slide, fully assembled: