For the longest time I wanted to have a Mitutoyo UniMike, not only that its a beautifully engineered instrument, it should also be quite useful in a lot of situations, for example measuring the distanze of a bore to the edge of a workpiece.
I have a two part video series on this project:
UniMike Part 1
UniMike Part 2
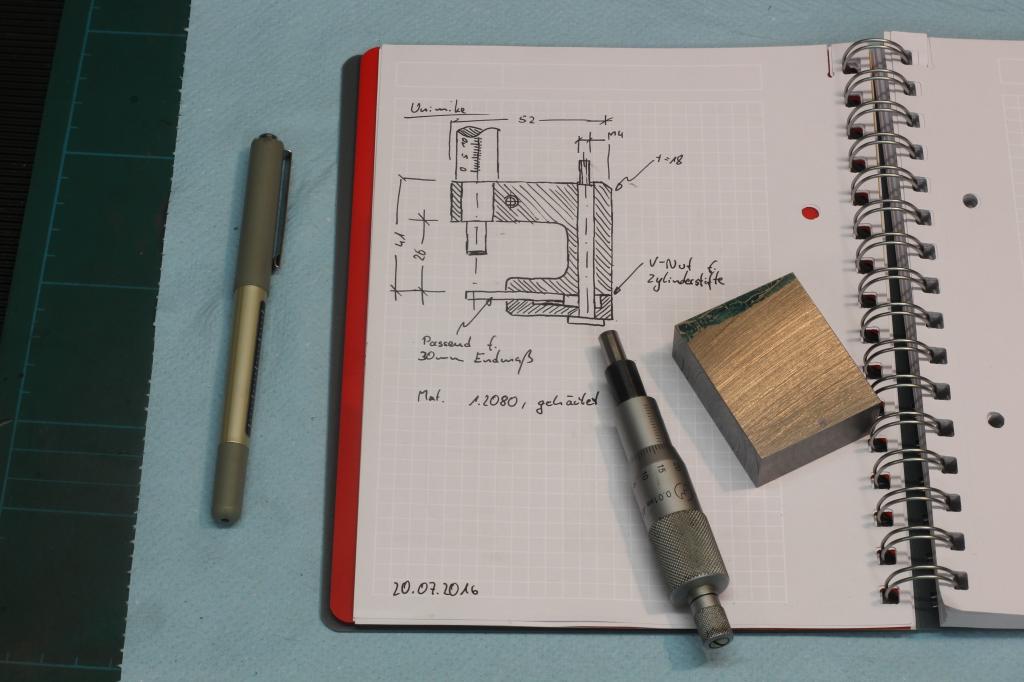
I got a spare Mitutoyo 0-25mm micrometer, some 1.2080 toolsteel and a sketch:
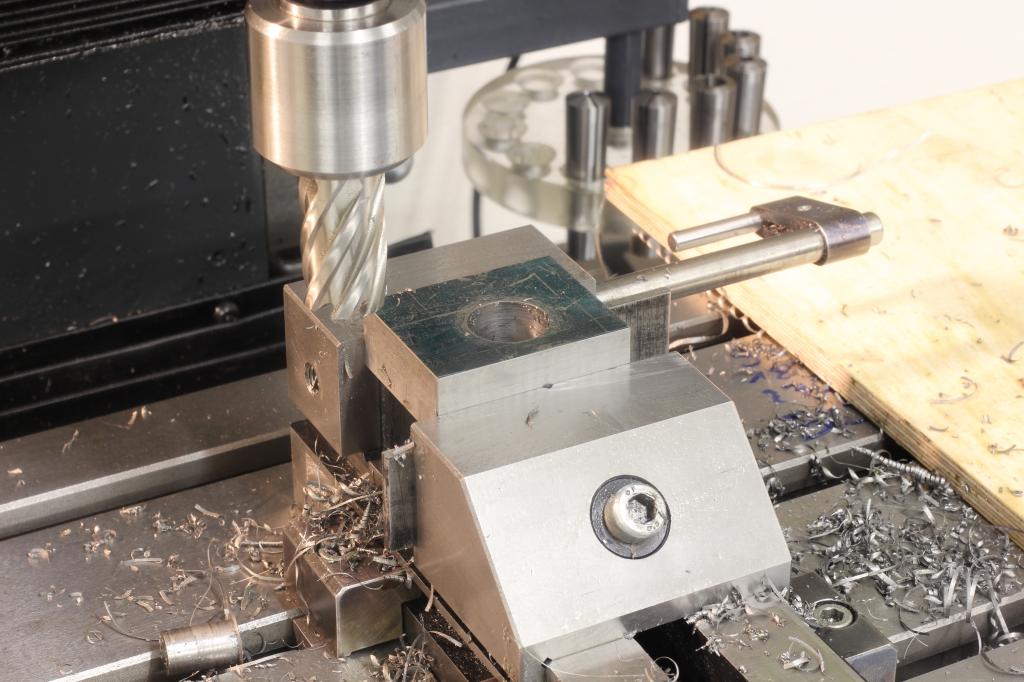
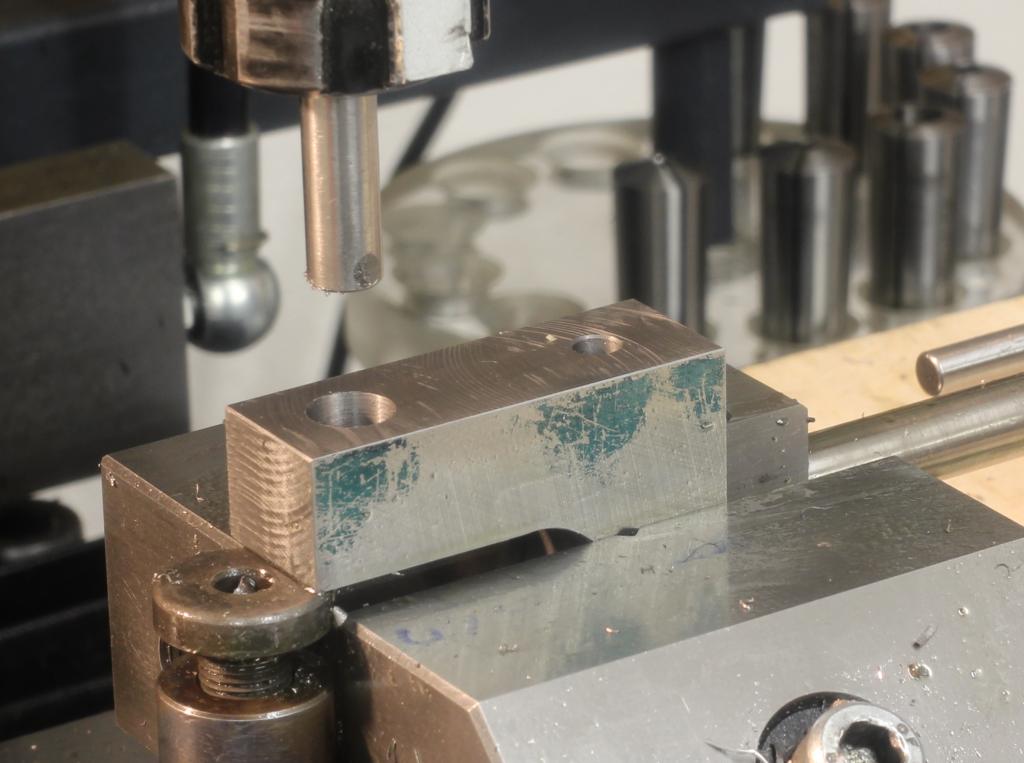
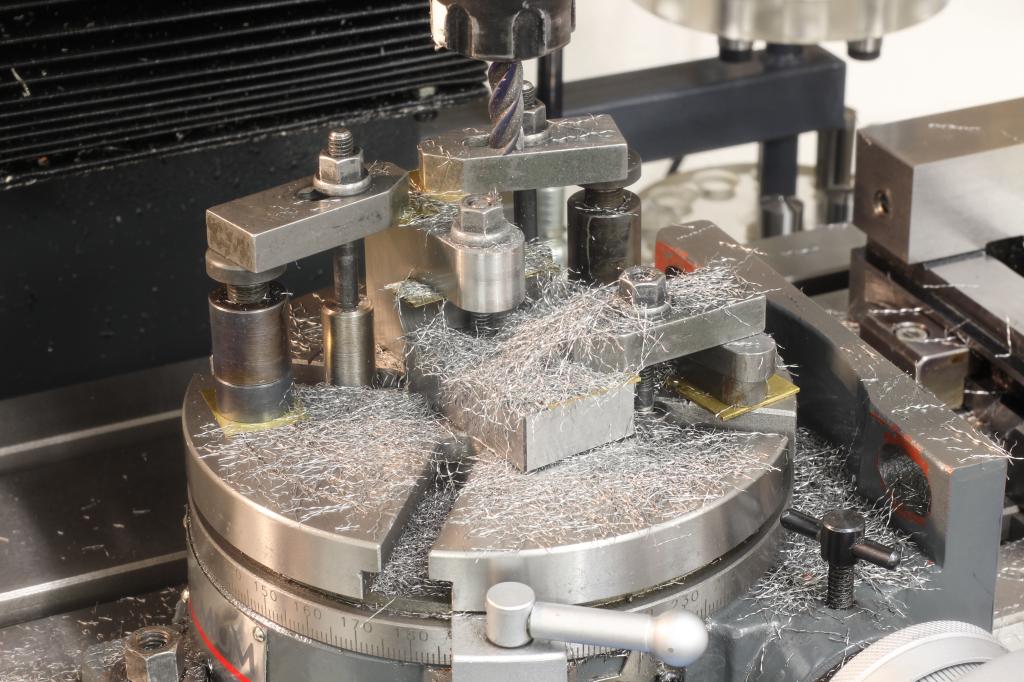
After squaring up the material, I roughed out the C-shape with a rotabroach and with a 6mm roughing endmill, to be finished with an 8mm carbide endmill:
The lower leg of the micrometer body got shortened:
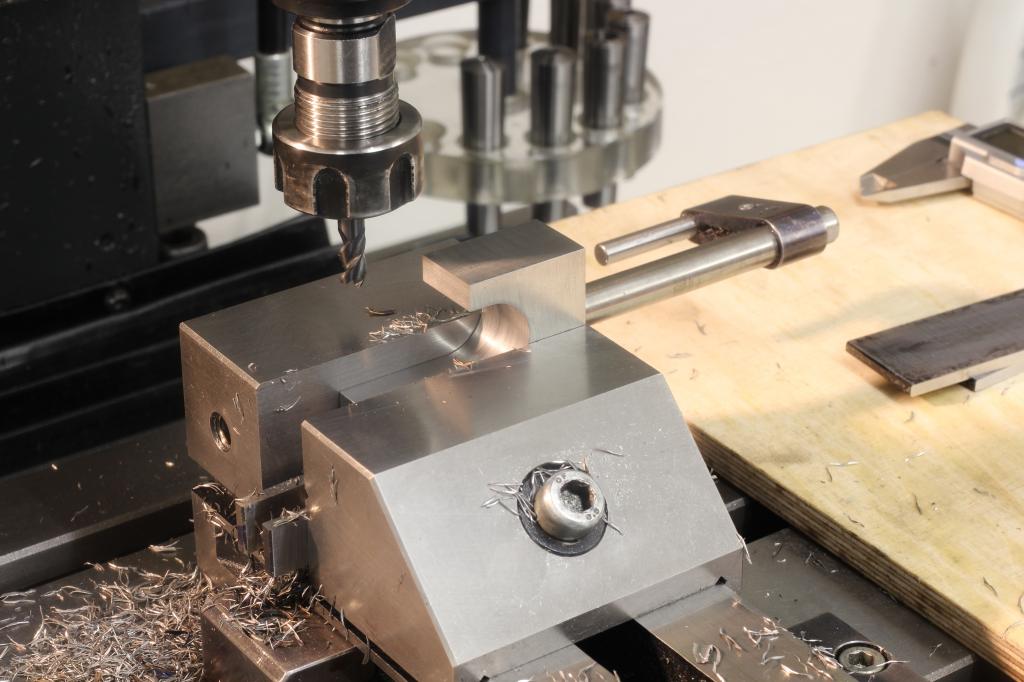
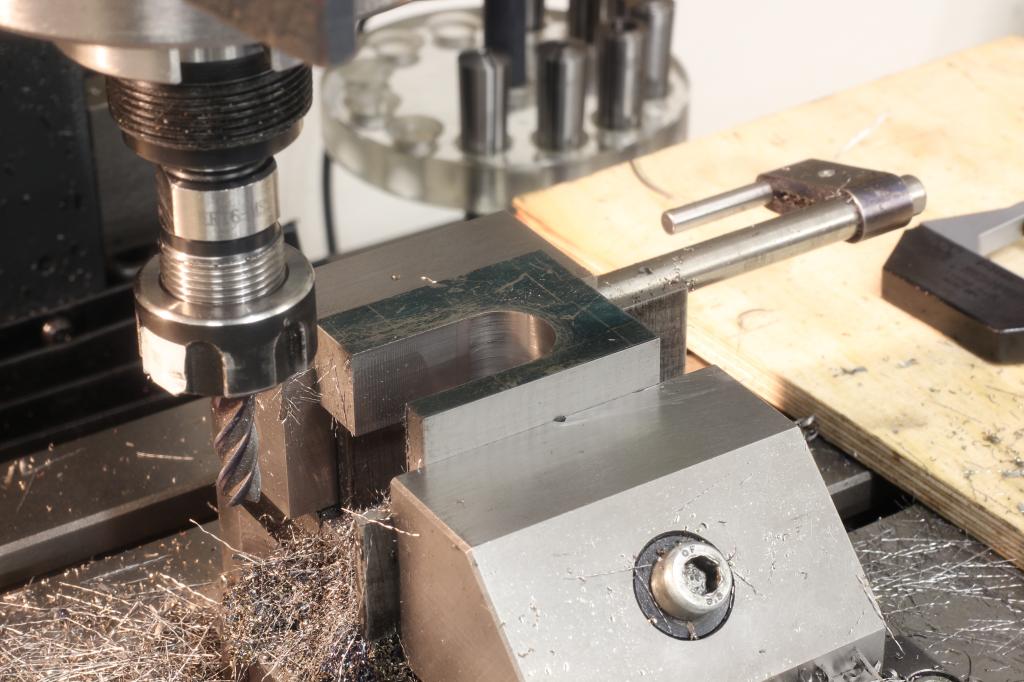
The clamp for the exchangable anvil got drilled and reamed to 5mm, the hole for the barrel roughed out to 9mm with a normal drillbit:
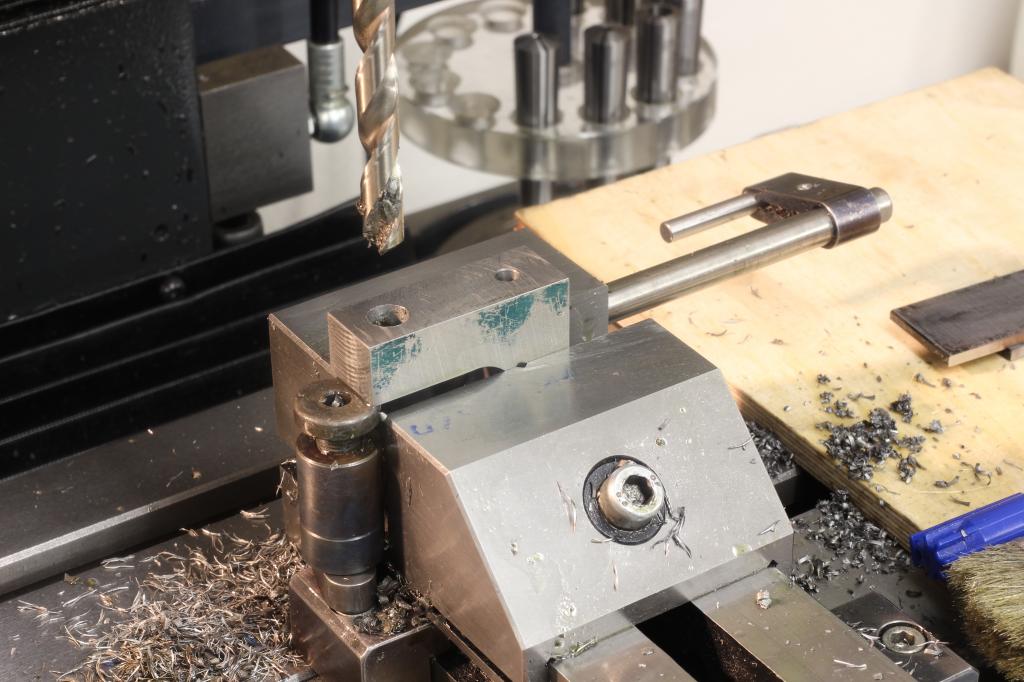
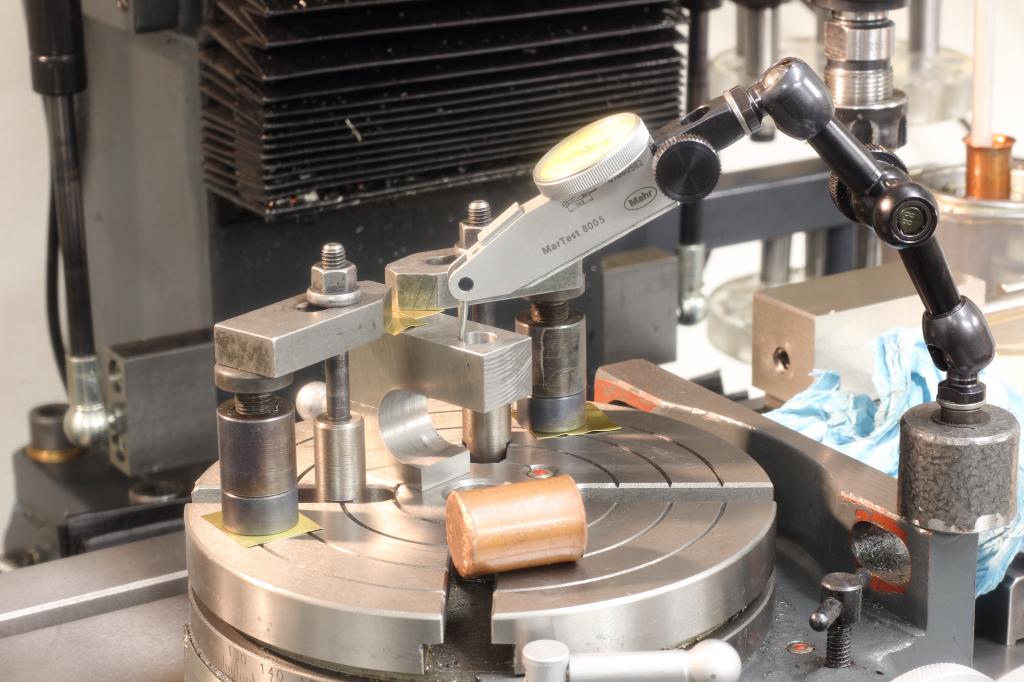
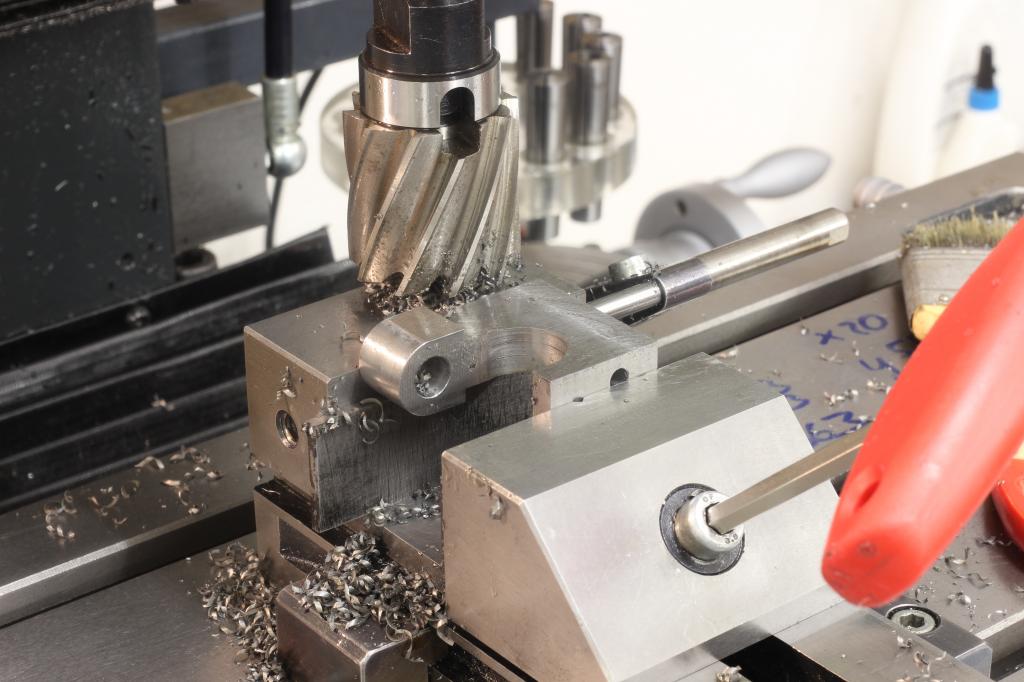
After drilling I ran a boring bar trough the hole, to true it up and give me a good surface for indicating on the rotary table:
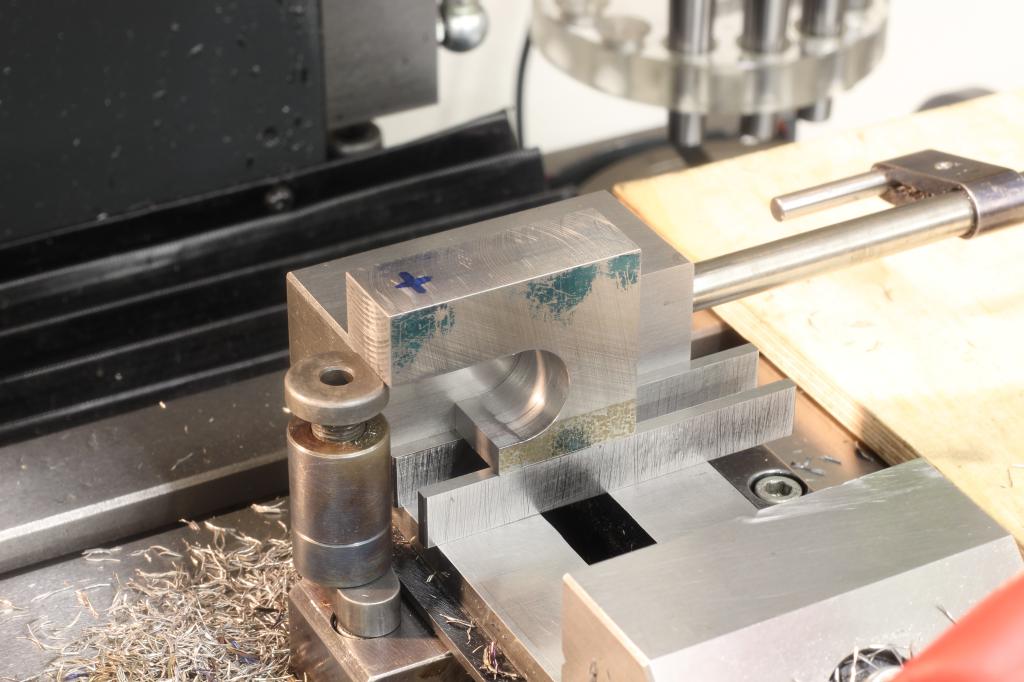
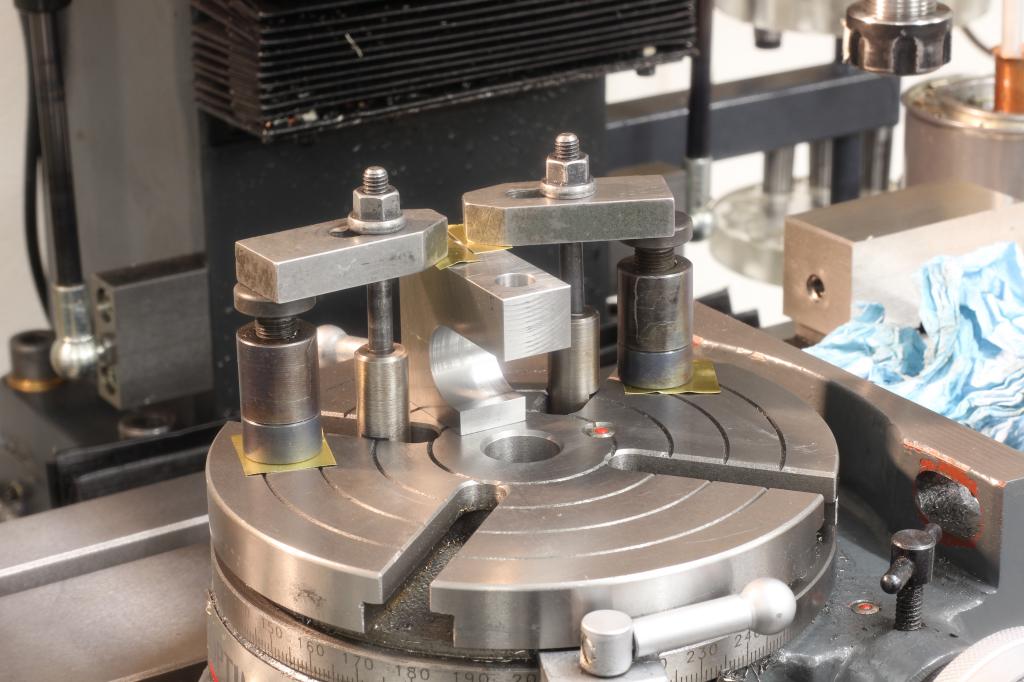
Setup on the rotary table to round the front of the body over:
The sides of the body got relieved to make it a bit more streamlined:
The back of the body got chamfered on my chamfer milling machine:
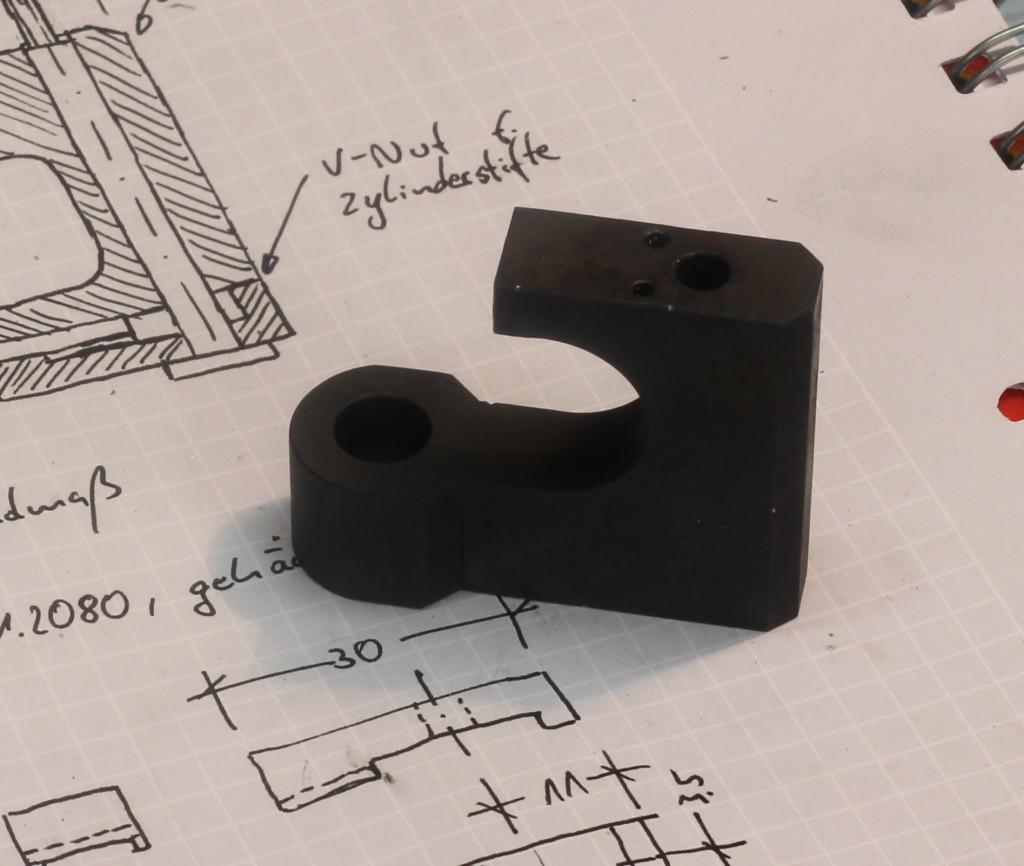
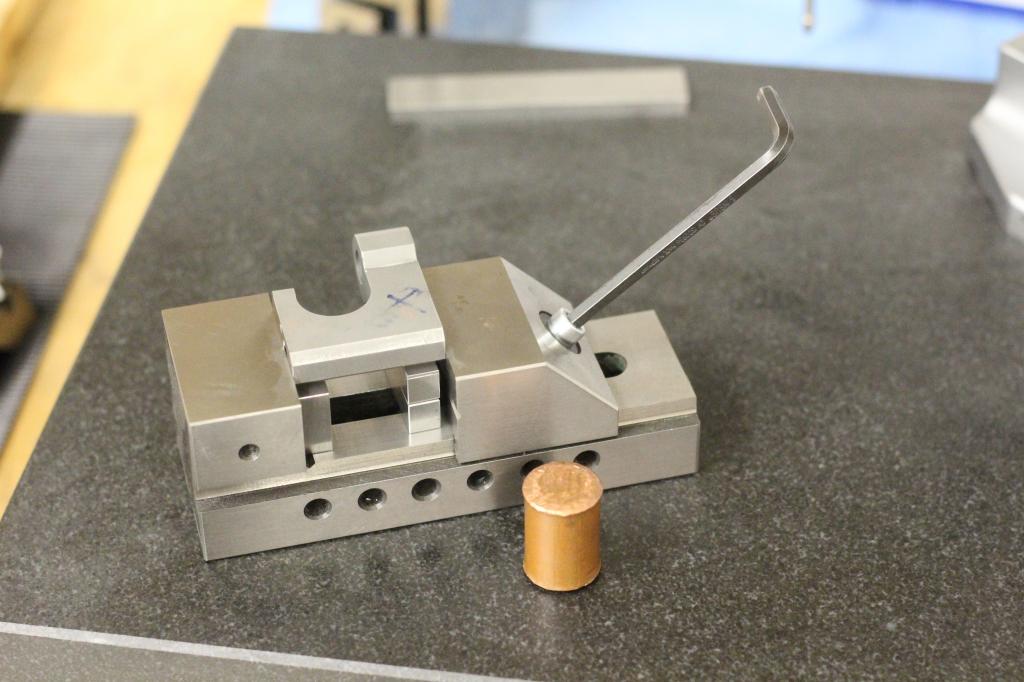
I did not take any pictures when I machined the clamp for the exchangeable anvils - The two small holes are for anti-rotation pins that engage matching holes in the micrometer body:

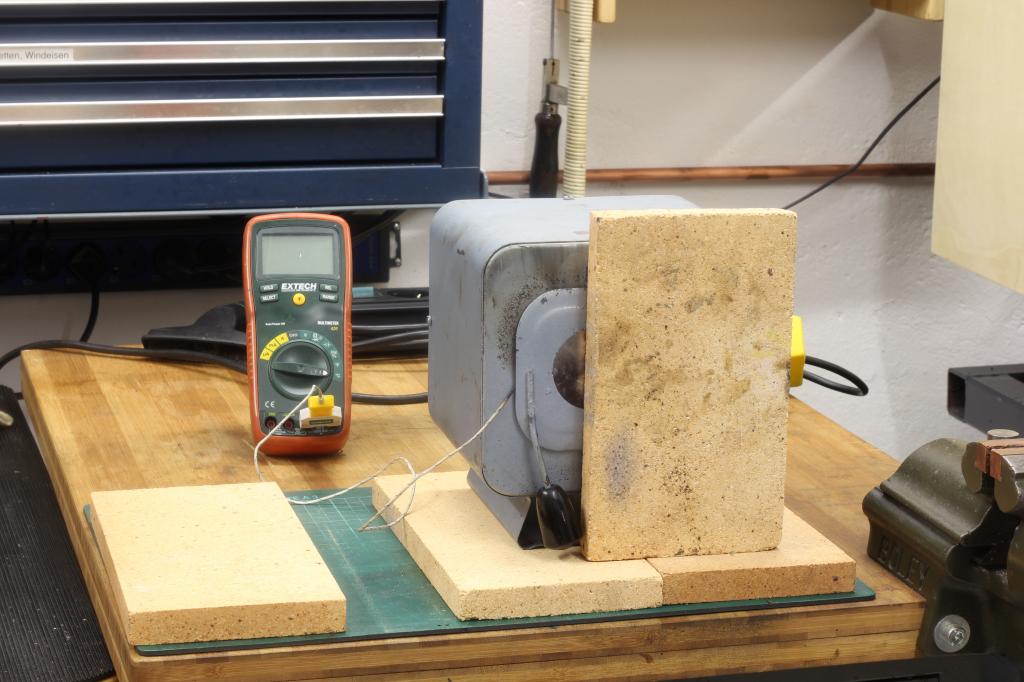
My hardening setup, with the small Efco 110 oven and my Extech Multimeter and a Type K thermocouple. The firebrick in front of the door speeds up the temperature rise of the oven.
For quenching I use vegetable oil (rapeseed oil):
The 1.2080 needs a hardening temperature of 950°C and a tempering of 450°C to get it down to a working hardness of 55HRC. I don't take any precautions against scaling, as the parts will be ground completely after hardening:
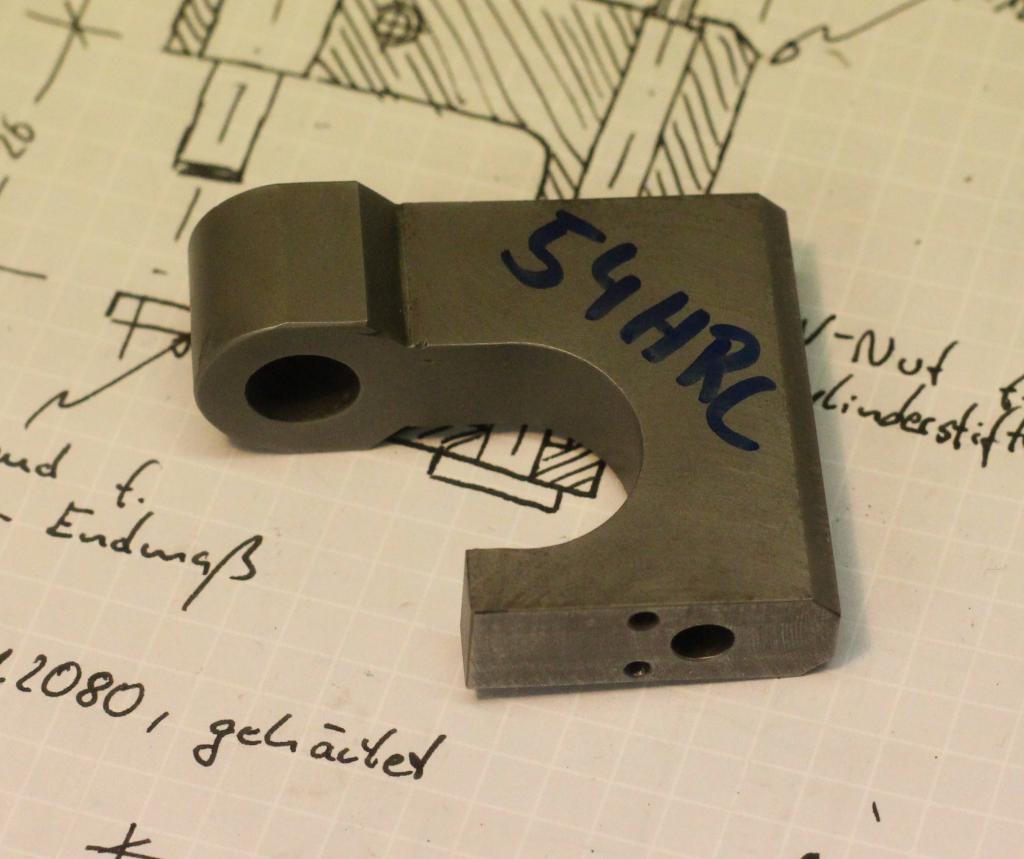
I had the parts glass beaded and the hardness checked on a Wolpert hardness tester and it had 54HRC in two spots. Thats pretty good considering the makeshift hardening setup:
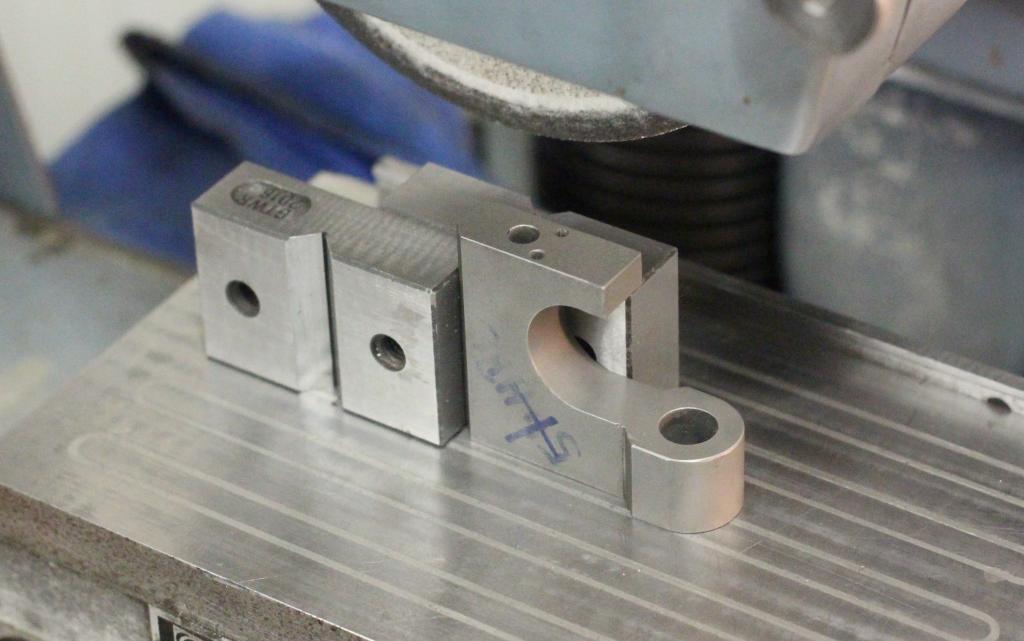
Grinding the clamp, note that I had to block in the part with parallels as it is to small to sit tight on the magnet on its own:
Grinding the body, I had to block this in too and when grinding the second sice, I had to add a clamp for a safe setup:
Grinding the sides of the body, a magnetic parallel would be very usefull for this operation, but as I don't have I needed to use the grinding vice:
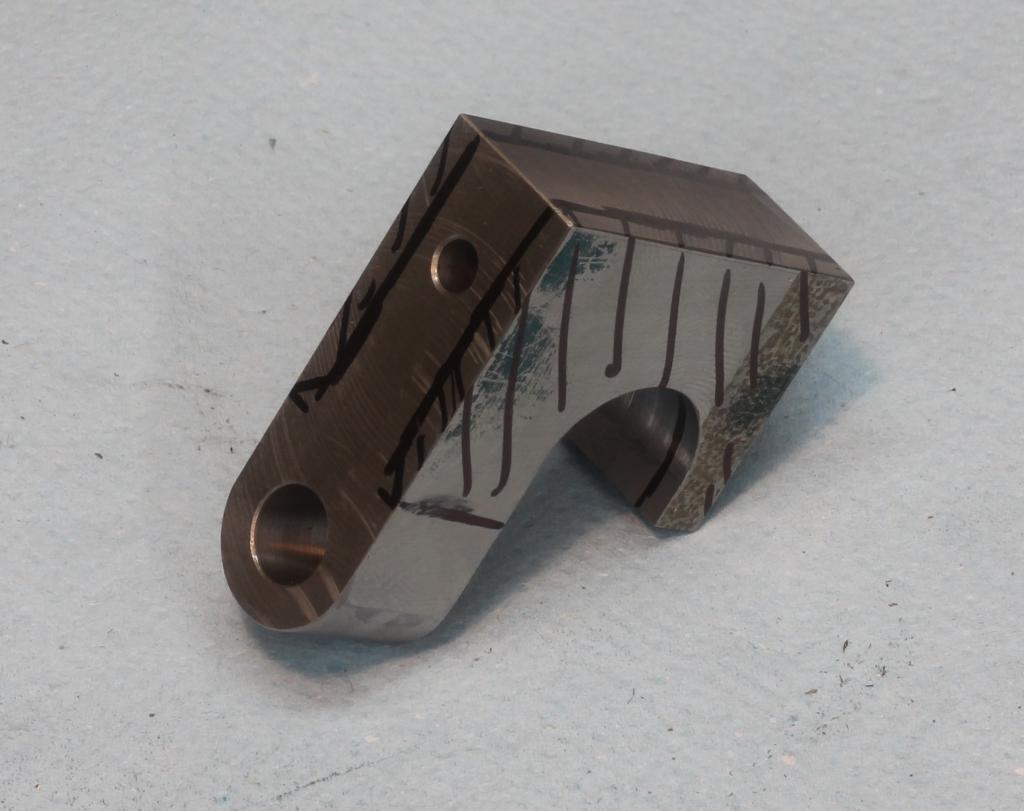
Most of the outer surfaces are ground:
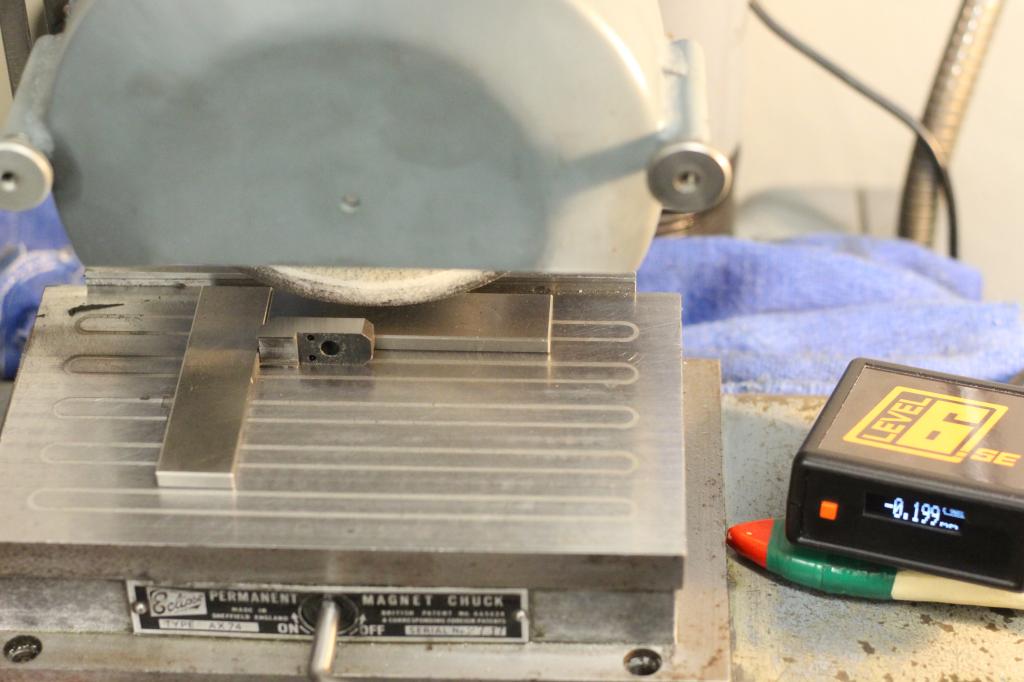
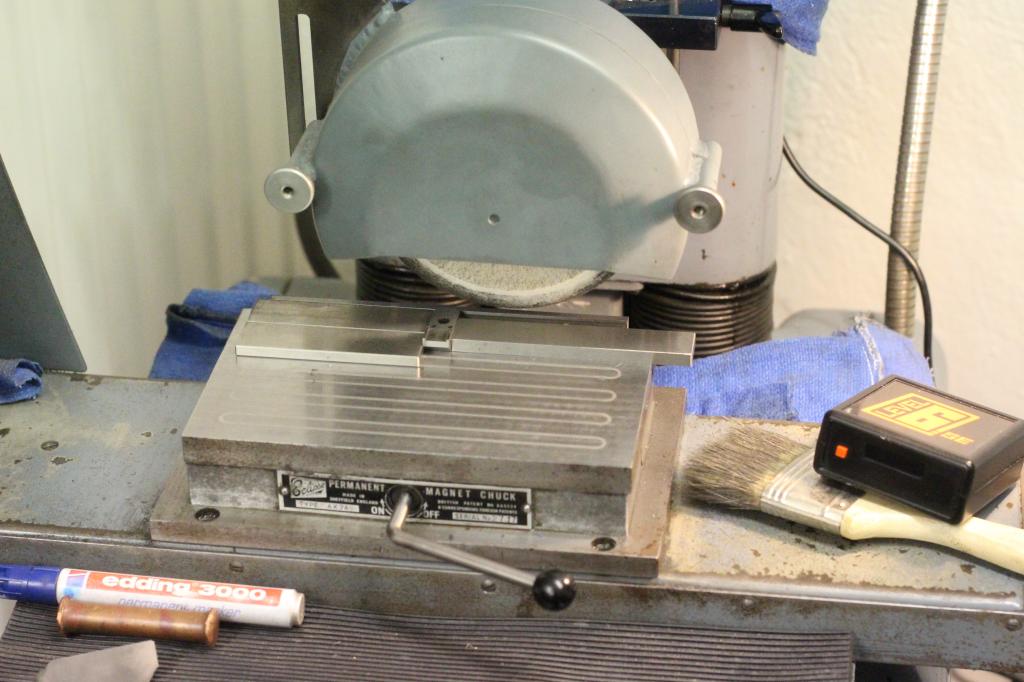
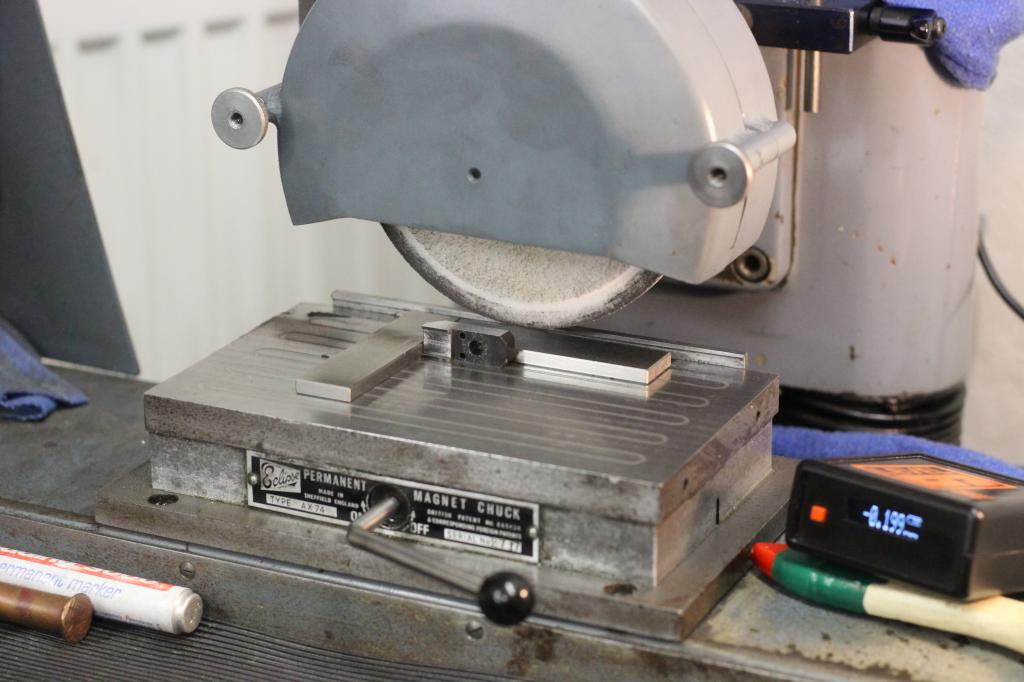
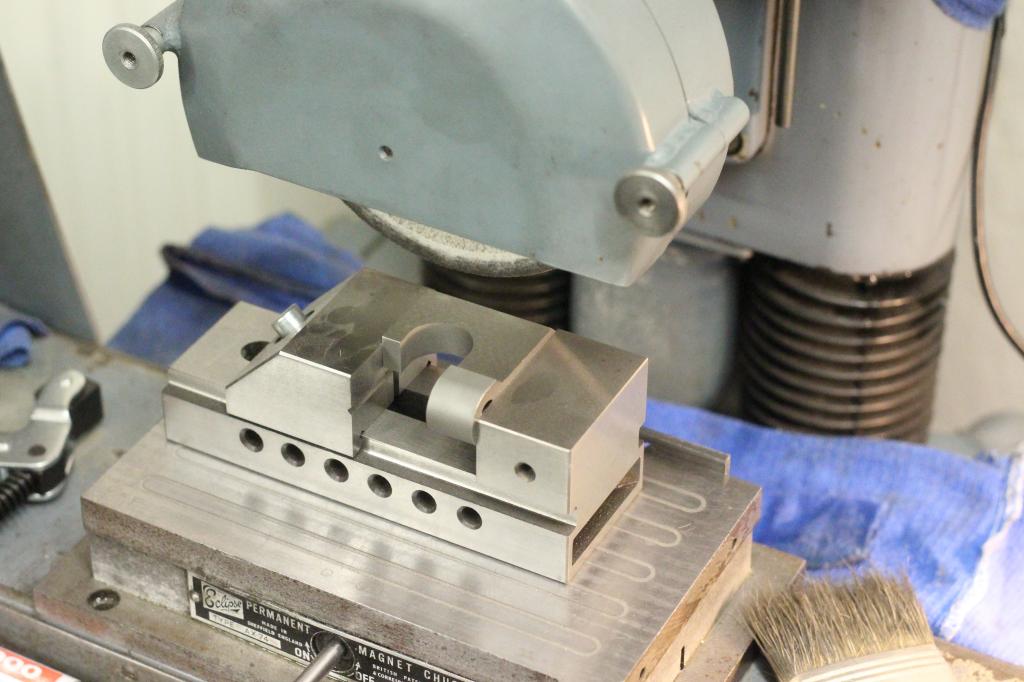
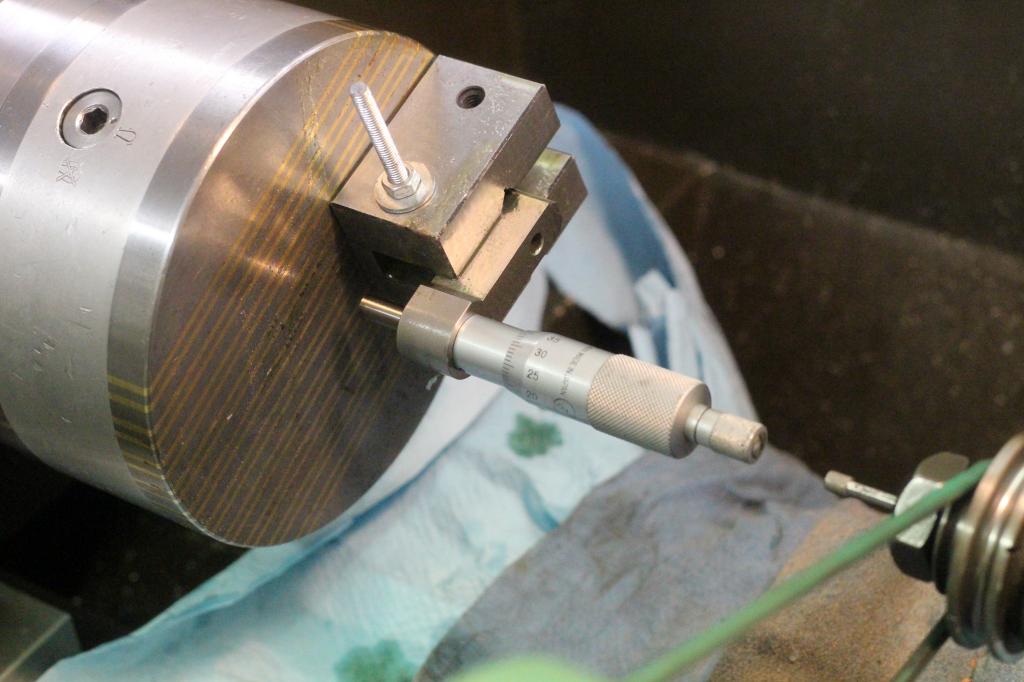
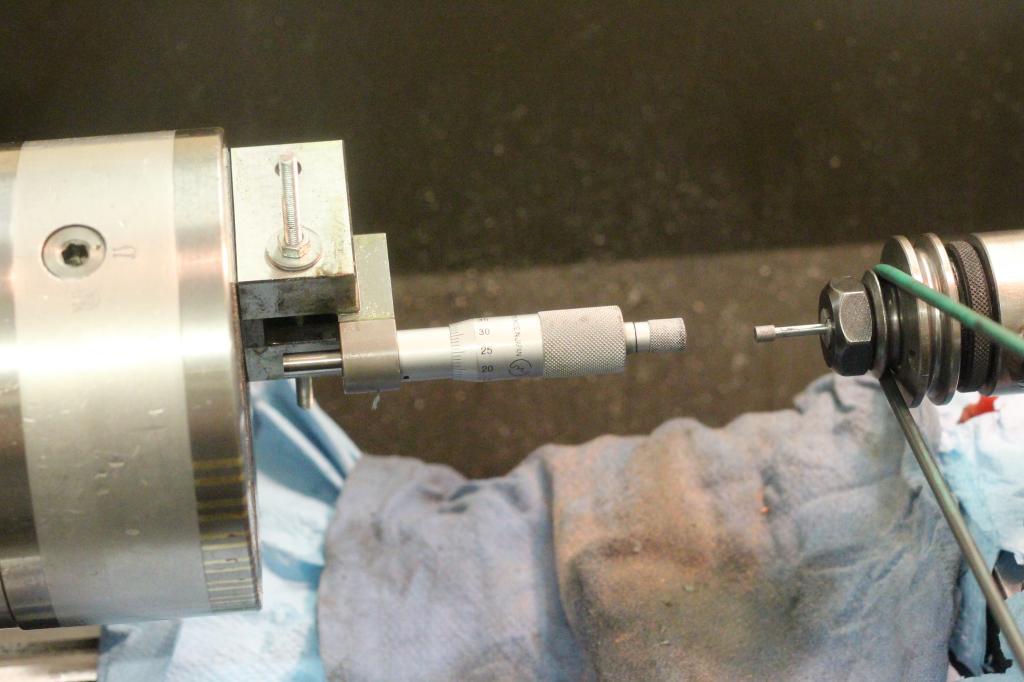
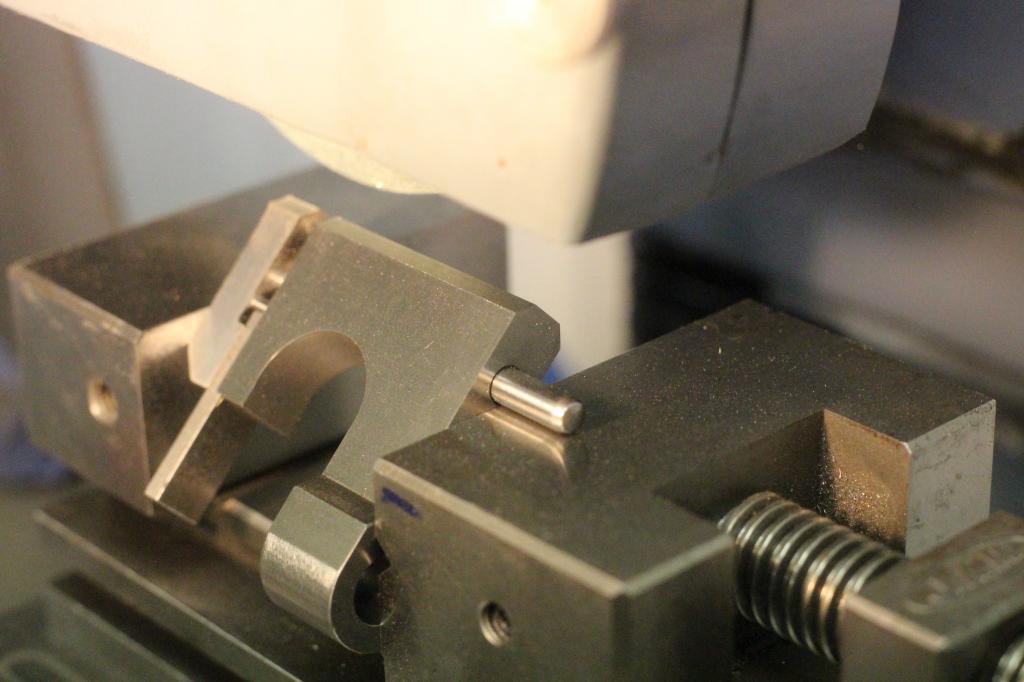
Then I went on to grind the internal diameter for the micrometer barrel. I clamped the body on the magnetic chuck, because the bore needed to be perfectly square to the base surface. I added two blocks and a piece of threaded rod to give it more stability on the magnet.
I started grinding with an aluminum oxide stone that I dressed to 9mm but that went not very well. It tended to pack up with swarf and needed dressing after one or two passes, so progress was very slow.
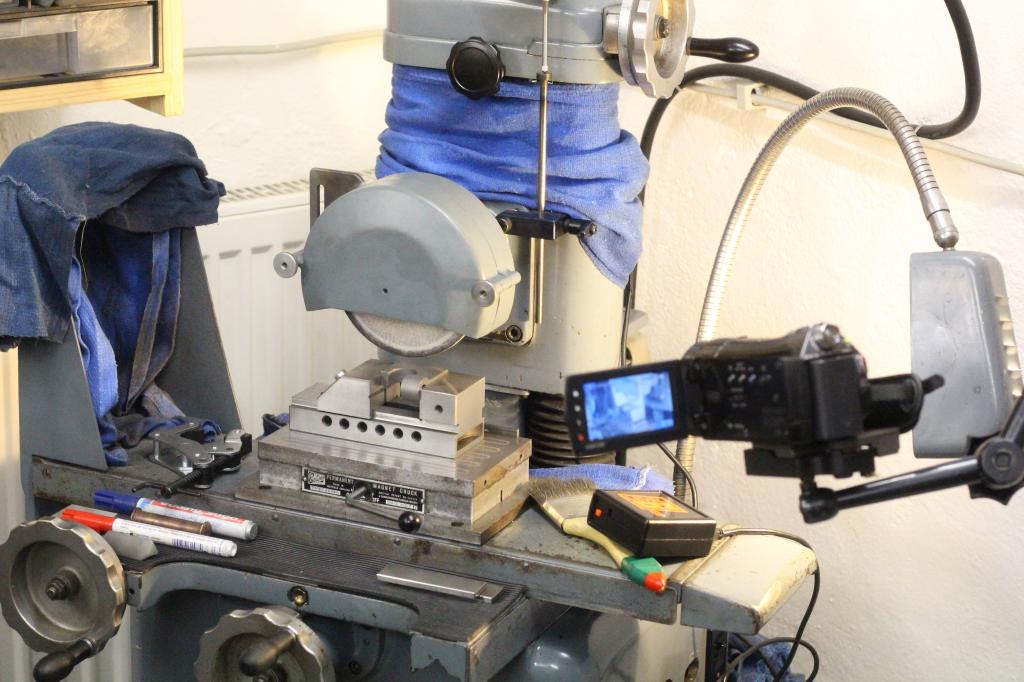
It does not help either that my toolpost grinder runs only at about 10000rpm - About five times that speed would be more suitable:

After some fiddling with the grinding stone and changing to a CBN grinding tool I got it to a perfect 10mm diameter, the barrel with its 9,99mm diameter is a quite snug fit and will later be loctited in.
The CBN grinding tool not only cuts better, it does also not pack up with grinding swarf that easy:
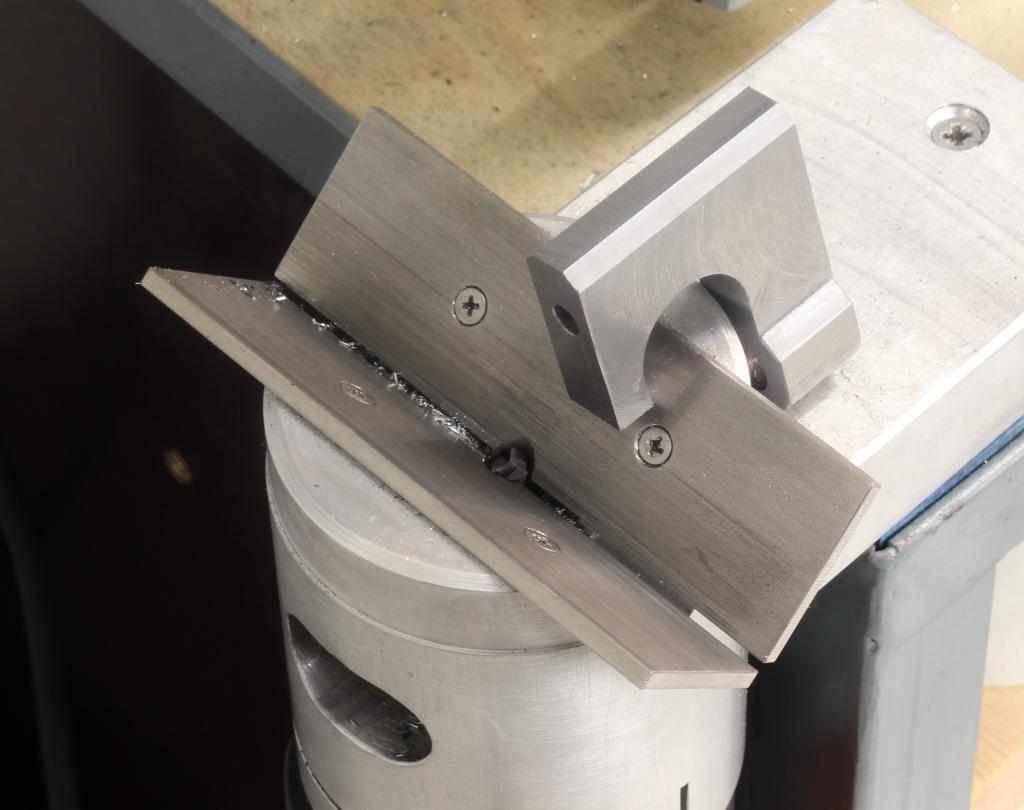
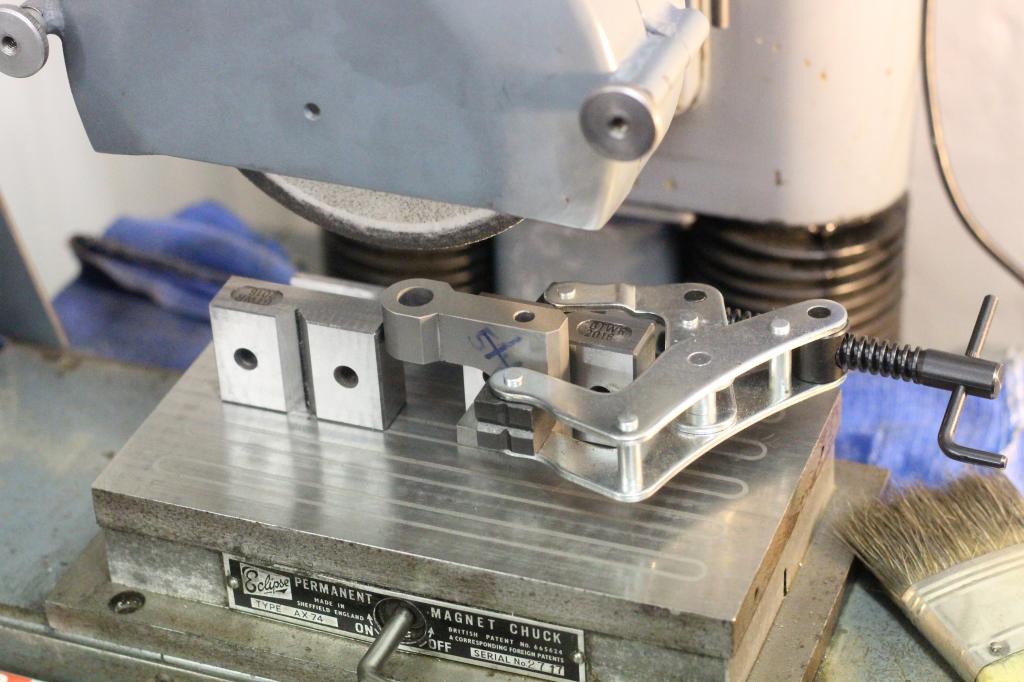
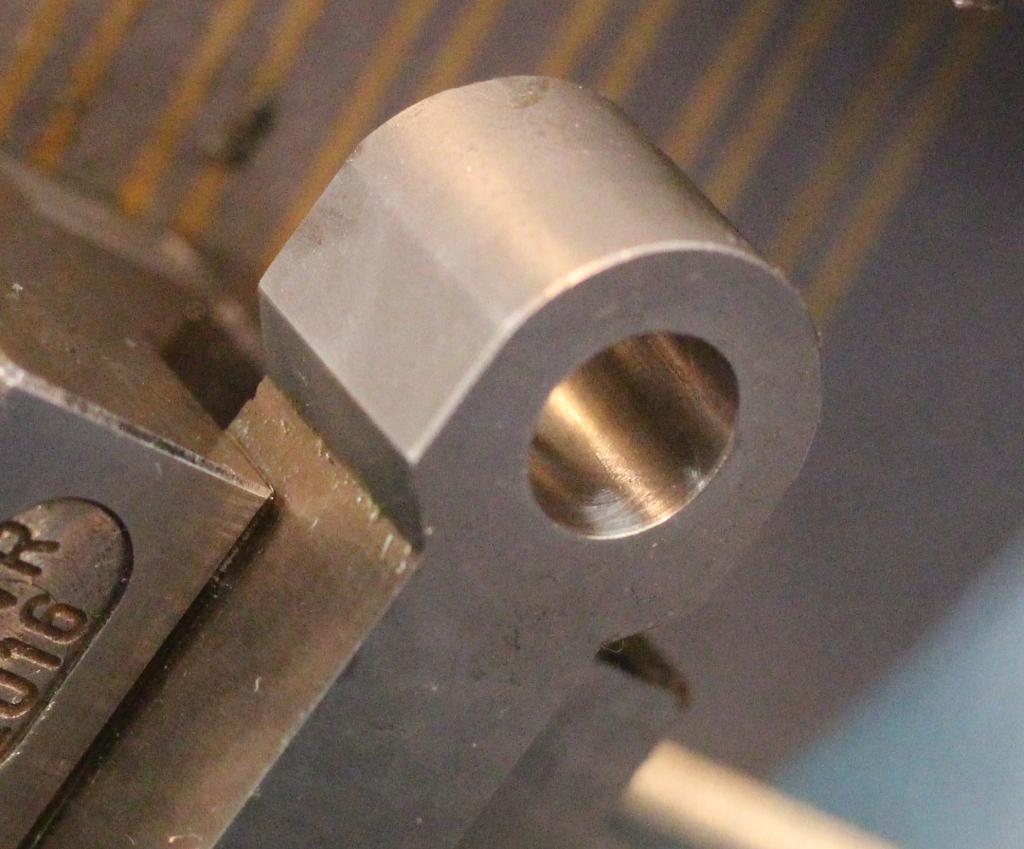
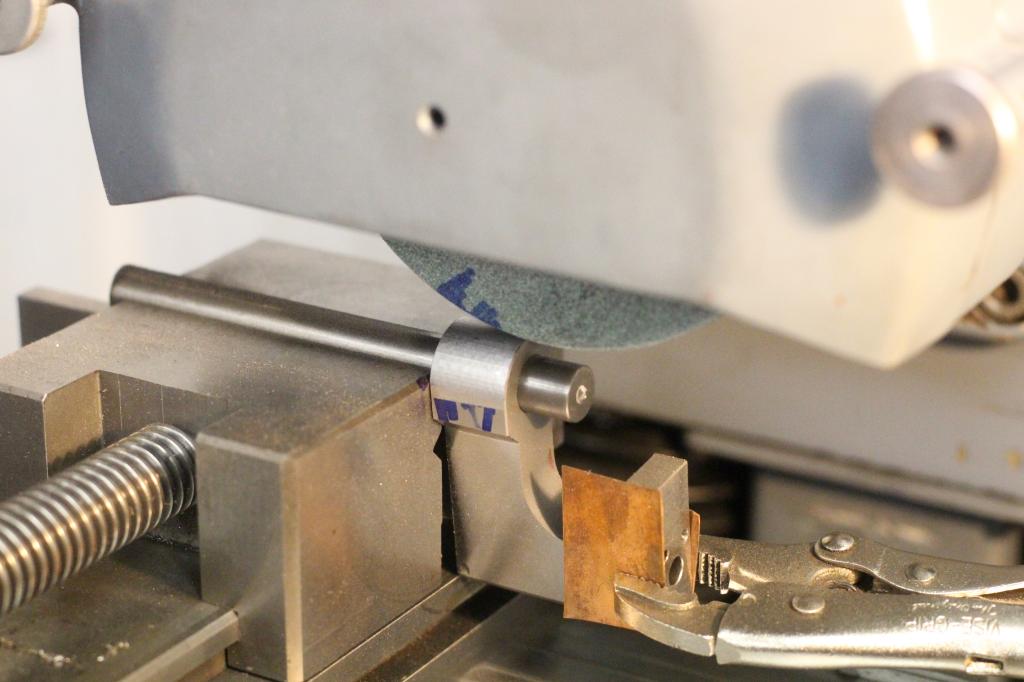
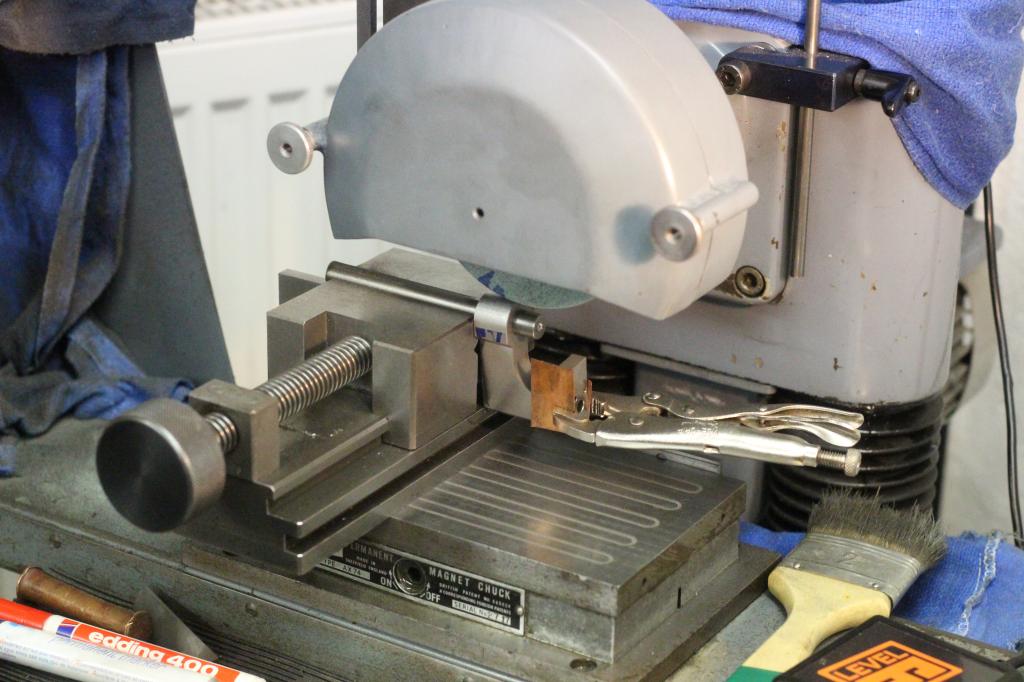
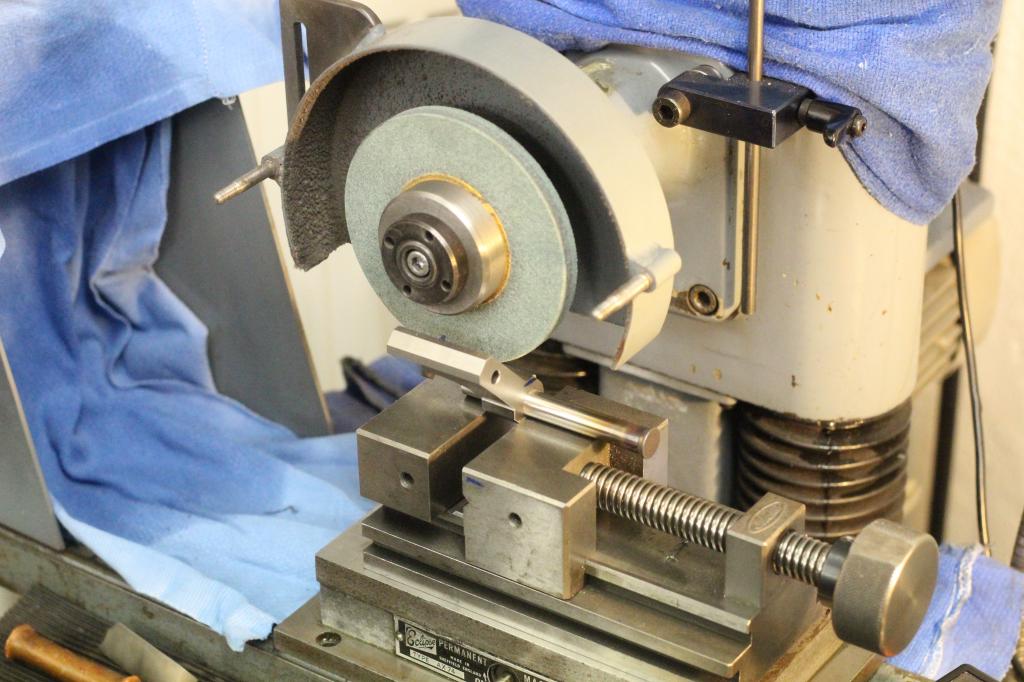
I got this idea from Robin, grinding the radius on the surface grinder by swinging the part around the central bore over a pin thats clamped in the vice.
I took several passes, each time rotating the part slightly after each individual pass. That got me a nice facetted radius, that was easily cleaned up with some stoning. The vice grip is there to give me some distance between my fingers and the grinding wheel:
Grinding the remaining 45° surfaces:

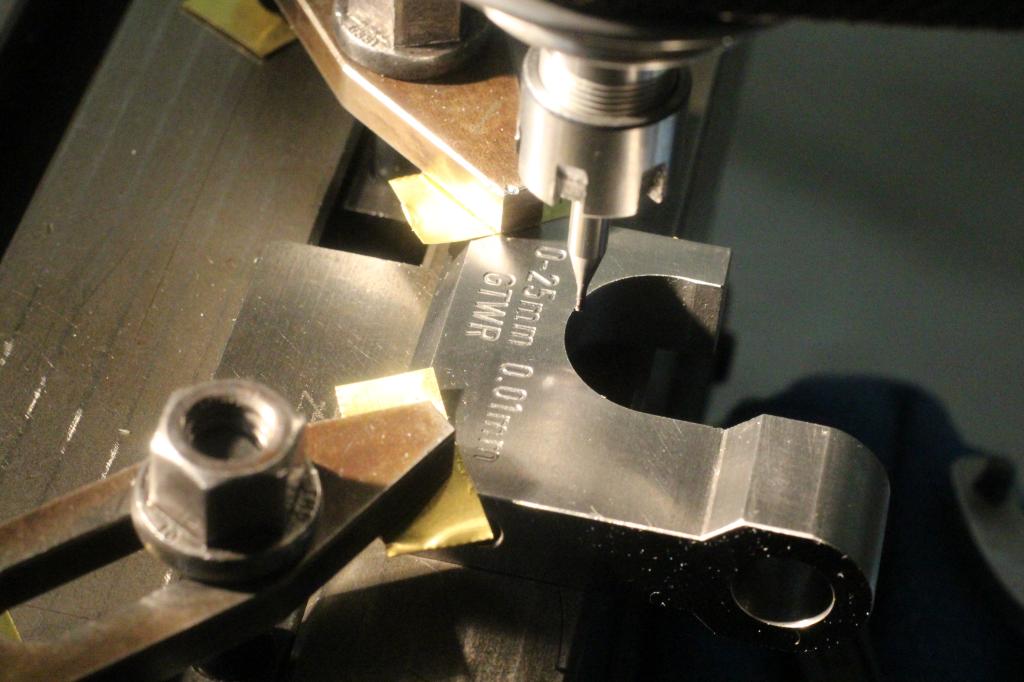
Engraving the hardened micrometer body with a 0,8mm carbide ball endmill:
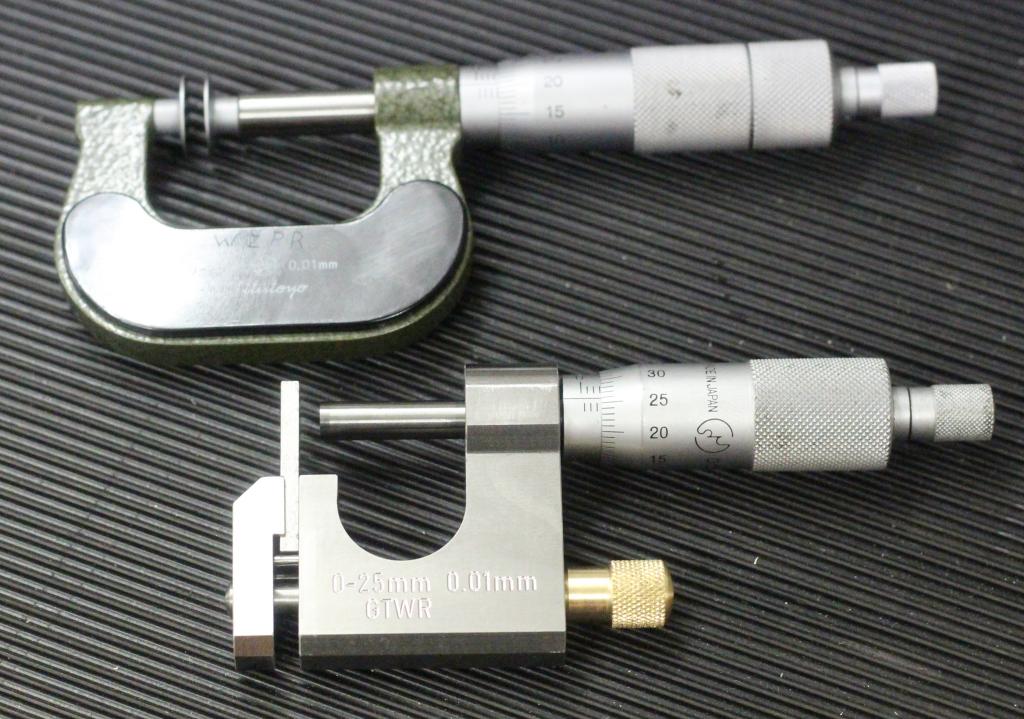
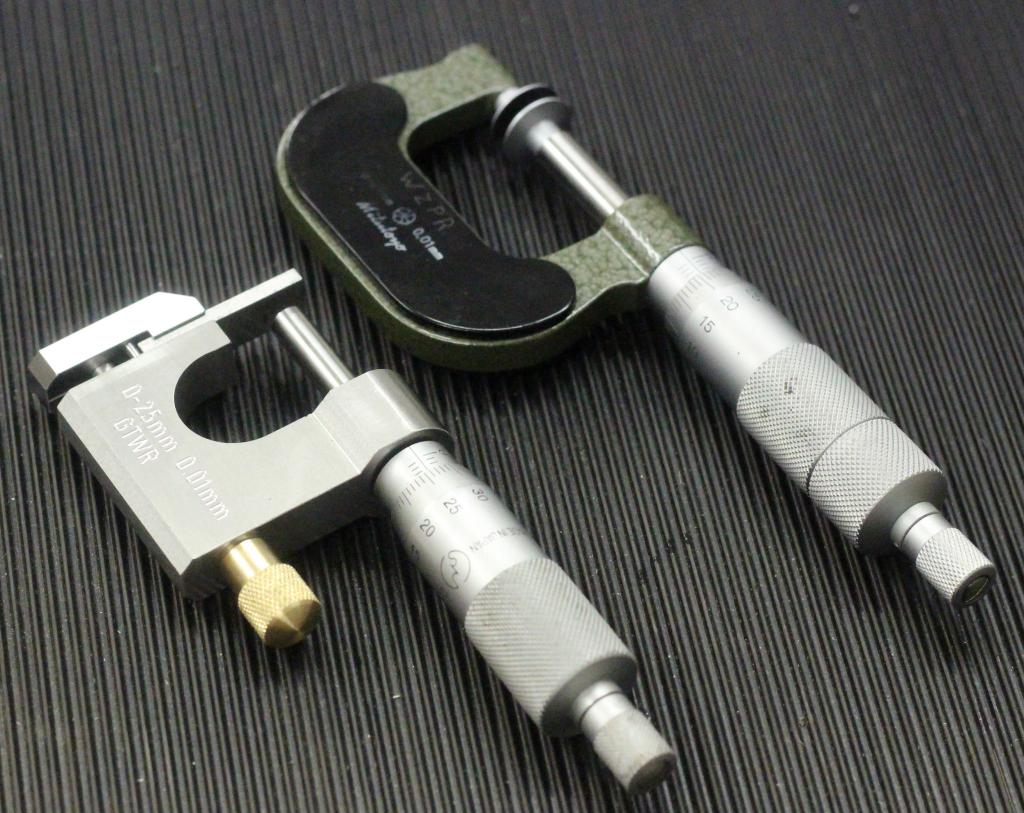
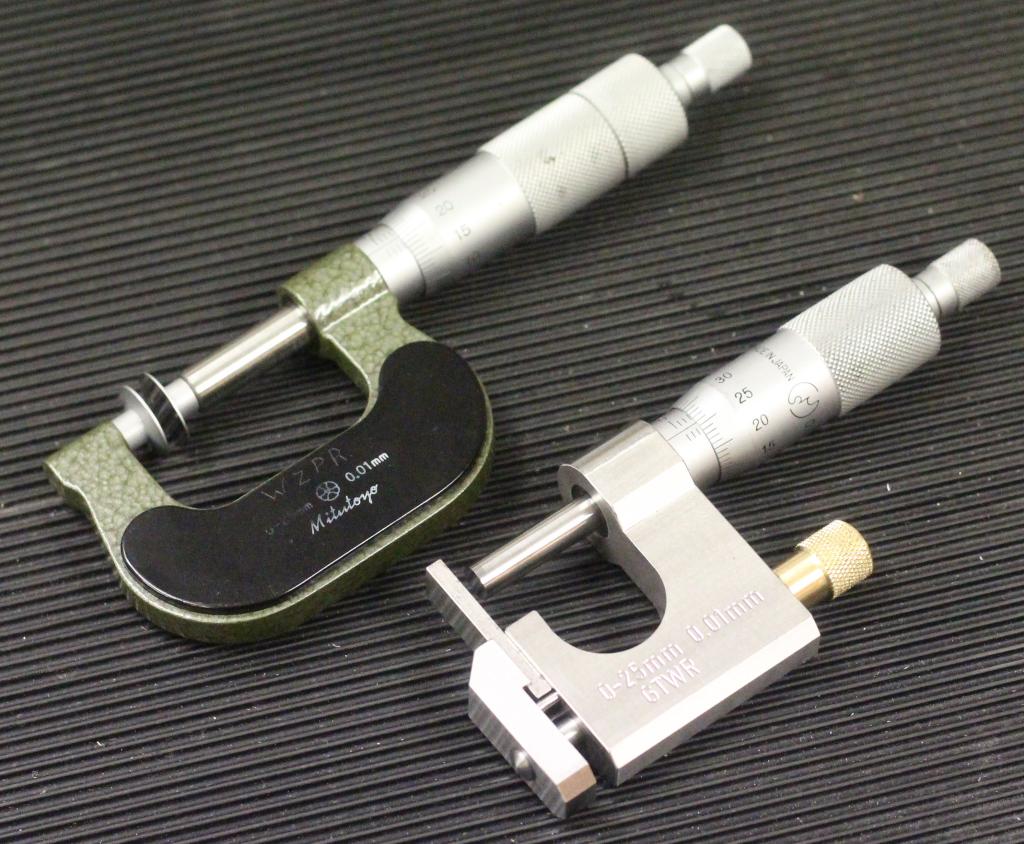
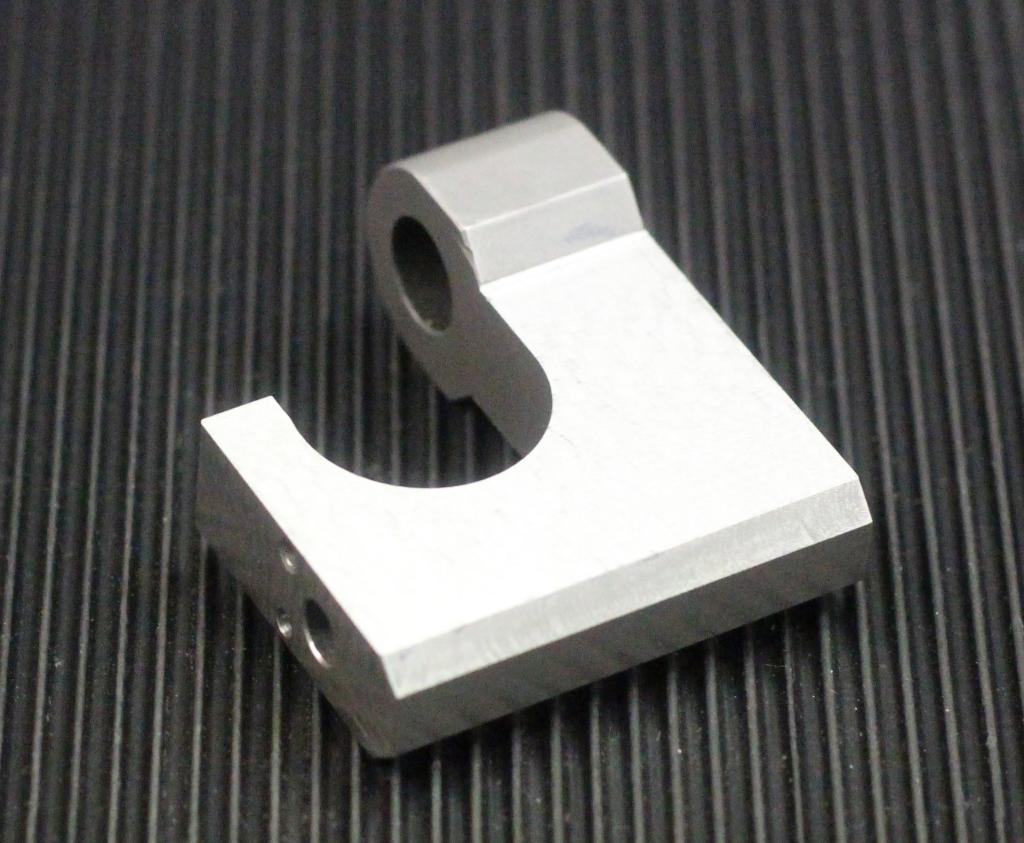
The finished universal micrometer next to a Mitutoyo disc micrometer: