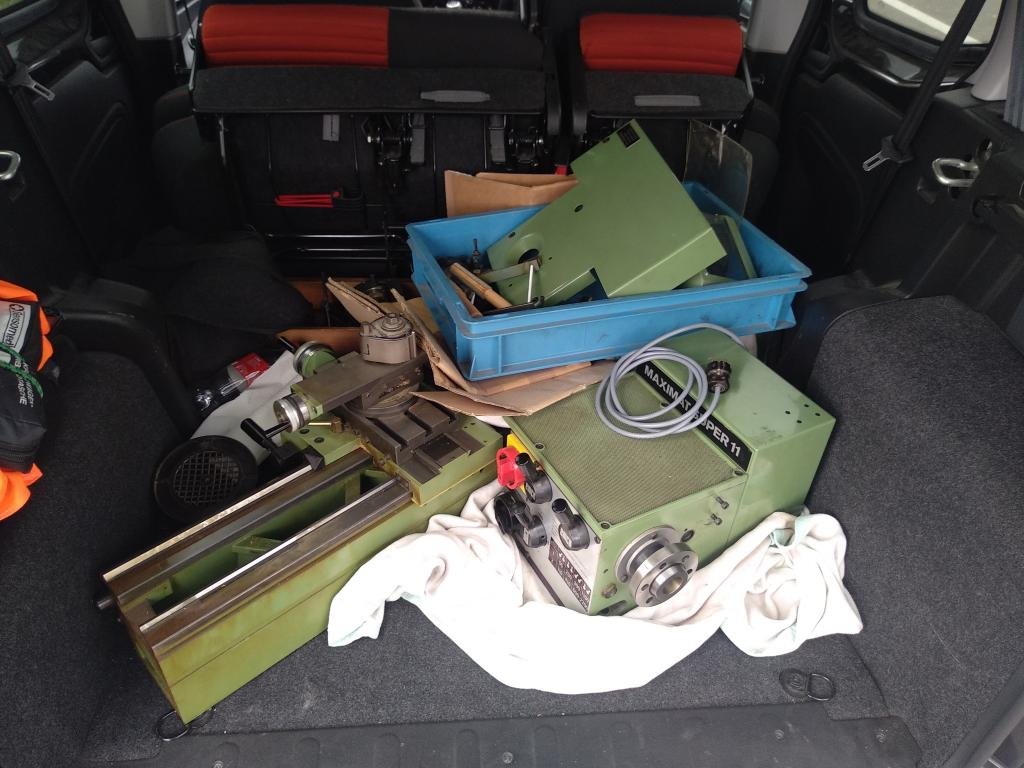
This is how I transported the machine back home, the headstock and the motor taken off the bed we where able to move all parts with two persons. In fact, only the bed requires a second person, all other parts, including the headstock, can be moved by a single person.

According to the manual, the lathe should sit on four adjustable screws to be able to level the bed and two bolts in the center to hold it down - I used spherical washers and nuts to mount it - The clamp surface is a rough casting and I didn't want to introduce any distortion by having a nut going on an angle down on it.
In addition to the four screws the manual states, I added another two screws at each extreme end of the bed, just lightly touching the bed, to give a tiny amount of additional support.
The screw heads, the machine rests on, are surfaceground flat.

The bed was leveled over the whole length without any twist.
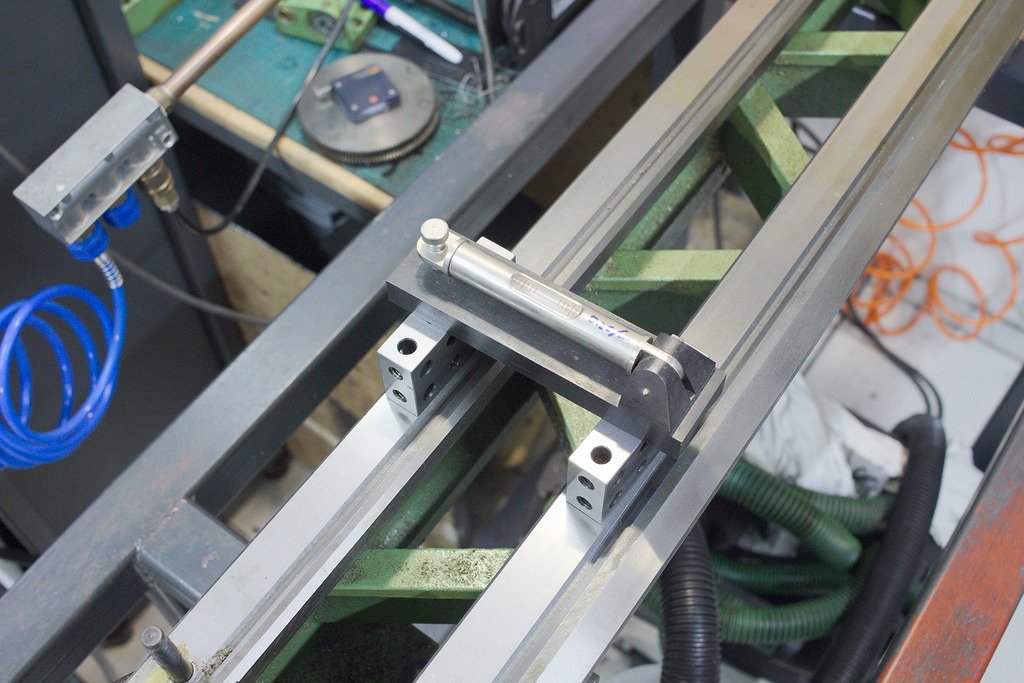
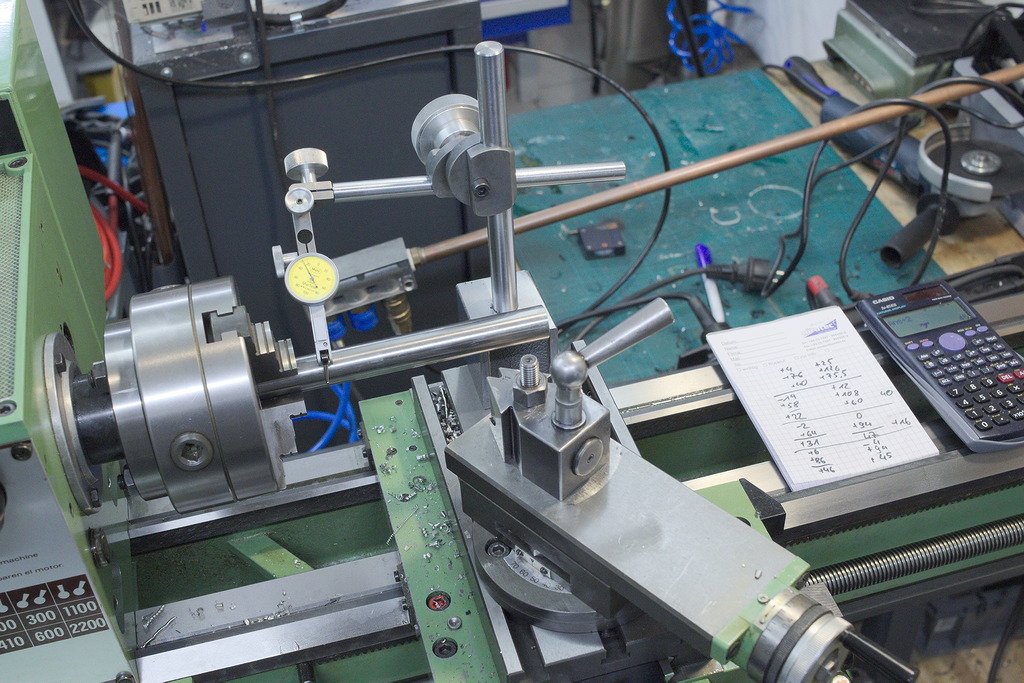
The headstock was aligned with a testbar (which does not have to be straight or running true, you can average the error completely out) and then a testcut (two collar test) was done.
At the first testcut I got it down to 0,007mm taper over 75mm distance. Its not perfect by any mean, but right within the Schlessinger tolerance for a lathe of that size.
The X-Axis linear scale (1µm resolution) was mounted on the left side of the cross slide, to give the best precision (Abbe Error can be a problem, when the linear scale is mounted to the right side of the cross slide and the slide rotates/pivots around its vertical axis by the amount of slop in the slideway.)
It will later be completely covered by a sheetmetal cover (1,5mm stainless steel).
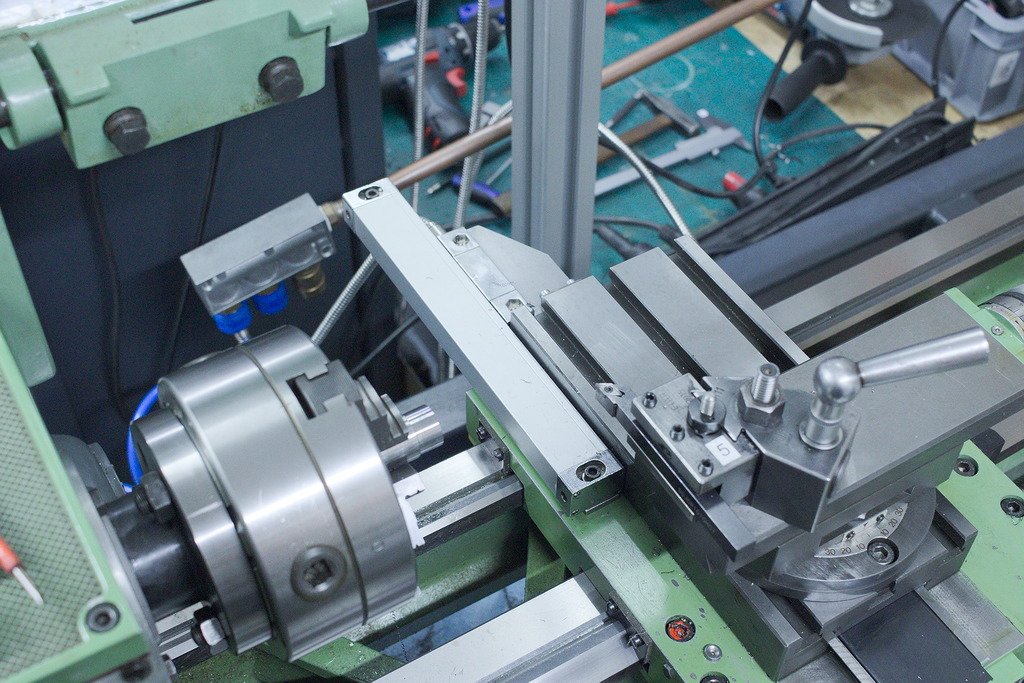
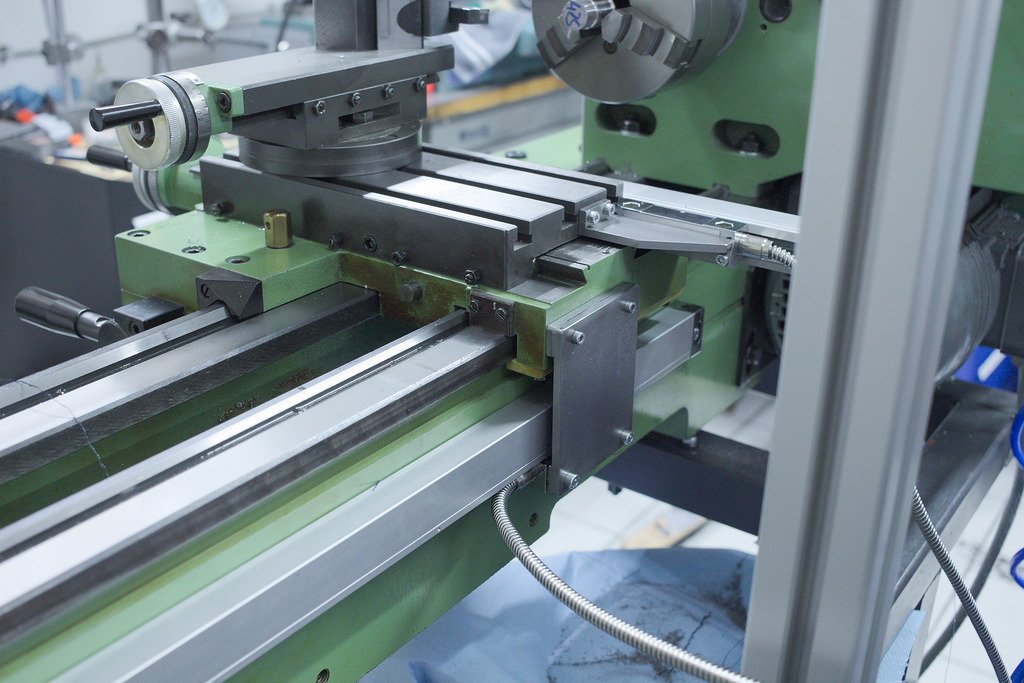
The Z-Axis linear scale is mounted more traditional, behind the bed, right against the back which is machined flat (Paint needs to be scraped off where the scale mounts).
A bracket connects the scale to the carriage.
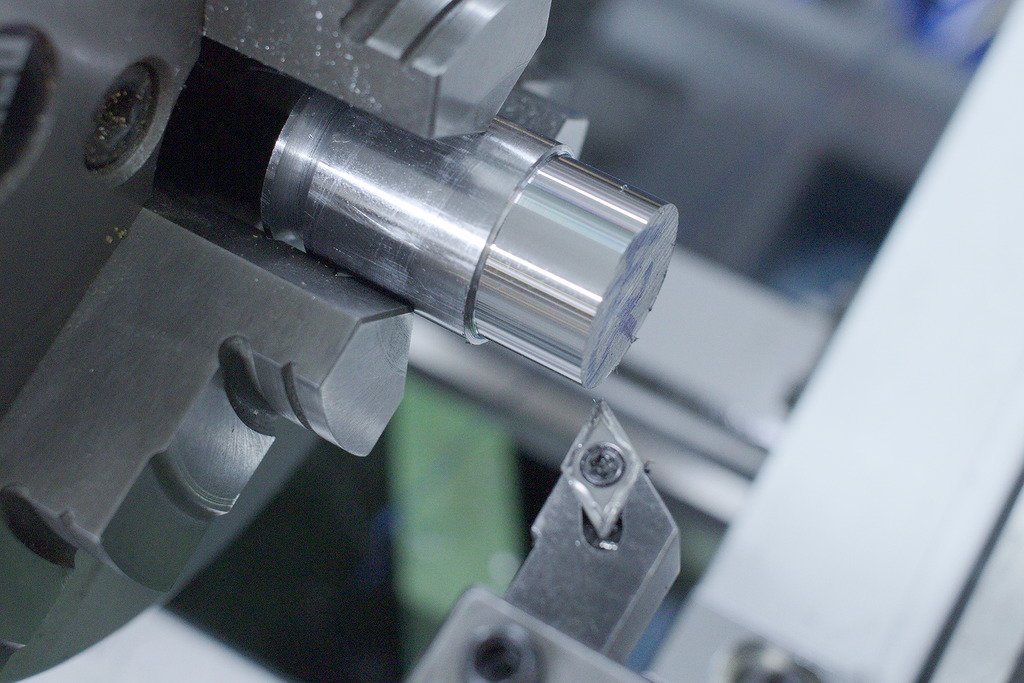
Just a random testcut in some 42CrMoS4 (4140), to see the surface finish possible:
