I did also a video where I show the whole process:
Knuth KSW - Engraving the dials
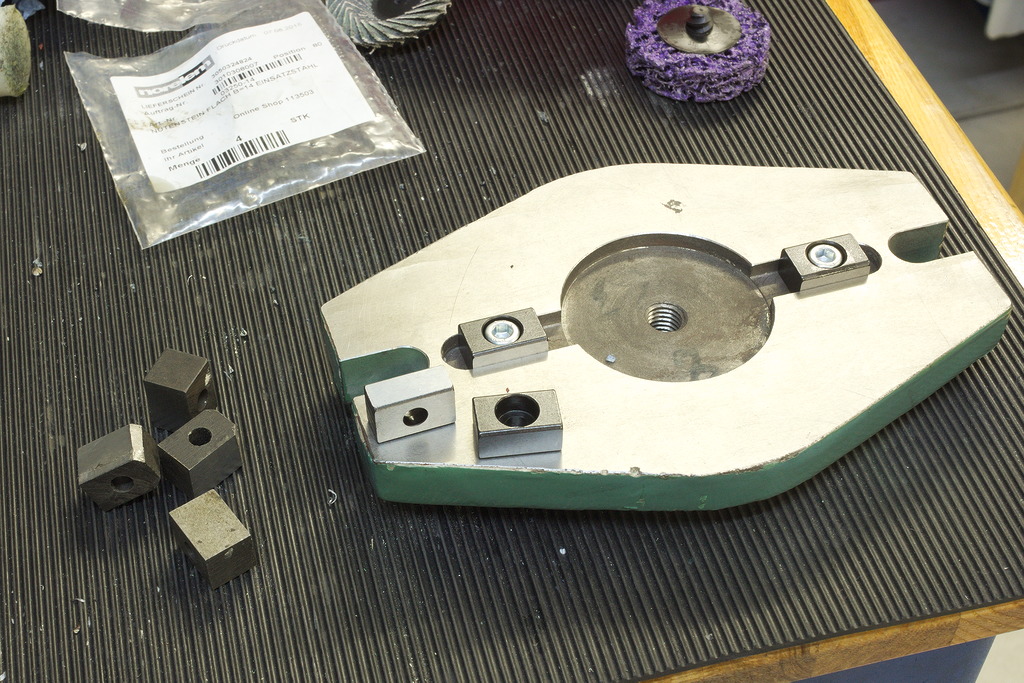
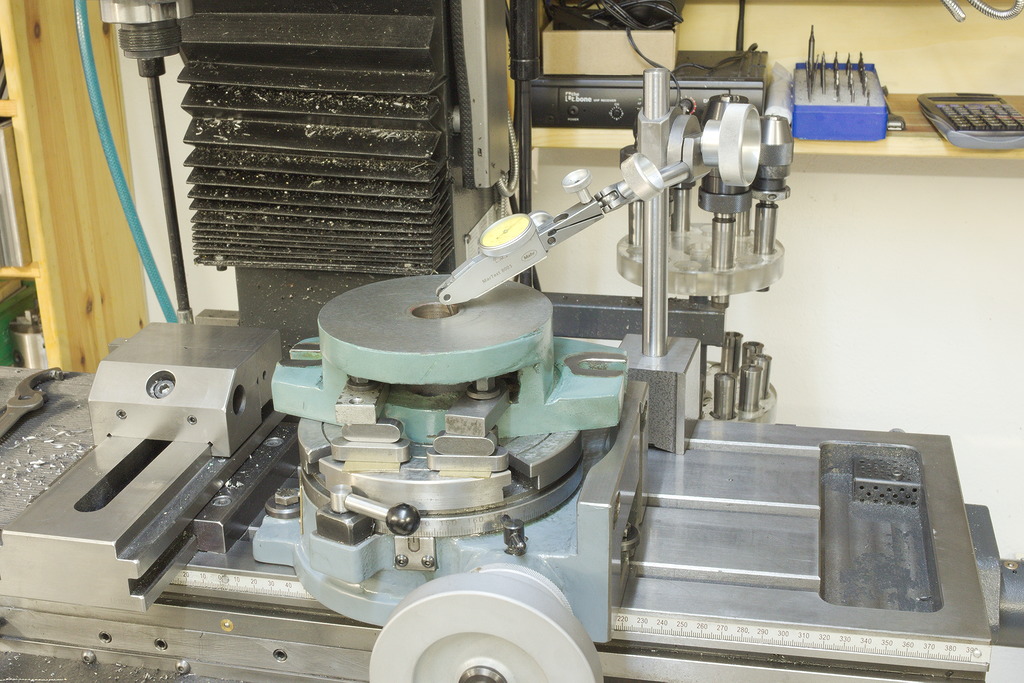
Starting with the base of the motor driven workhead, it is clamped to the rotary table and centered:

Then a ball endmill is used to clean up the casting, create a clean, true running surface concentric to center of the base:
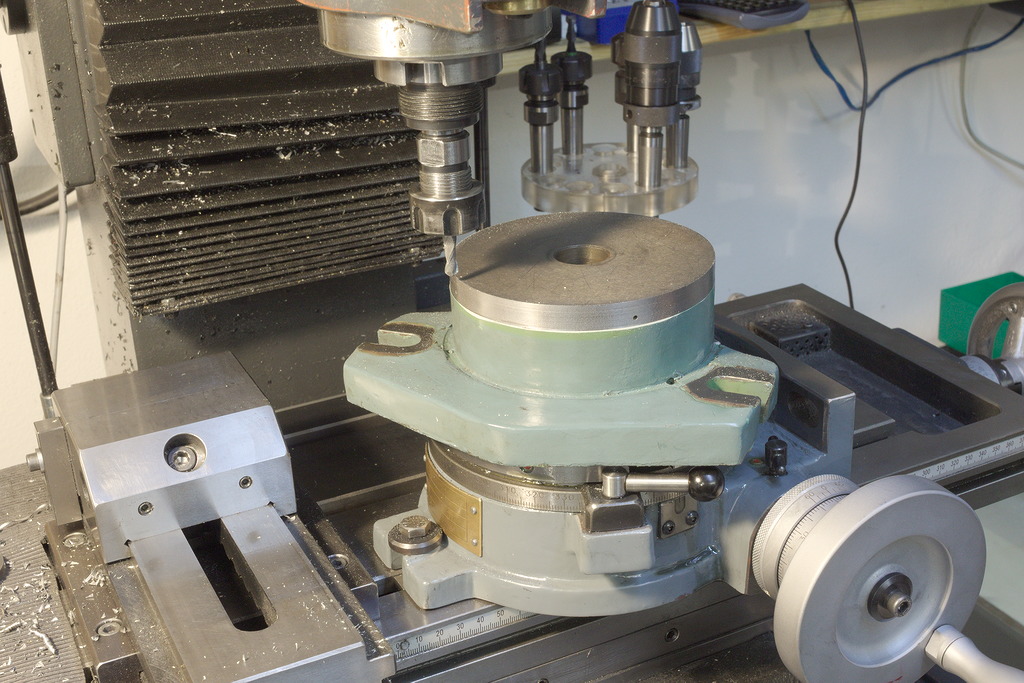
The lines of the dial where cut on the milling machine, with the quill of the mill locked, using a very narrow V-tool to shape the lines with the quill stroke.
This is a very clean and precise way to cut graduations, the length of the lines can be very accurately set via the depth stop of the milling machine.
The whole rotary table with the workpiece still in place is then carried over to the engraving machine and setup to cut the numbers.
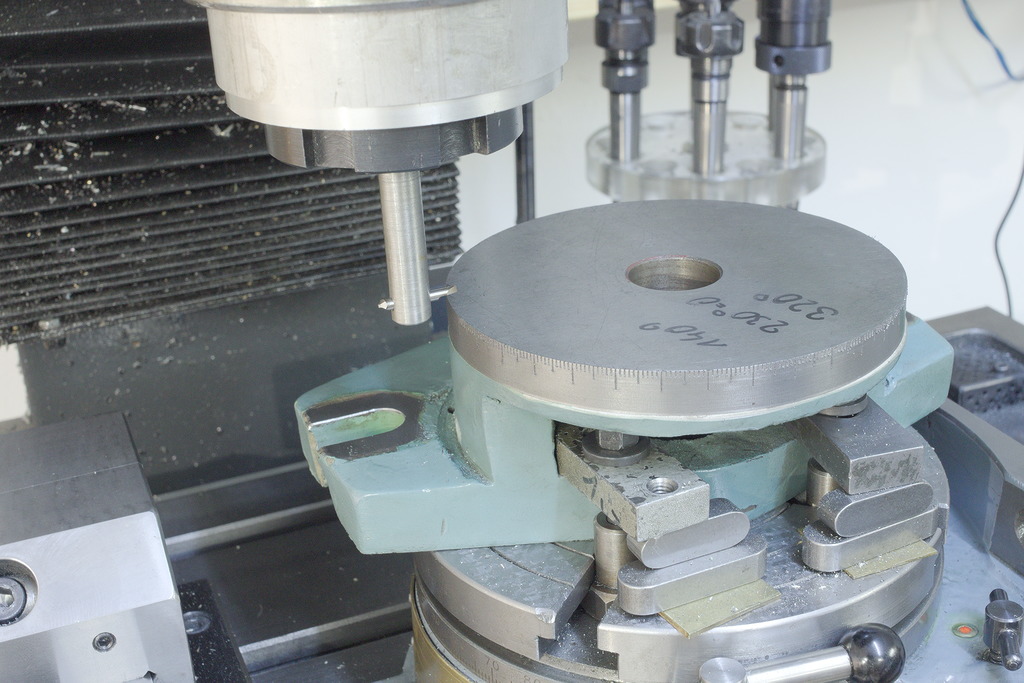
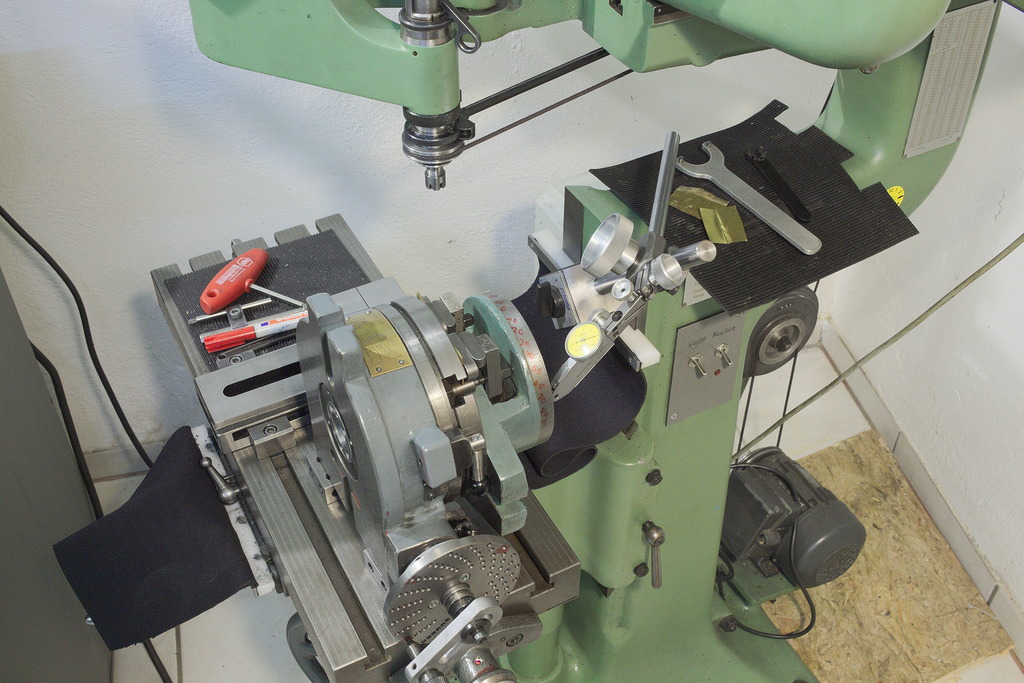
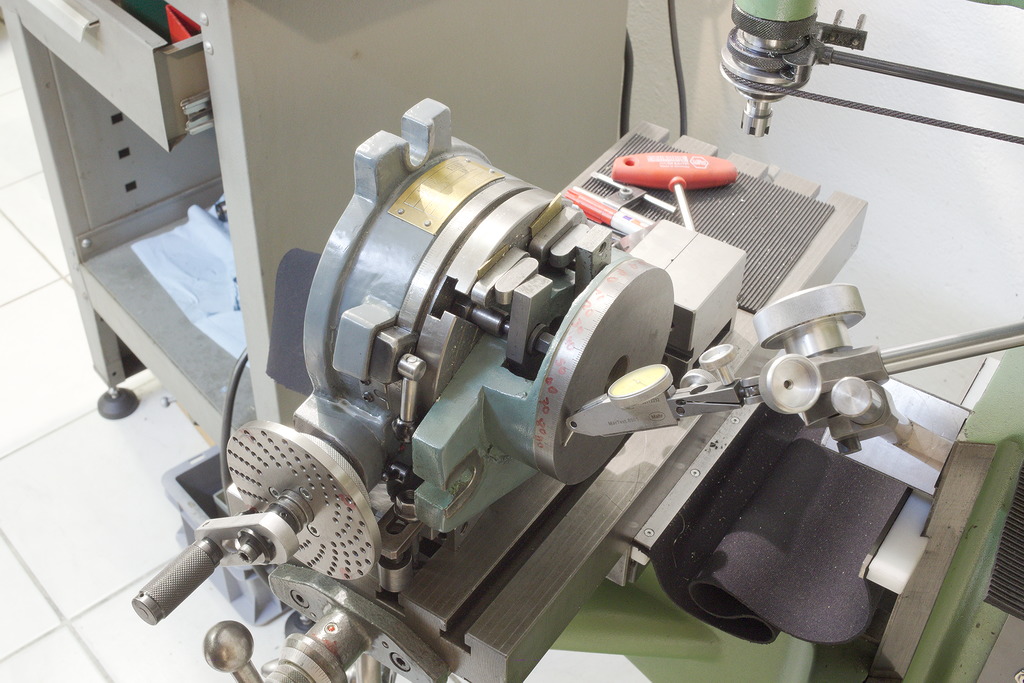
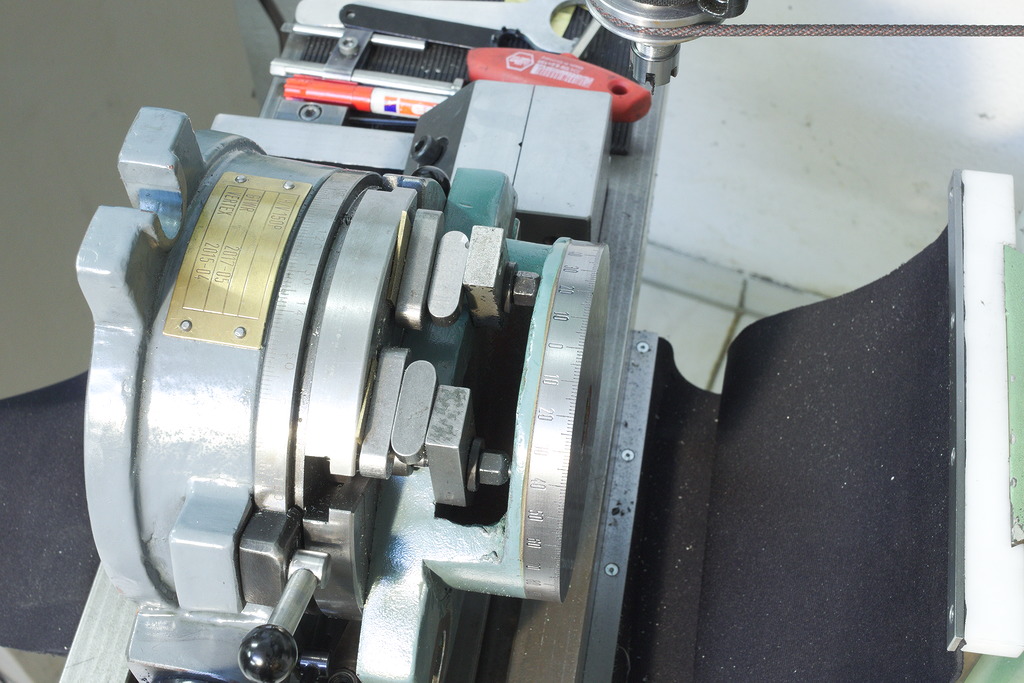
Comparing the original riveted on dials vs. the engraved ones – I think the difference in quality is obvious ;-)
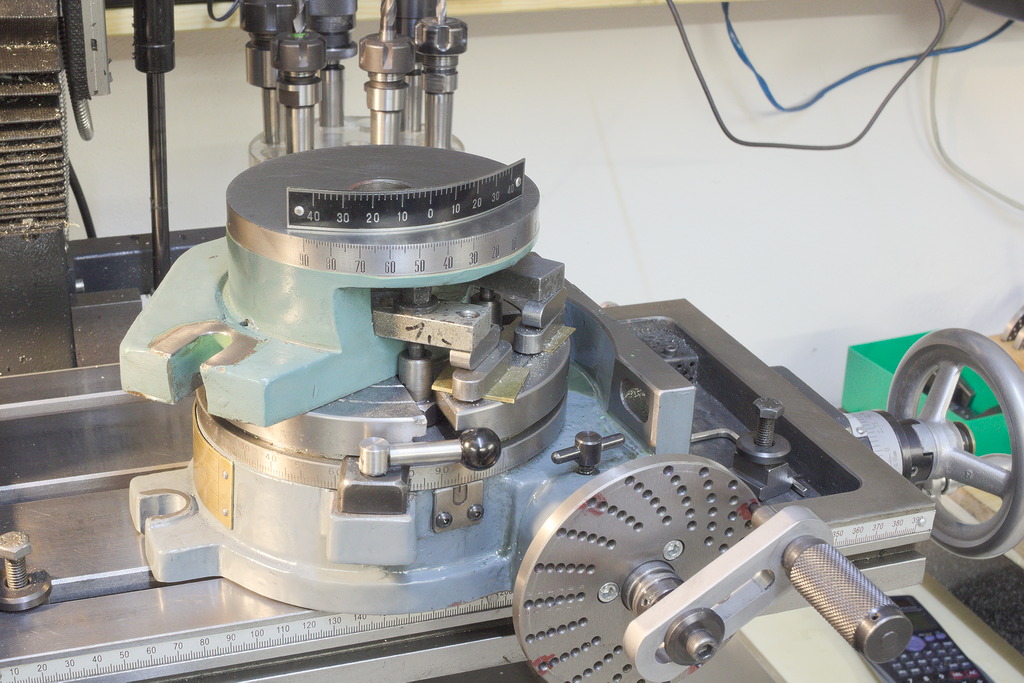
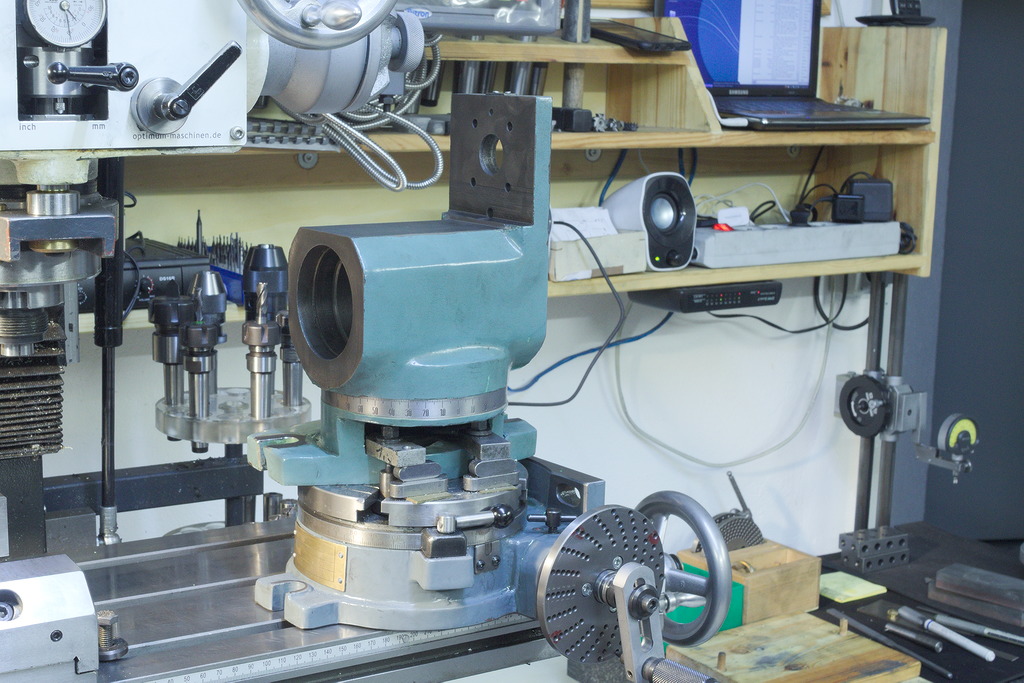
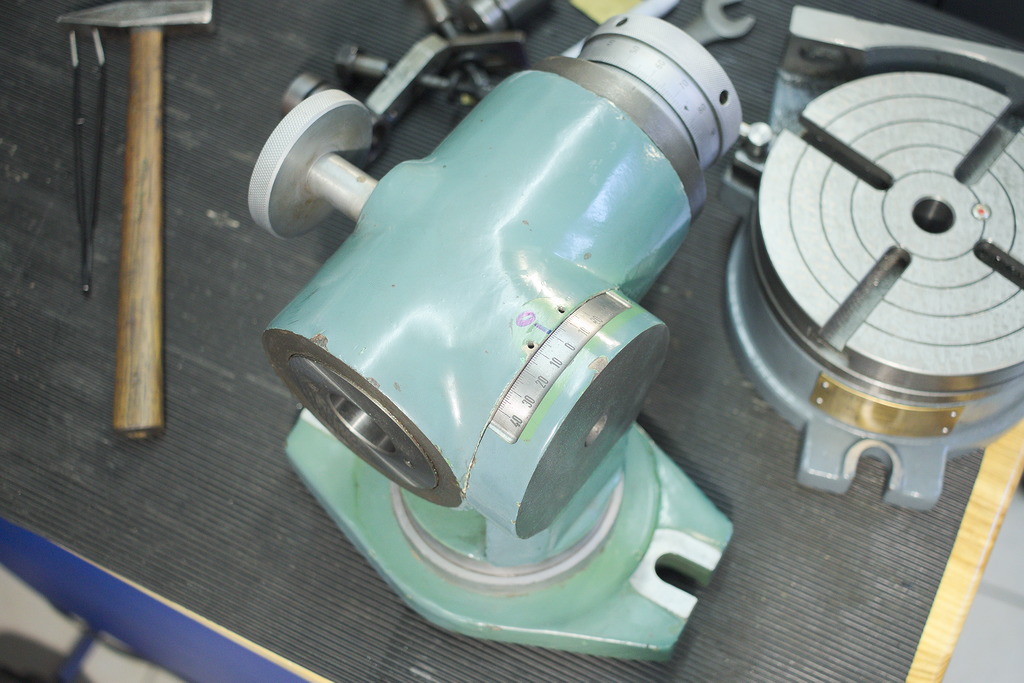
Next part is the angle bracket for the universal dividing head, this needs also a new 40-0-40° dial. Setting it up is a bit awkward because of its shape.
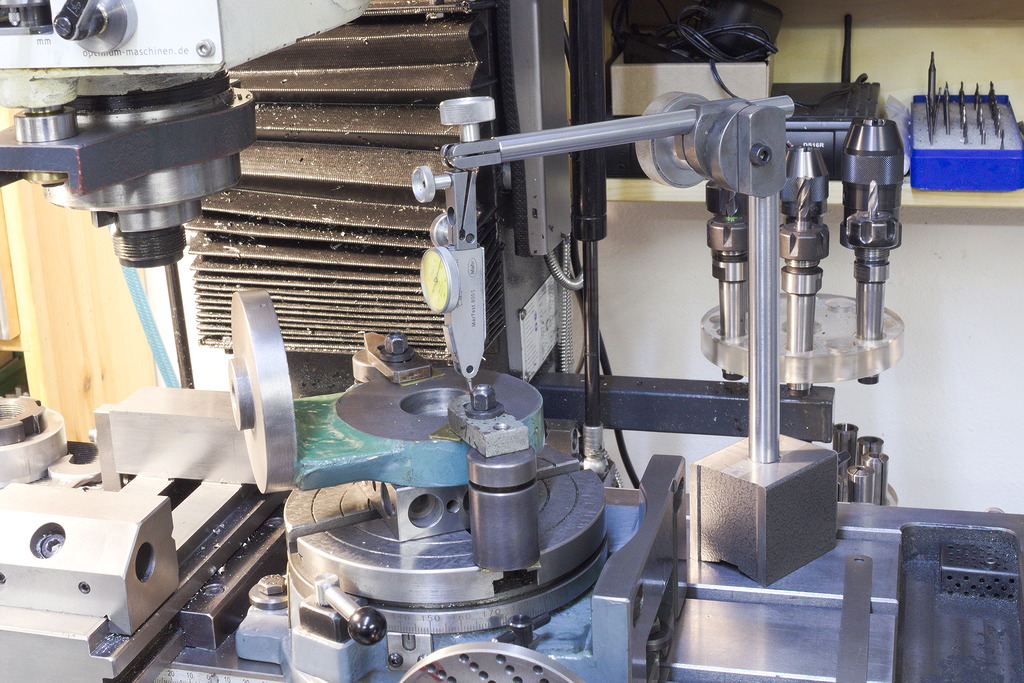
Apart from the weird shape, it is just the same process as before. Machining a true surface, shape the lines and engrave the numbers:
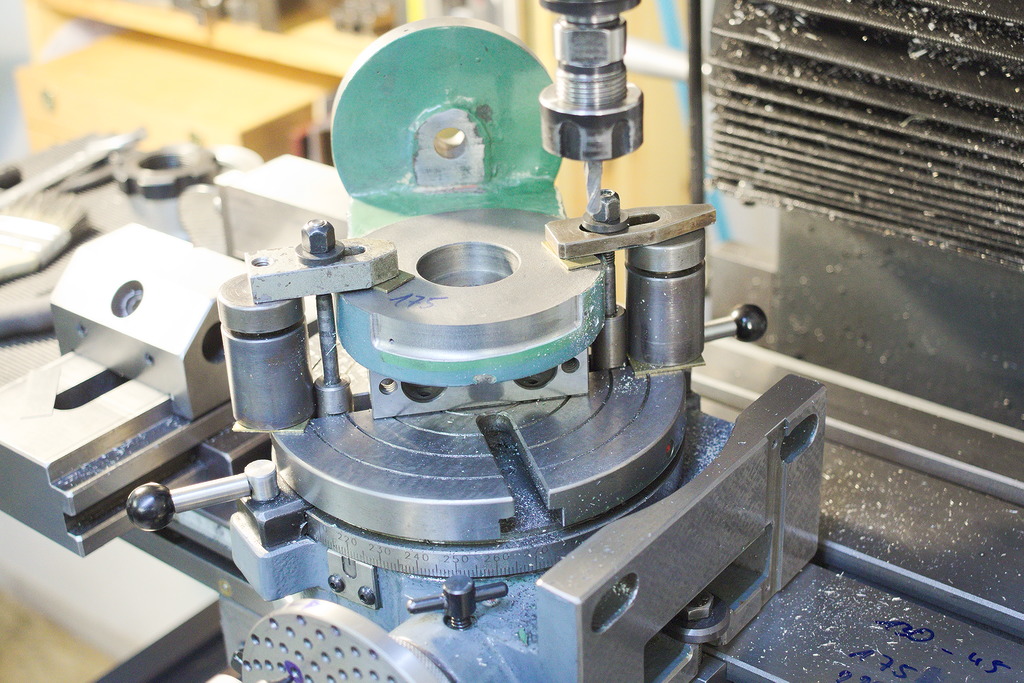
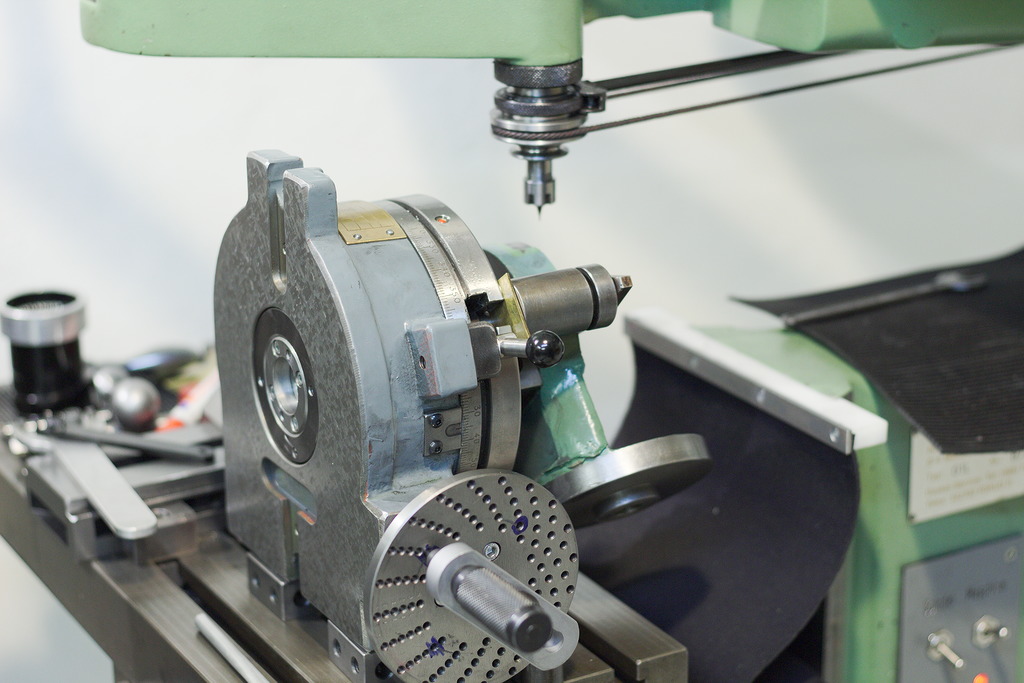
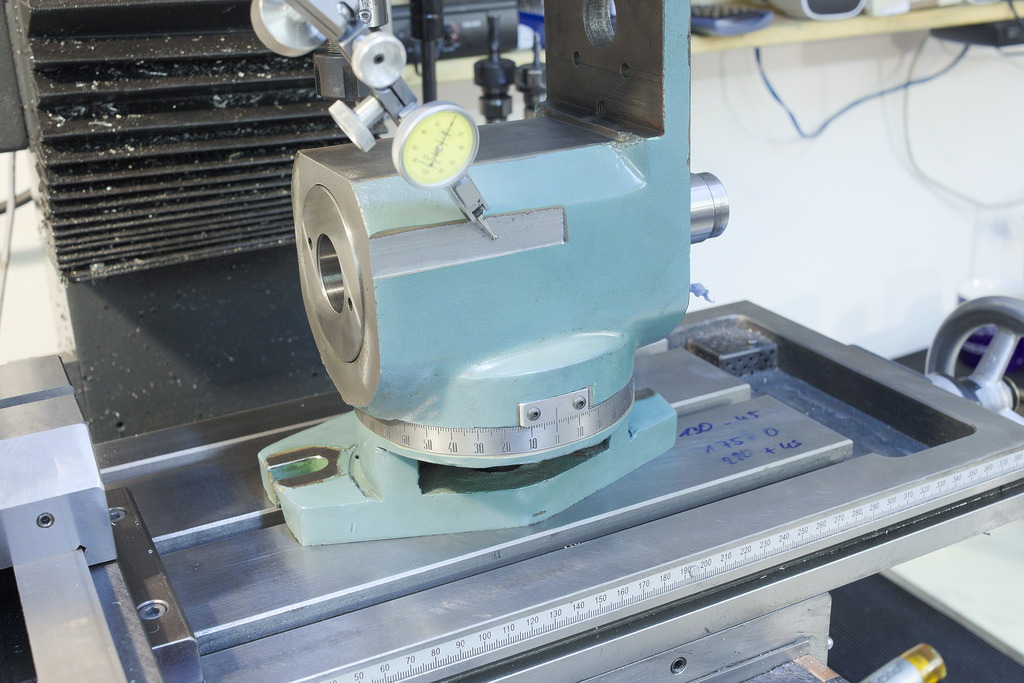
I also machined a reference surface to indicate the workhead perfectly true to the movement of the table:
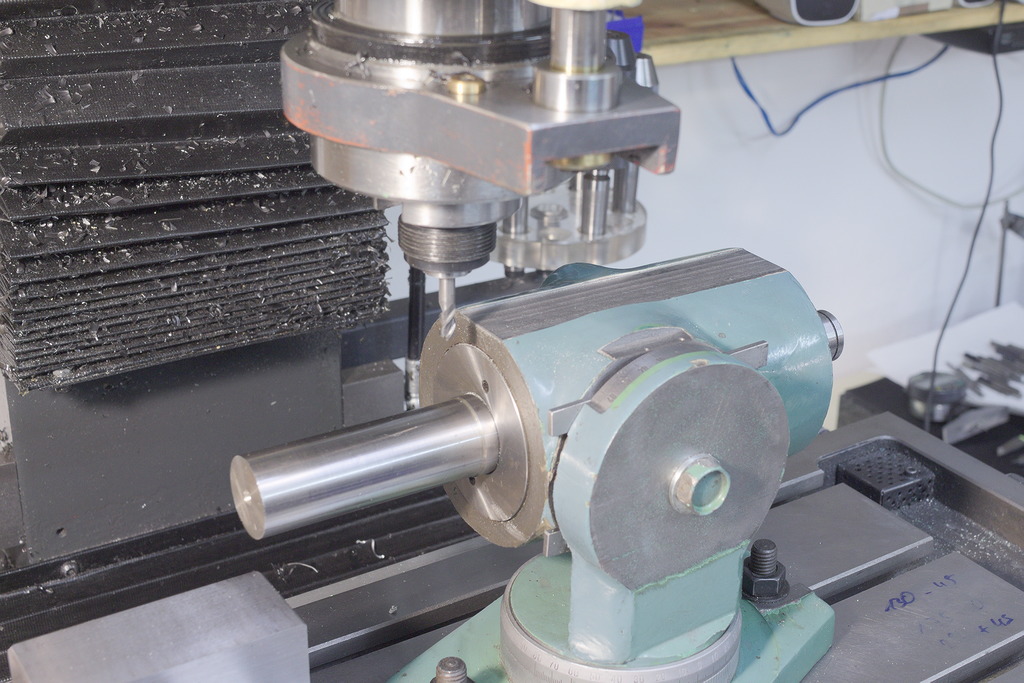
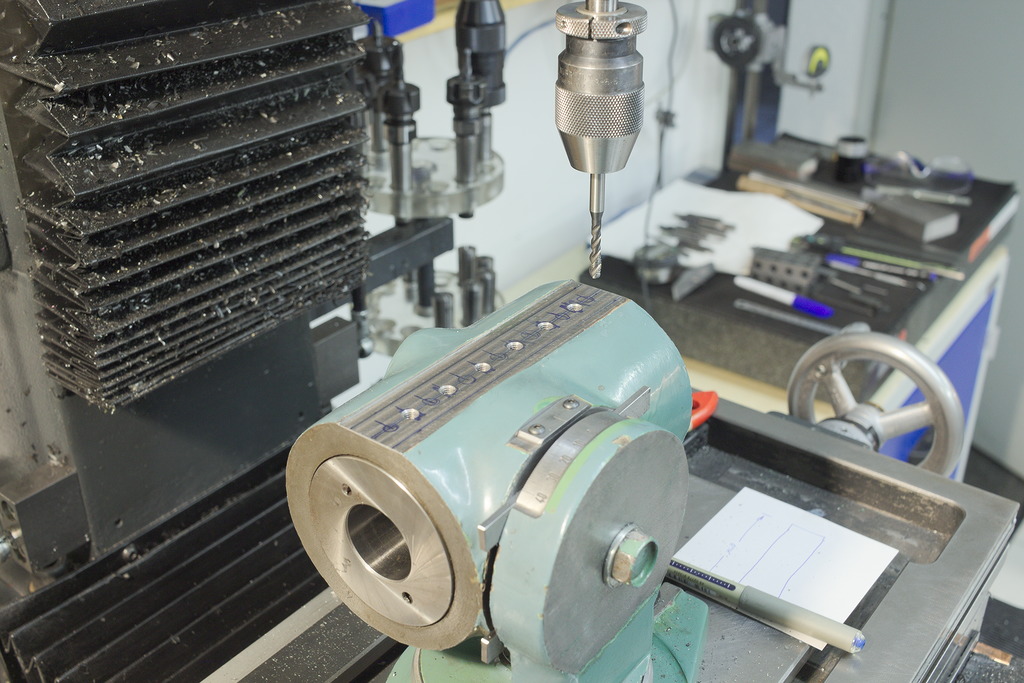
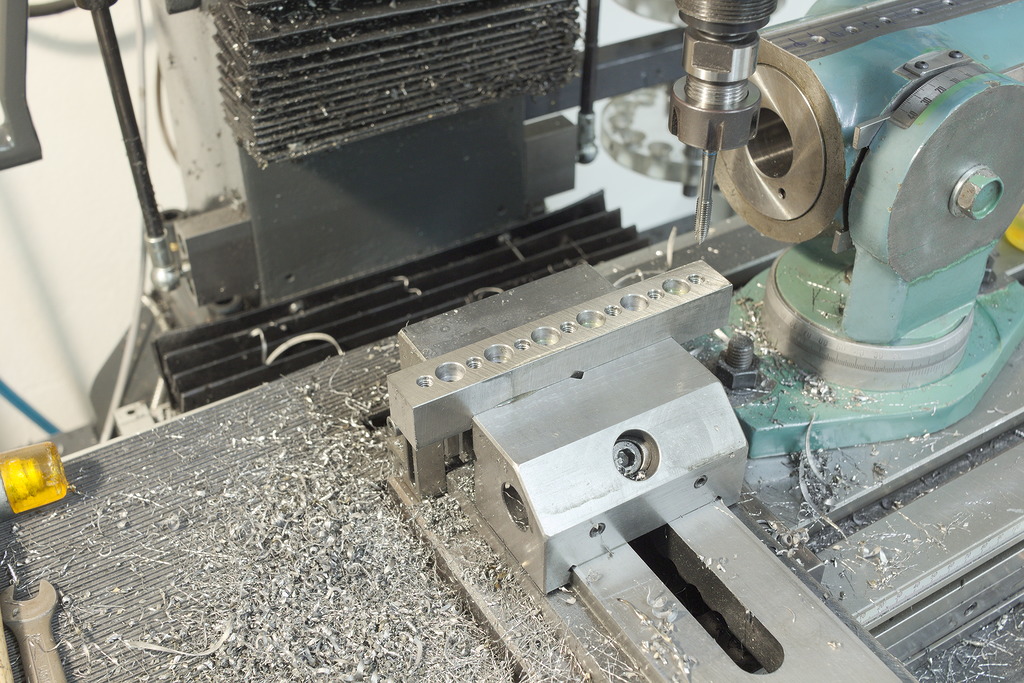
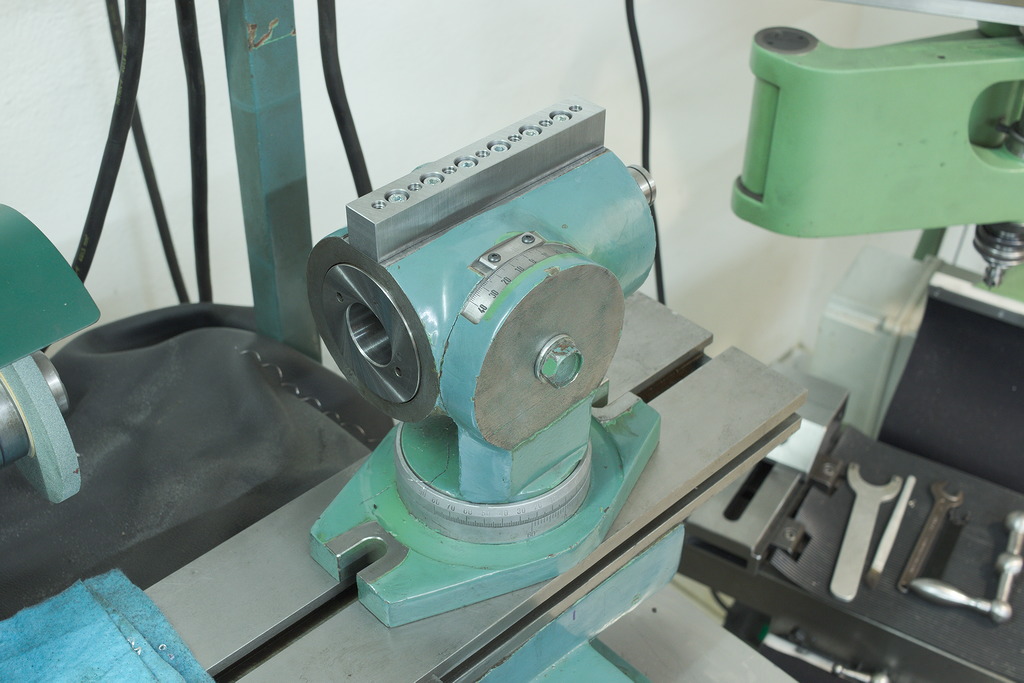
The top of the universal dividing head got also a flat machined onto, on which a rail out of toolsteel with a bunch of M6 threaded holes got bolted to.
This rail allows to mount accessories like a diamond dresser, tooth rests, a microscope, indexing plunger and more. The rail will get hardened and ground.
Another important small detail are the precision keys that locate the accessories in the t-slot of the grinder.
The original ones are not very precise – I ordered some off-the-shelf precision keys, that are hardened and ground that fit in without any modification.
