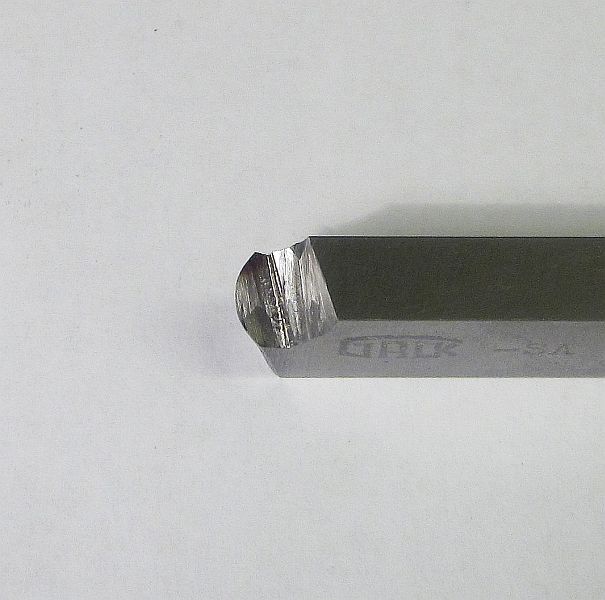
Most used tools, they are used to cut all sorts of surfaces, steps and chamfers. The neutral one is very usefull for roughing a flat surface, as it can cut in both directions.
It is a very good idea to round the cutting tip very lightly with a fine stone - This improses surface finish and reduces the cutting forces.
When shaping a step, you start out with roughing cuts and leave some stock for finishing.
When going for the finish cut you start with the horizontal surface until you approach the vertical wall, then you feed the tool up to finish the vertical wall. It is a good idea to do more than one finishing pass, so you can check your dimensions in between:

With the left and right tool you can machine dovetails. Same procedure as before, after roughing the angled wall and the bottom surface are cut in one pass:


Generally the same as the full sized tools, but they are faster to grind as they are not as massive.
Produces very good finishes, even with heavy feed. Depth of cut should not exceed 0,1...0,5mm, the cross feed can be as big as 0,25...0,5mm.
With similar tools and even bigger feed the tables of machine tools where finished (Washboardlike surface, like on the Deckel milling machines).
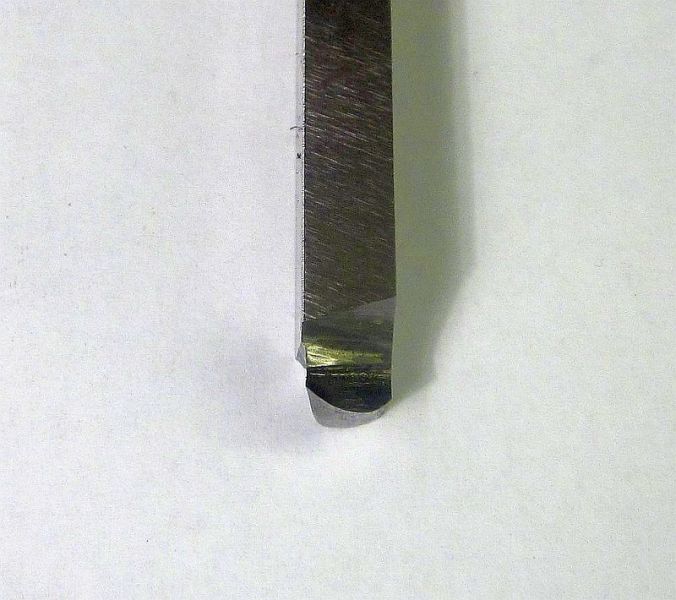
The nose radius is about 20mm:
The cutting edge is angled about 30°:
Such a tool produces a nice surface even in the most horrible mild steel:

When the stroke lenth of the shaper is set very carefull and the ends are reliefed, you can also machine such "internal" surfaces:
Youtube video for the operation shown in the last photo.

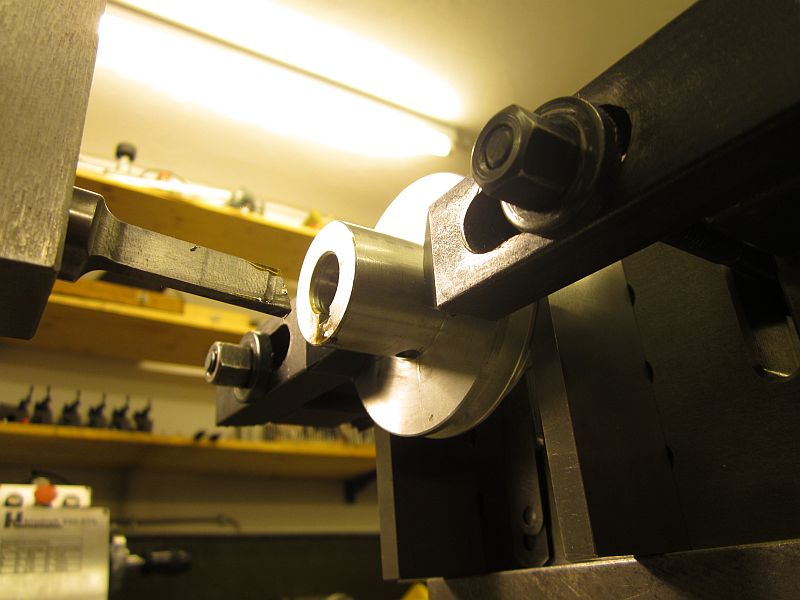
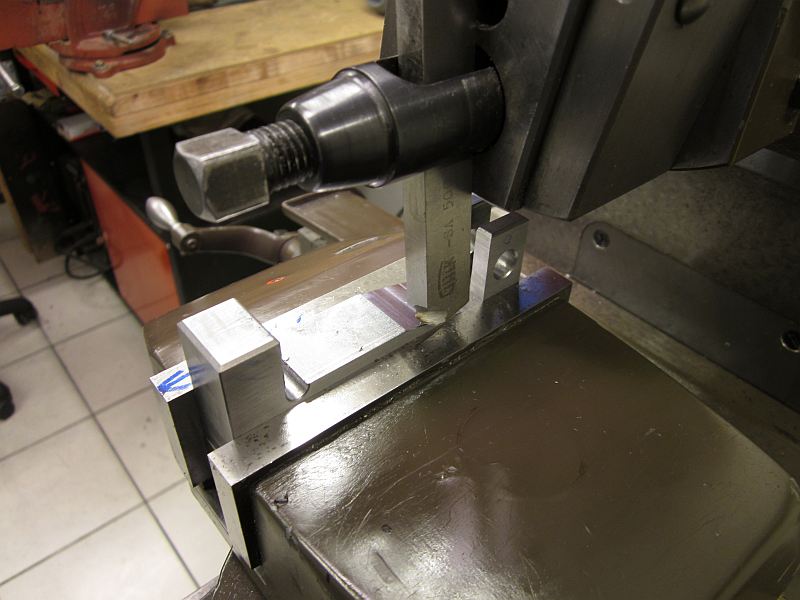
This is the slotting tool holder that the previous owner of my machine made. It replaces the normal clapper box and is way more rigid than that style of slotting tool that clamp in the clapper box.
The bore for the slotting tool itself is drilled at 5° angle to give it the required clearance angle:

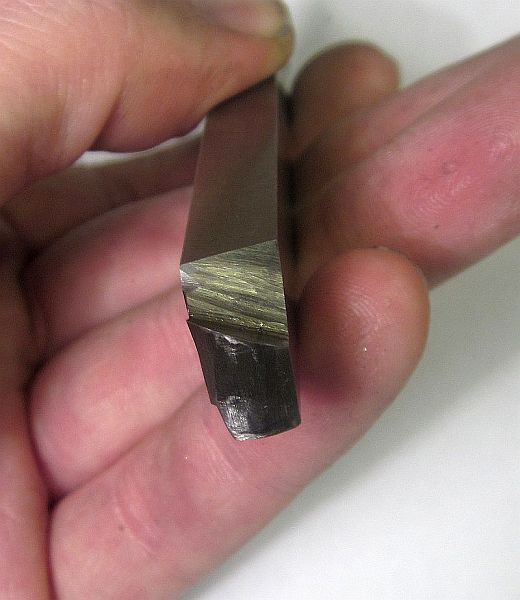
The tools are machined from drillrod and hardened. The tip has the with of the slot to be cut, behind the tip it is relieved, so it doesn't rub or bind.
Generaly speaking, you can not machine a blind slot on a shaper. One trick to do it anyway is a relief hole at the end of the slot to give the chips some space.

Here a real world example for a blind keyway slot in an alumium pulley - The relief hole for the chips can be seen: