It was time to re-arrange my machine shop a bit – I have two separate rooms, the smaller one contains my manual milling machine and the lathe, the bigger one has the surface grinder, CNC mill and all the support equipment like bandsaw, hardness tester, measuring microscope and drill press.
Storage room in the shop is always a problem and very sacred – I had a drawer cabinet that I got from my old day job in very rough condition in the basement.
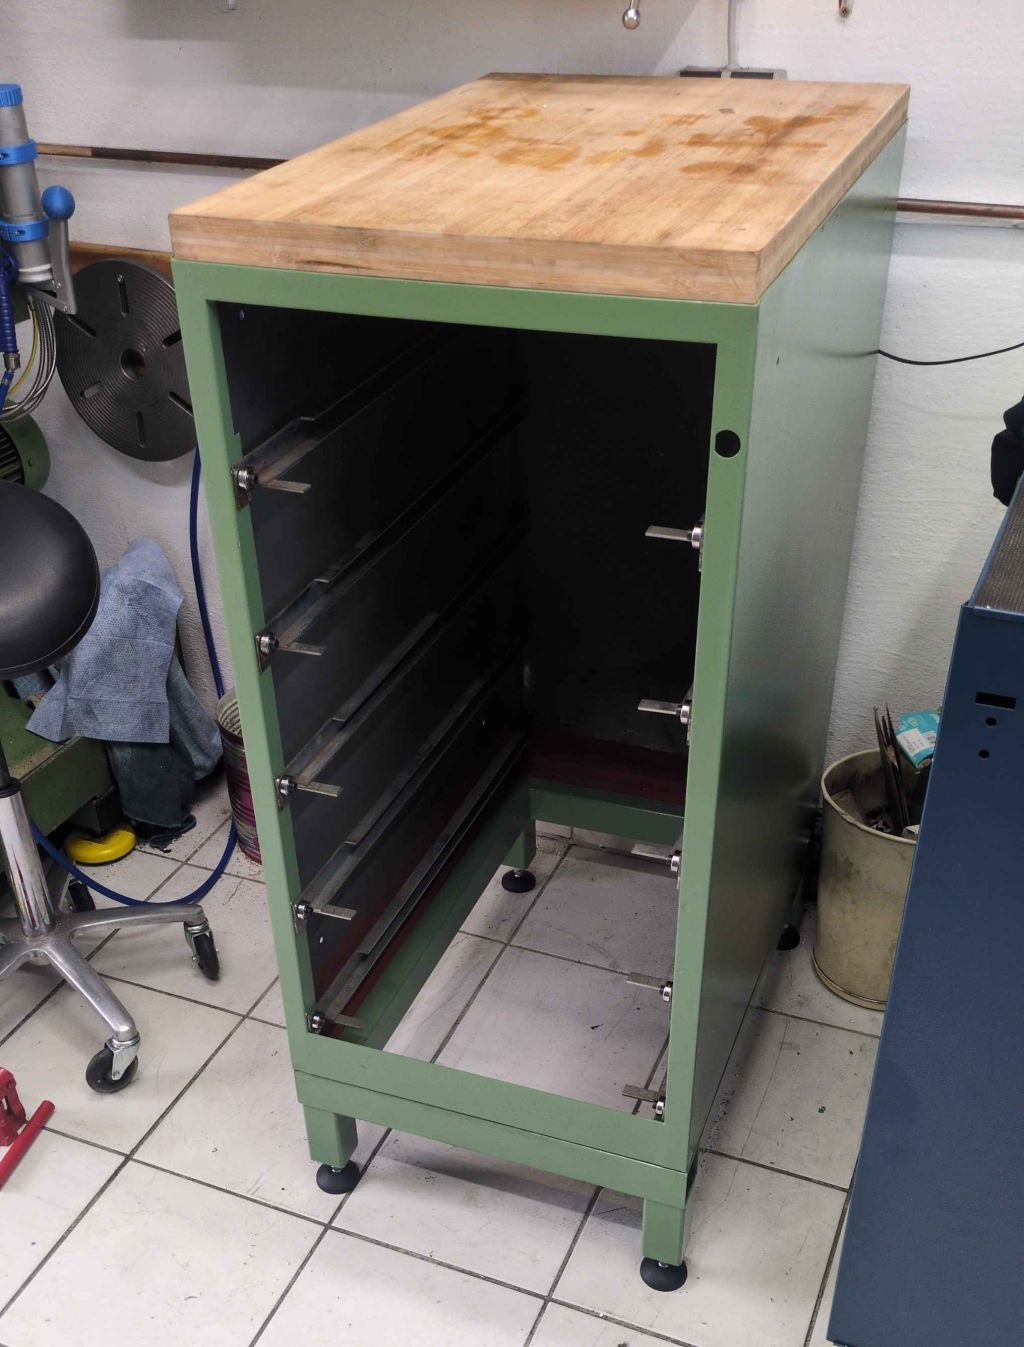
It is an original Deckel accessories cabinet, they were supplied with different drawer layouts and inserts depending on the machine they were matched to and what accessories the customer wanted to use.
I decided to refurbish the cabinet and move it into the shop, giving me a lot of additional drawer space. It has a larger footprint than the cabinet currently in that spot, but by moving the lathe I was sure to be able to make it work.
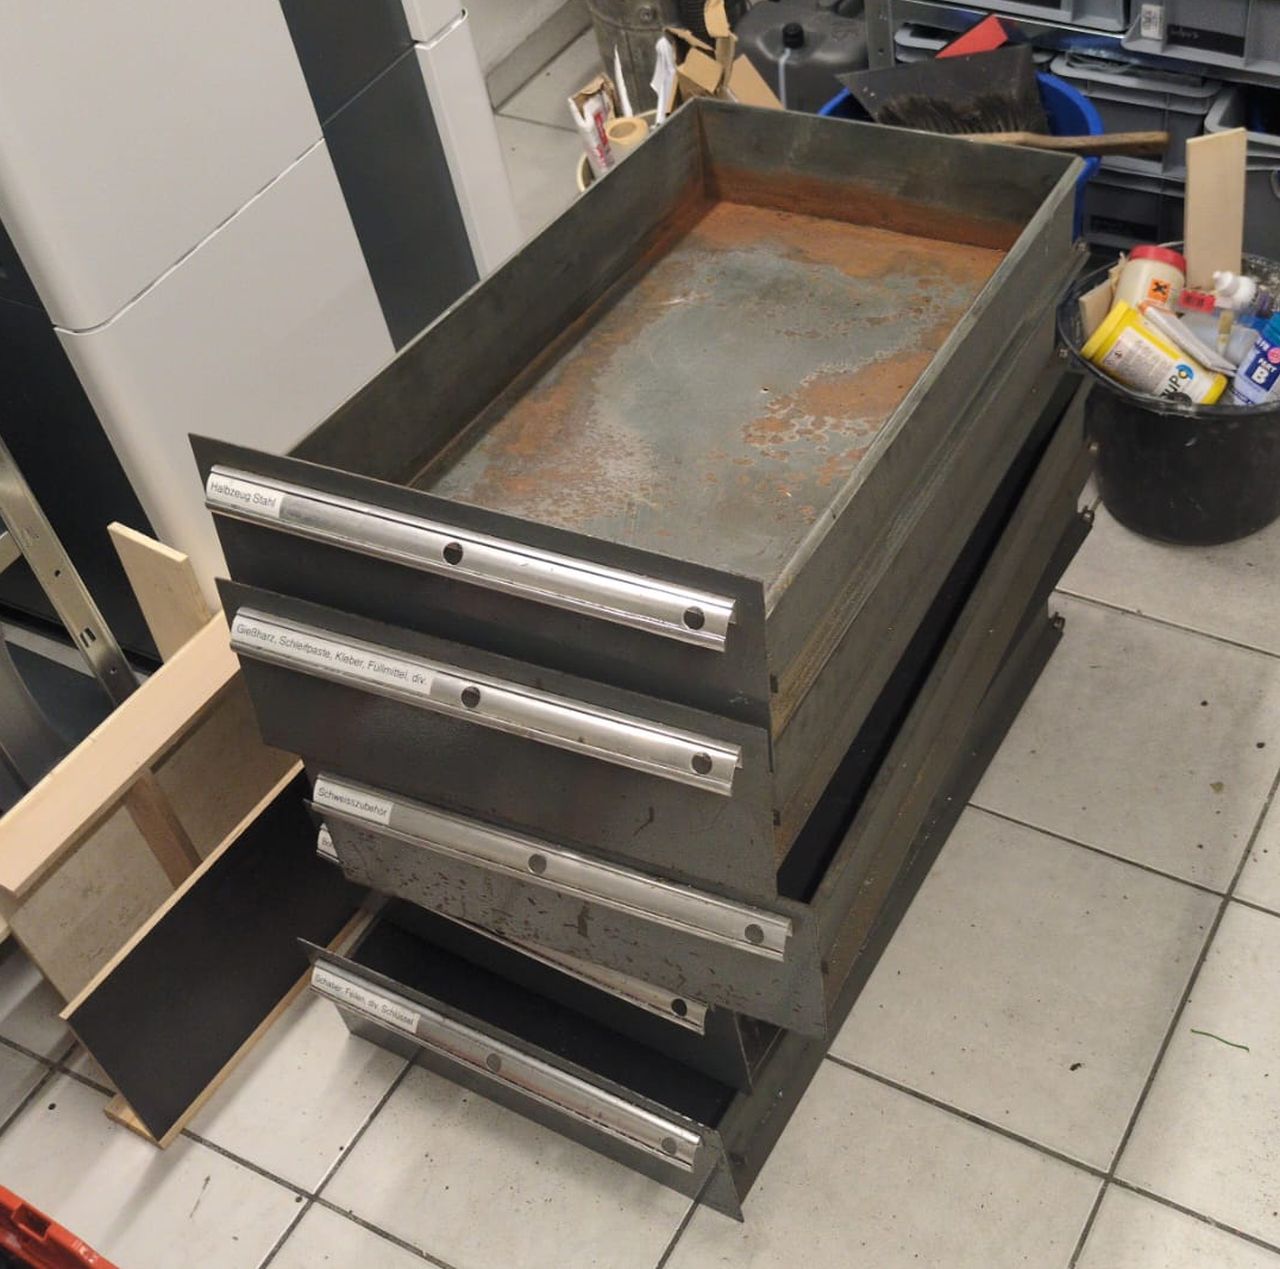
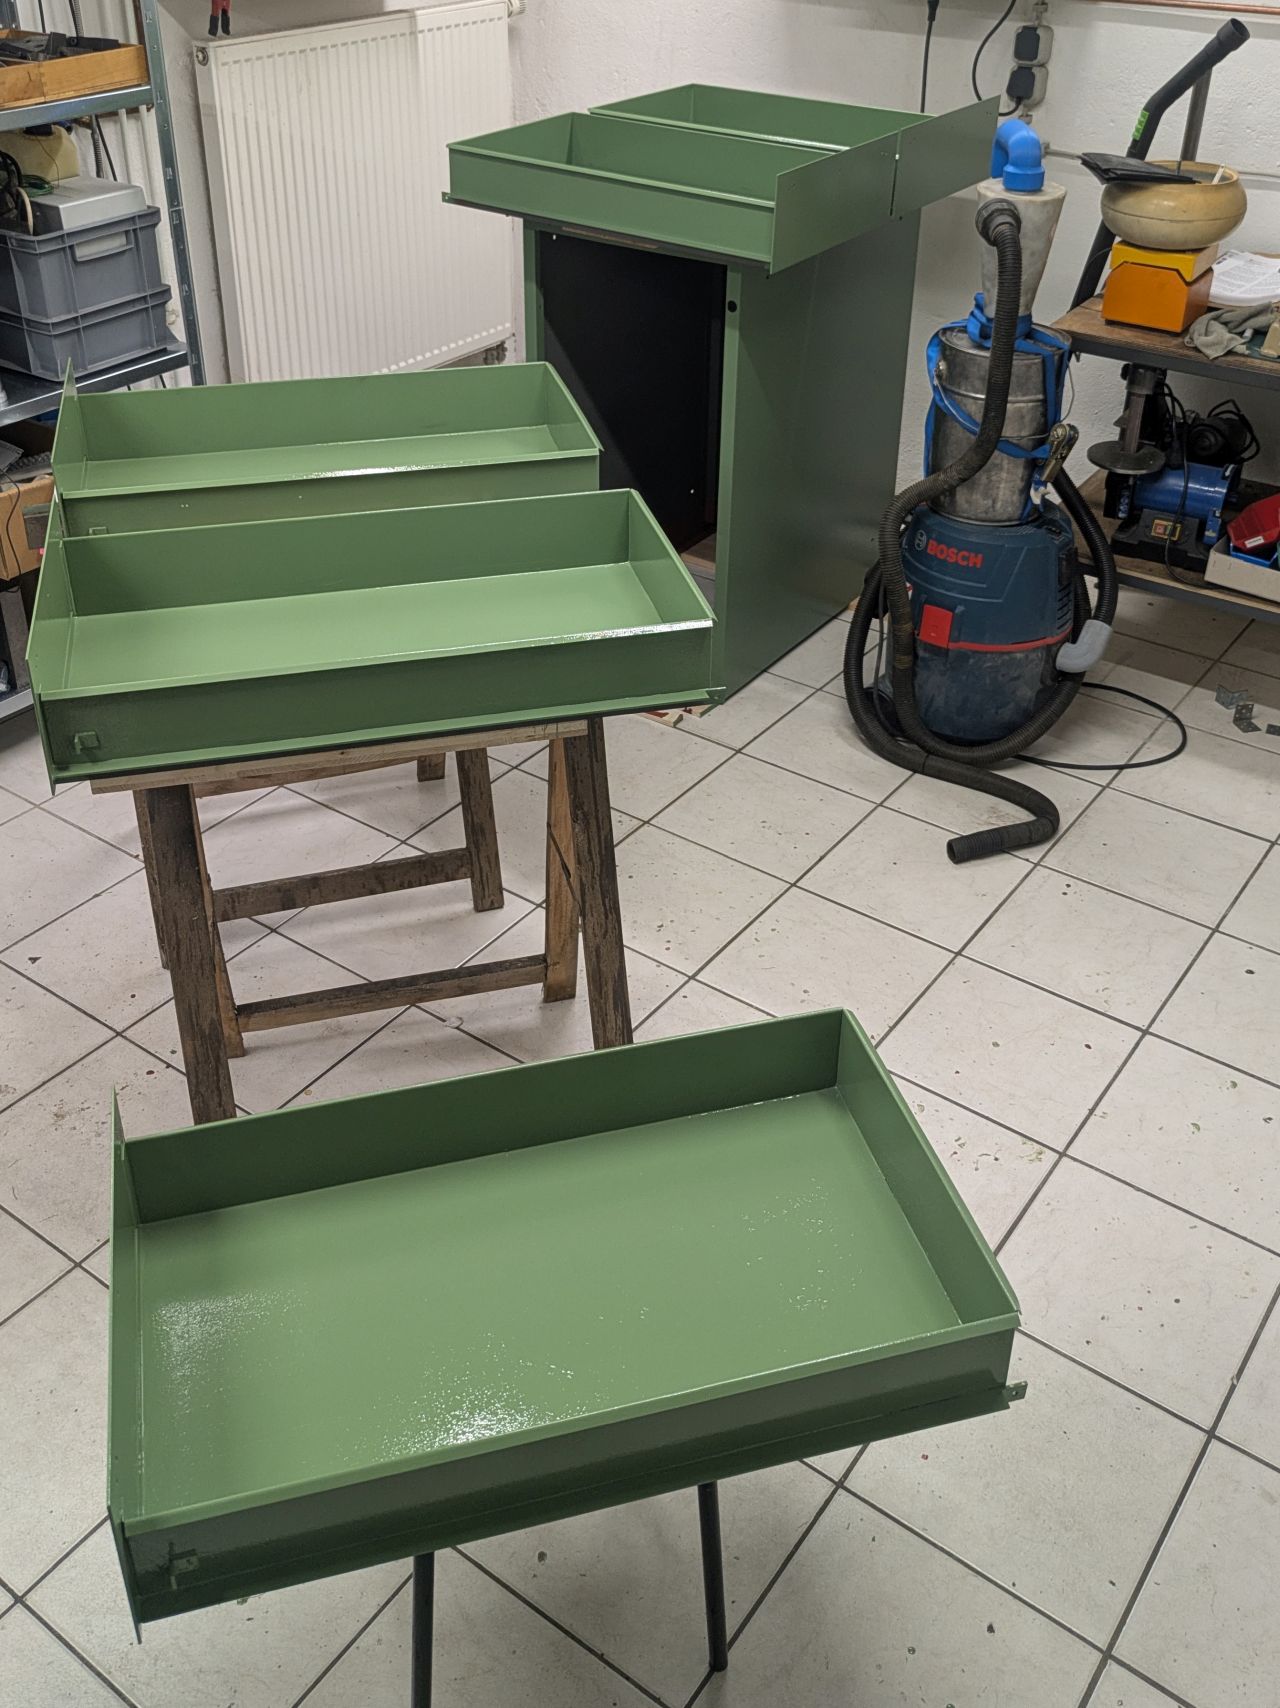
Since I didn’t want to make it into a science fair project, I voted against striping/sandblasting them completely. Instead, I sanded the entire cabinet and the drawers with a random orbit sander and removed the rather heavy rust in the drawers also by sanding/scraping/wire brushing.
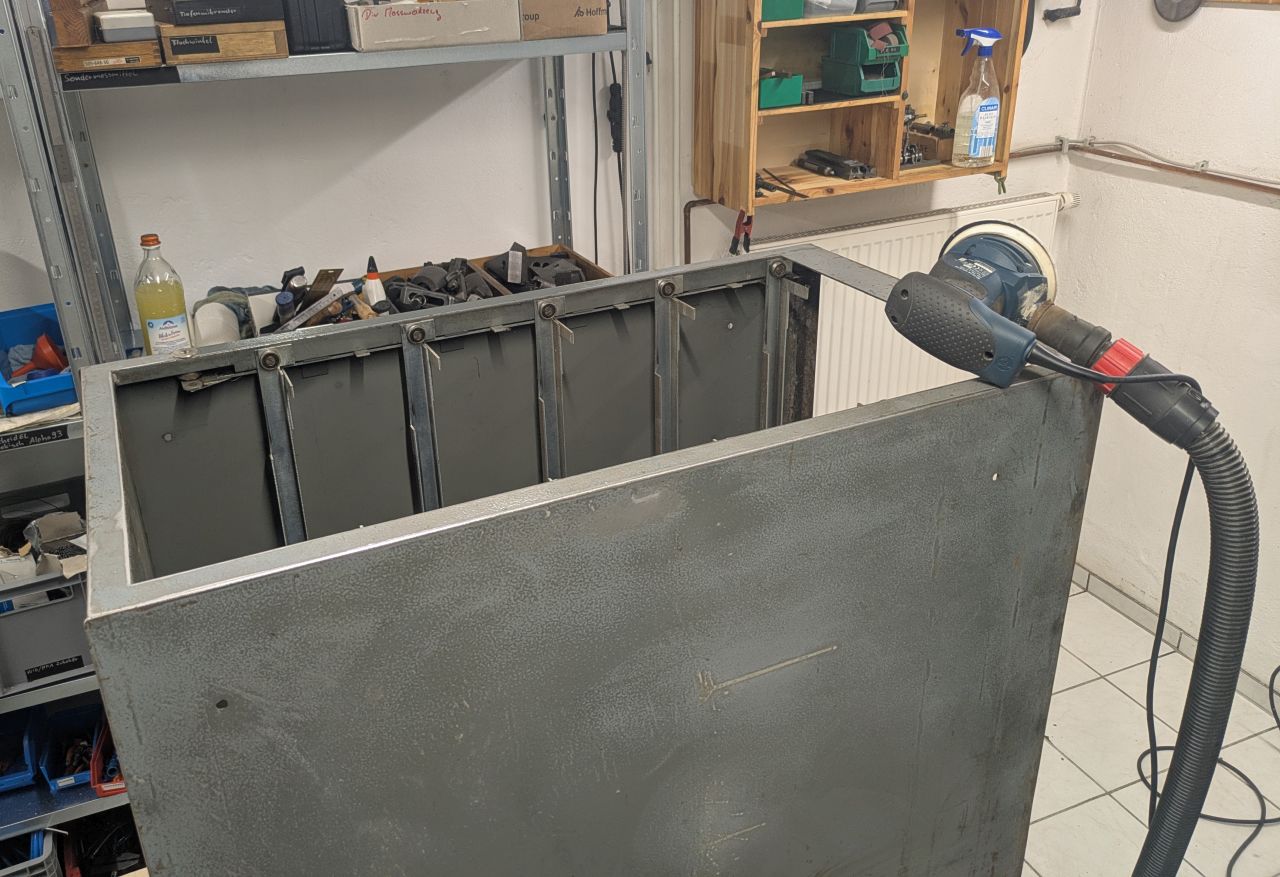
The lightly sanded original paint was a sound underground for the following paint job.
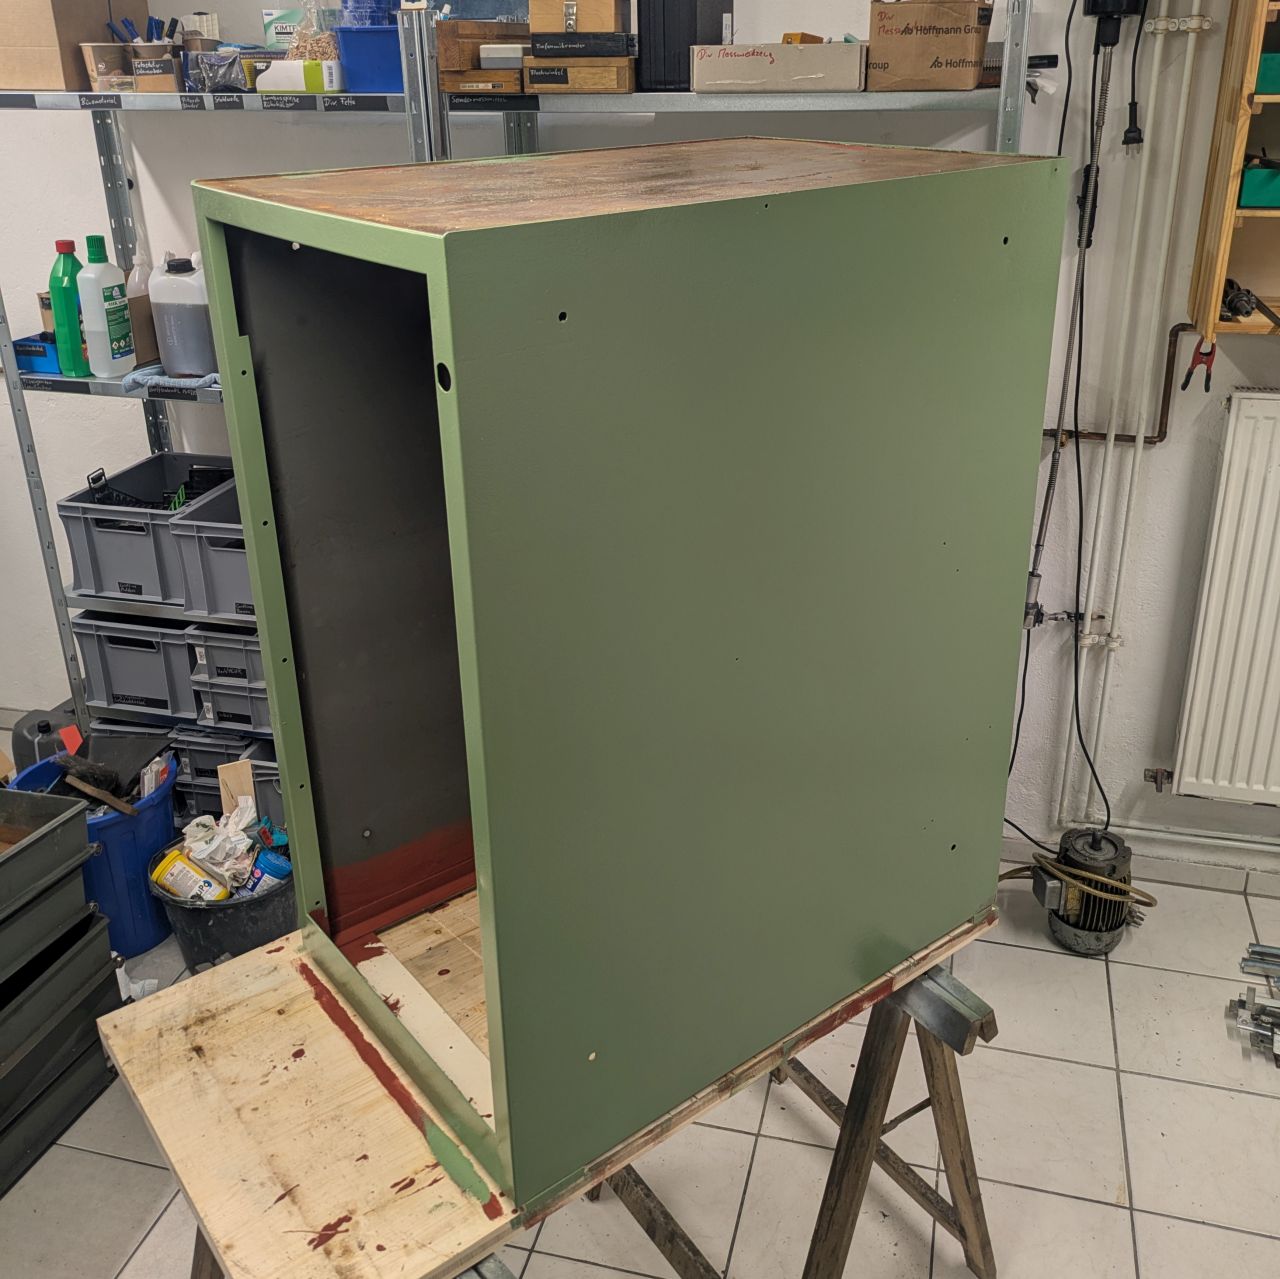
Everything was prepared by wiping down with acetone, followed by a heavy coat of self-etch primer.


All paint layers were applied with a brush for the internal edges and a foam roller for the flat surfaces.
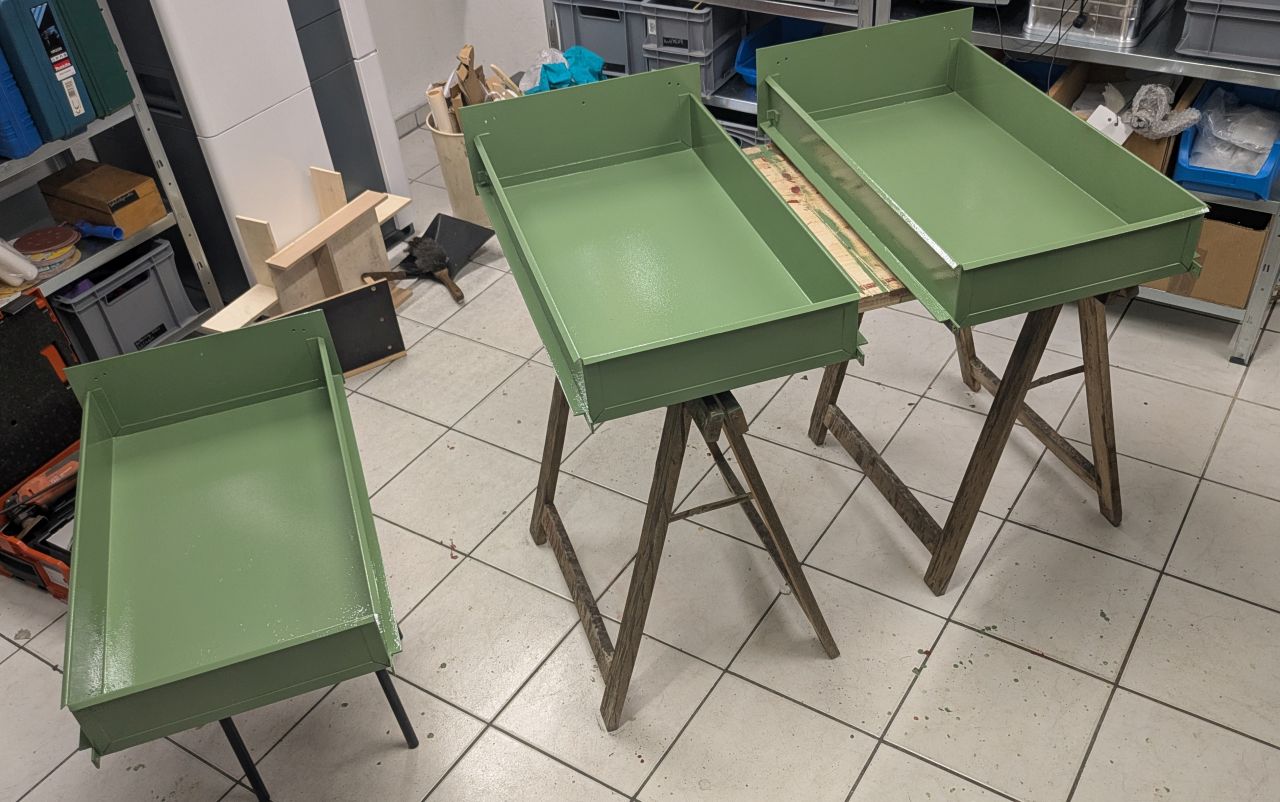
For the final paint the decision was easy – RAL6011 Reseda green, matching the color of my milling machine – And overall being a very pleasant color.
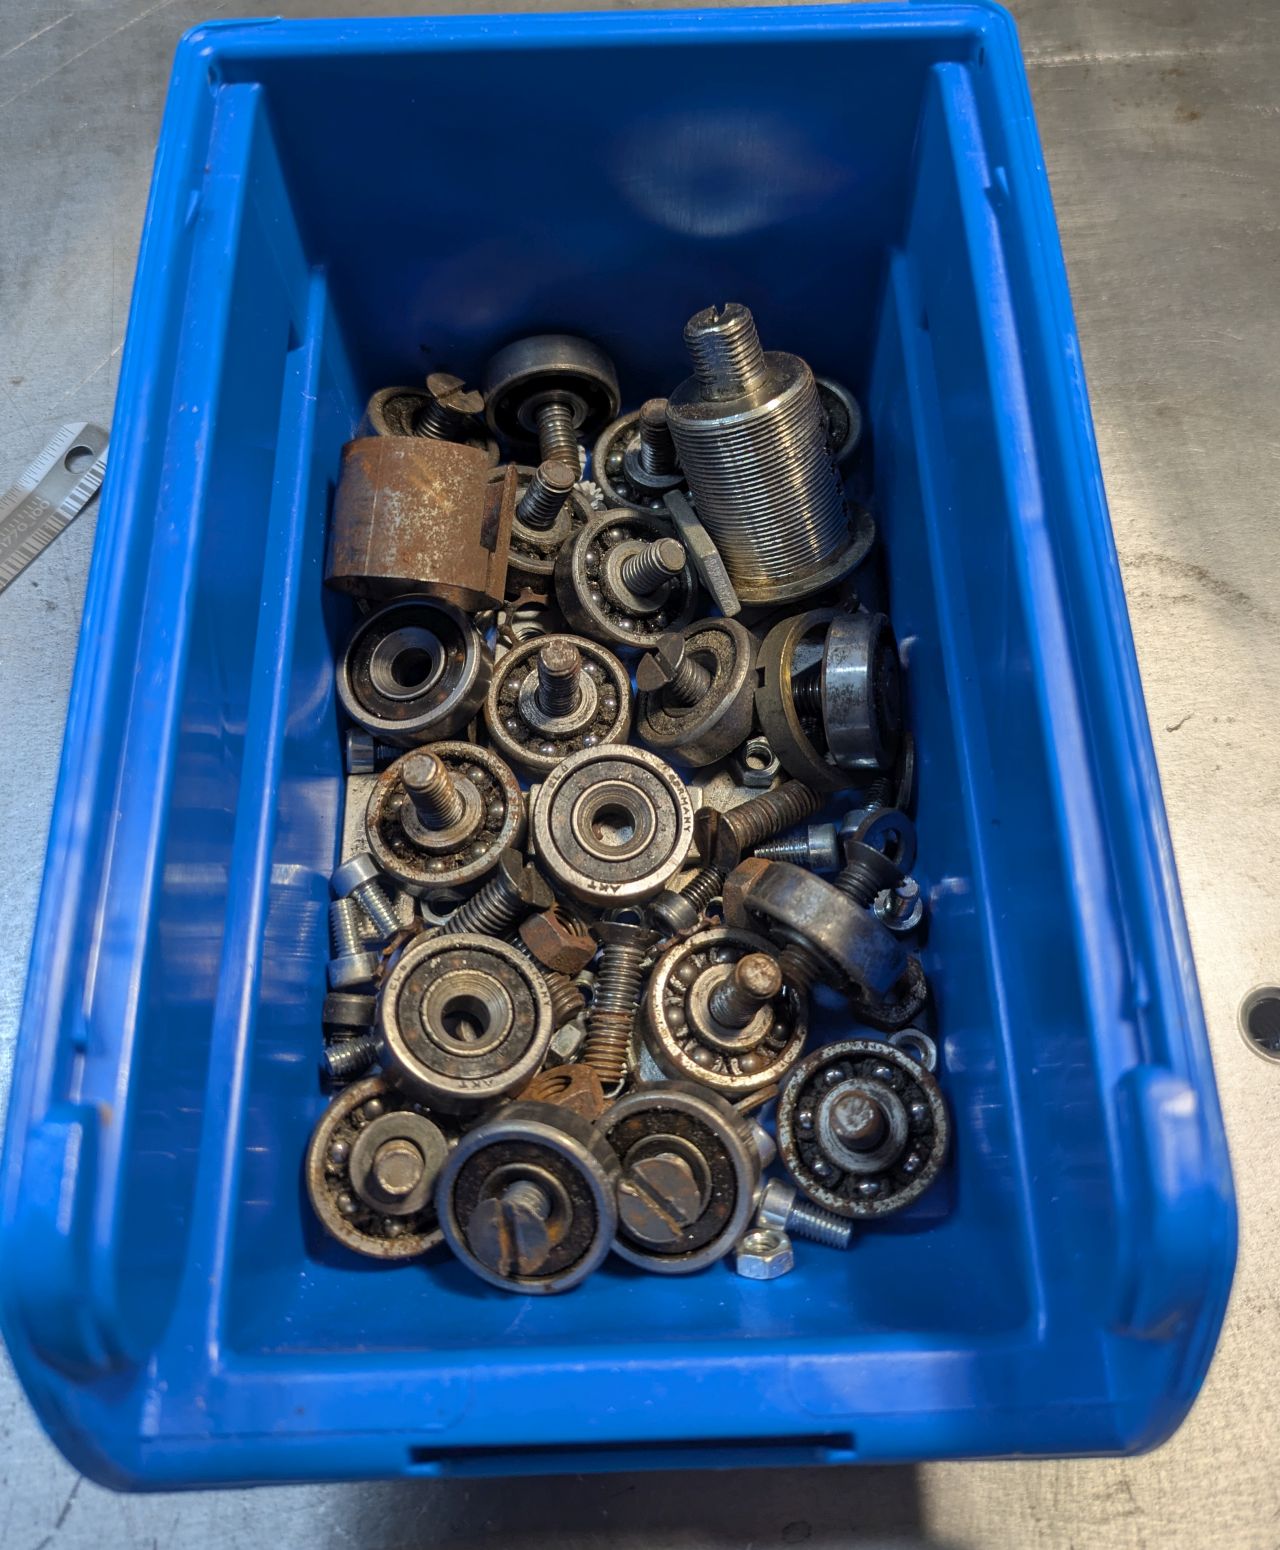
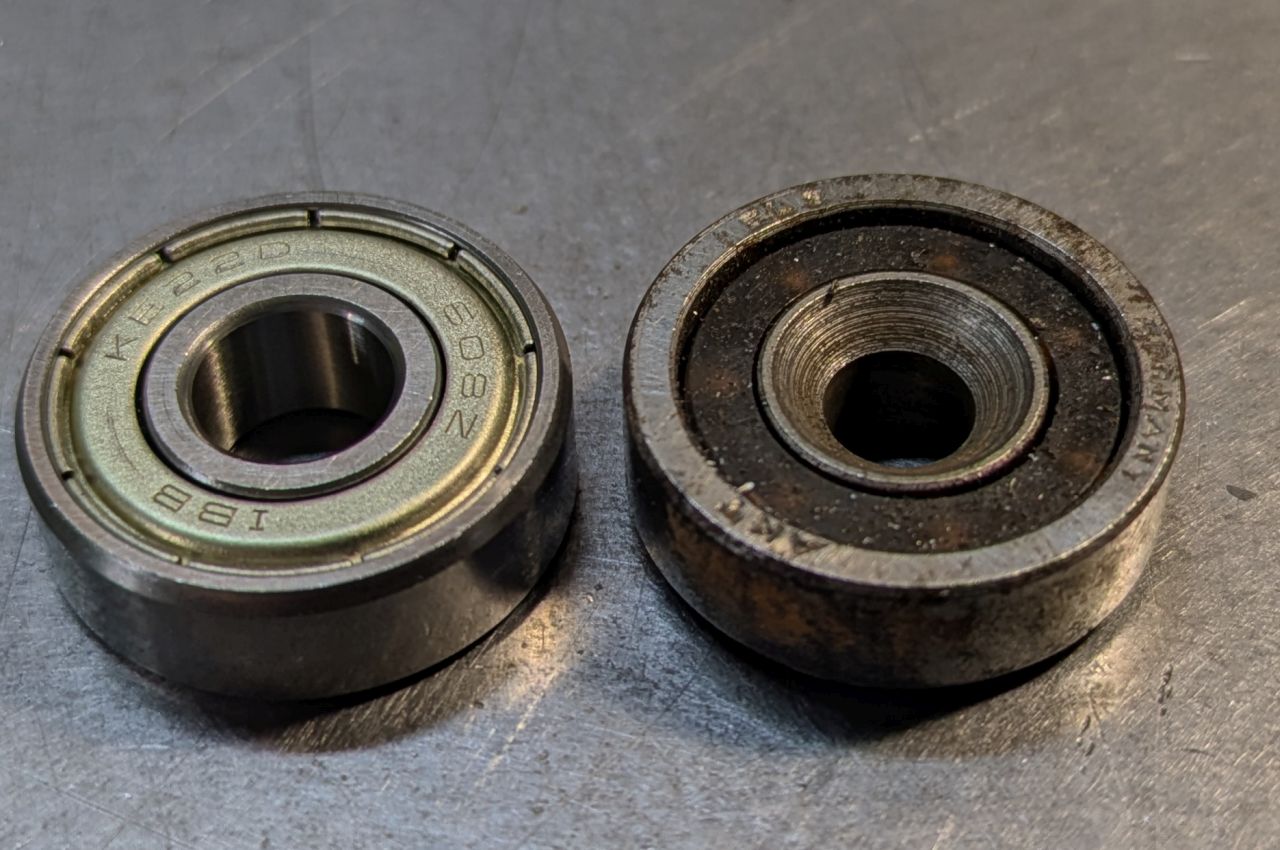
There was more to the cabinet than a bit of paint – All the ball bearings where worn out, rusty and moved very rough, I could not leave them like that.
The original bearings are an odd solution – They took the outer race of a 608 bearing, but with a custom inner ring that has a 6mm bore (compared to 8mm on a regular 608 bearing), a large countersink for the screw head and the backside of the inner race is proud 0,5mm to prevent the outer race from rubbing against the drawer/cabinet.
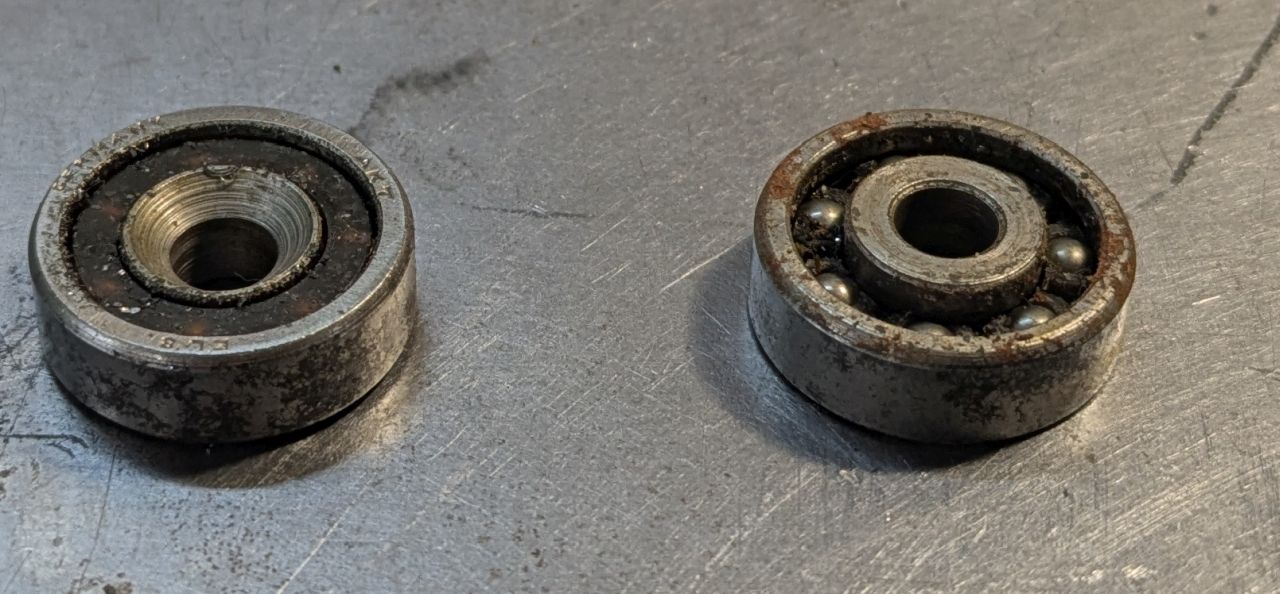
I would have been able to source very similar bearings on Aliexpress but opted to use off the shelf bearings with a little modification.
A bit of investigation showed me that the countersunk screw is not necessary, the head of a standard M6 DIN912 socket head cap screw has enough room between the drawers and cabinet to not create any problems.
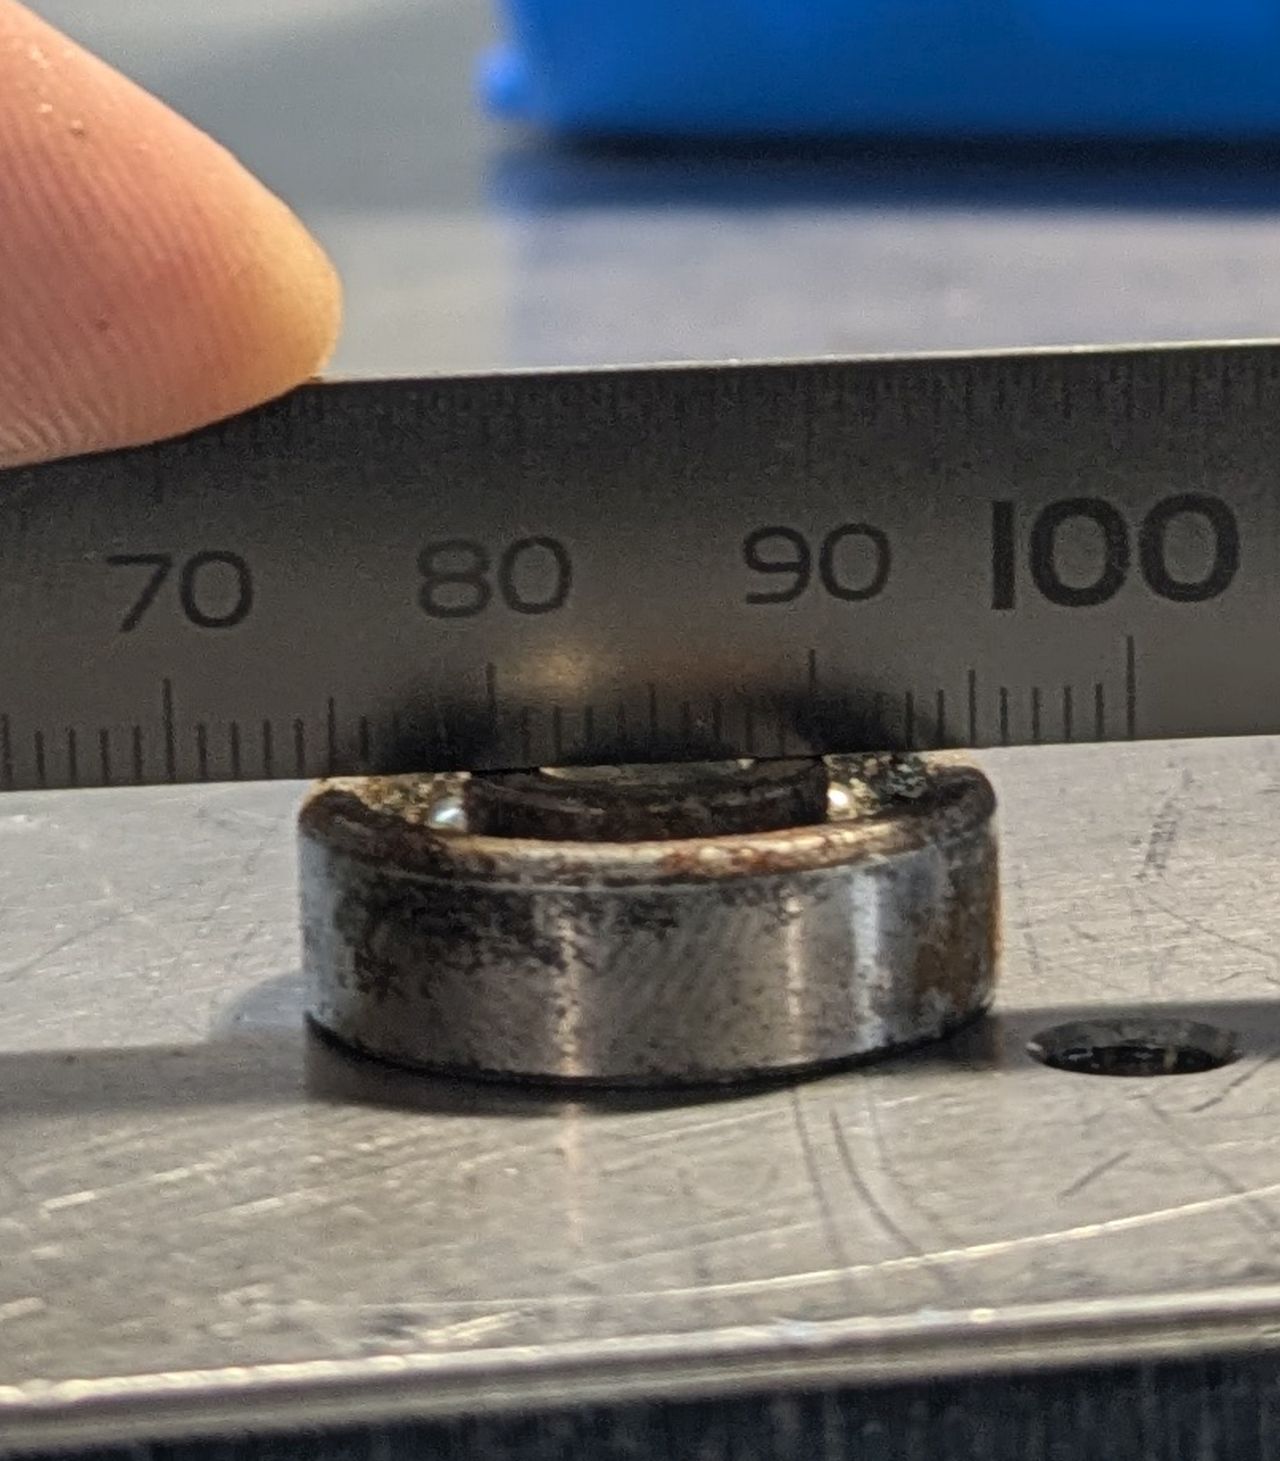
All that was left was to machine bushings with a 6mm bore and a step on the back to space a regular bearing off.
The bushings where machined from 1.4305, a free machining stainless – Not necessary for this application, but that was the stock that I had at hand in that diameter. They are a mild press fit in a stock 608 bearing.
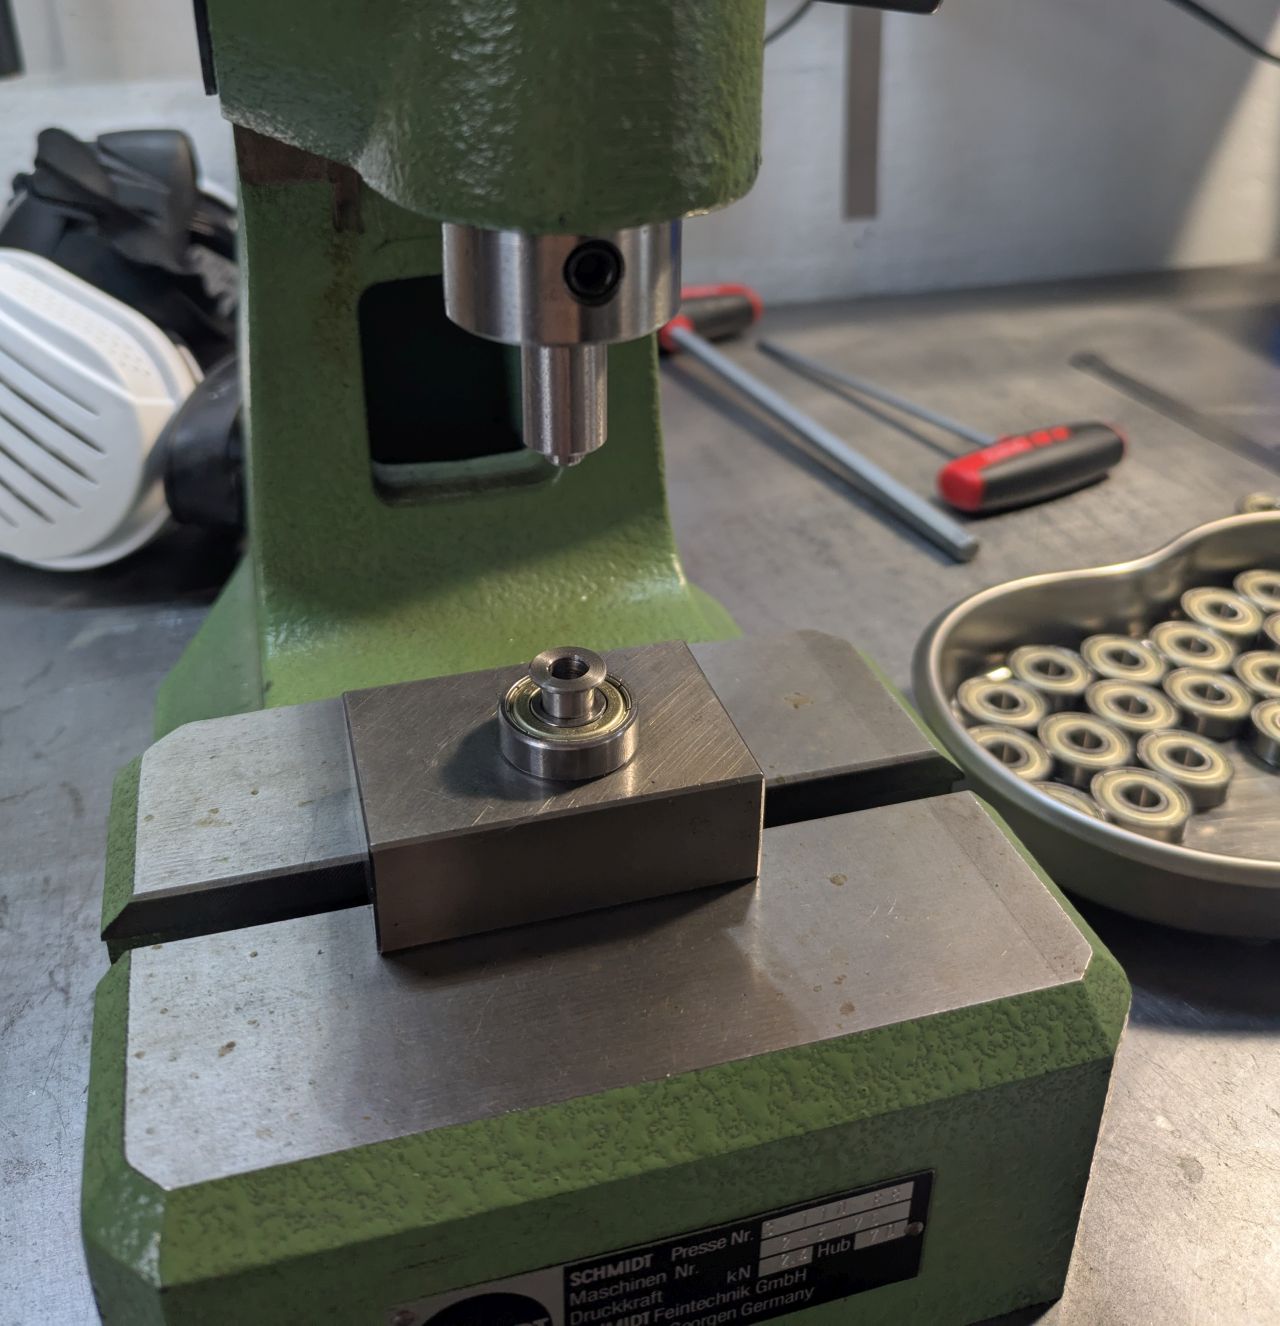

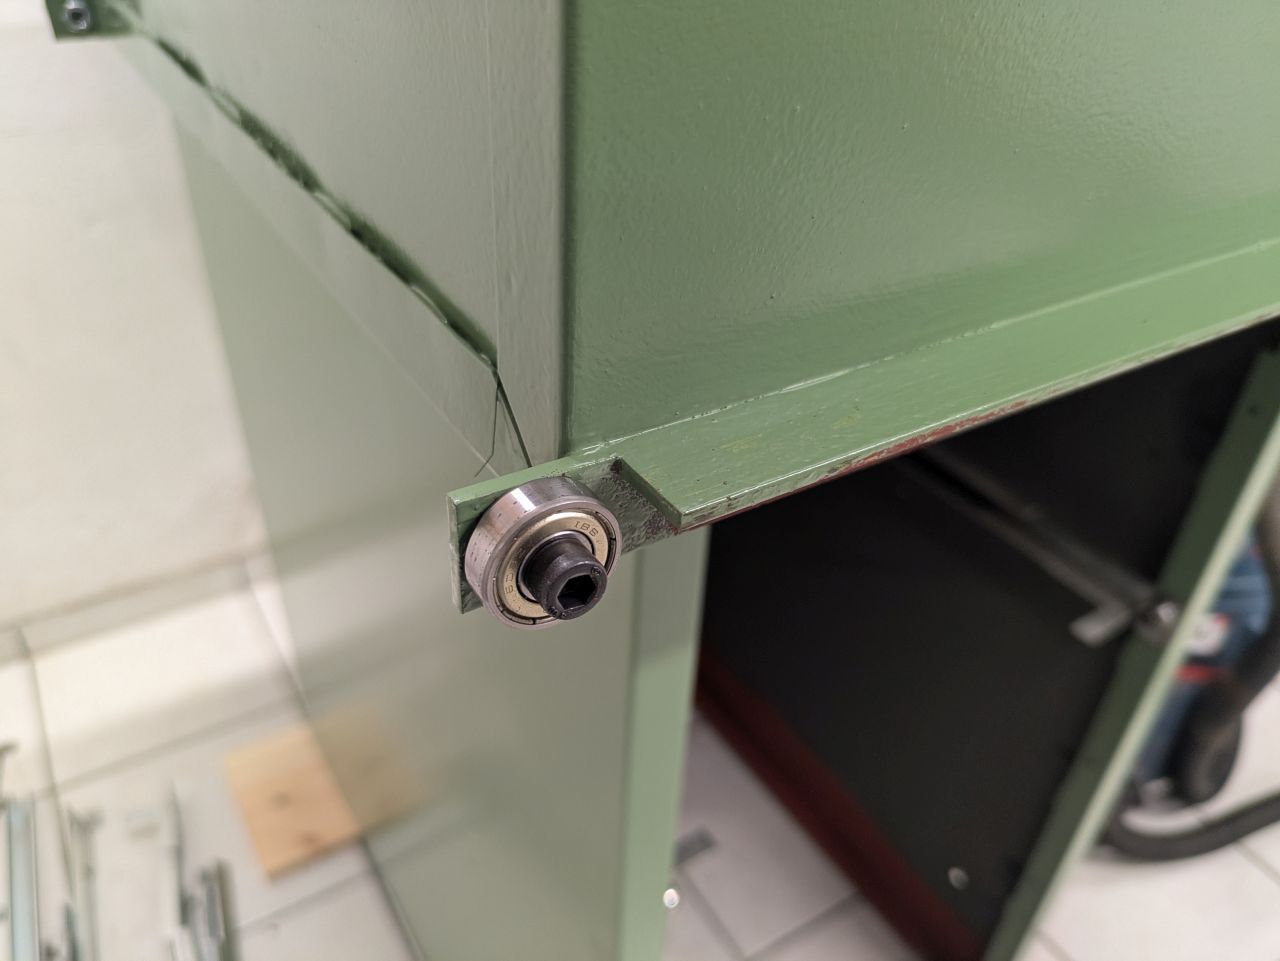
The new bearings screwed against the drawer and cabinet.

One gripe I have with drawer cabinets: They are hard to move around. You have no way of grabbing them with a pallet jack, usually you are stuck with sliding them across the floor or raising them with a prybar to get it up on blocks before getting a pallet jack under them.
Certain cabinet makers like Lista sell frames to raise the cabinets and get a pallet jack under them – But not for this very old Deckel branded cabinet, so I had to fabricate something myself.
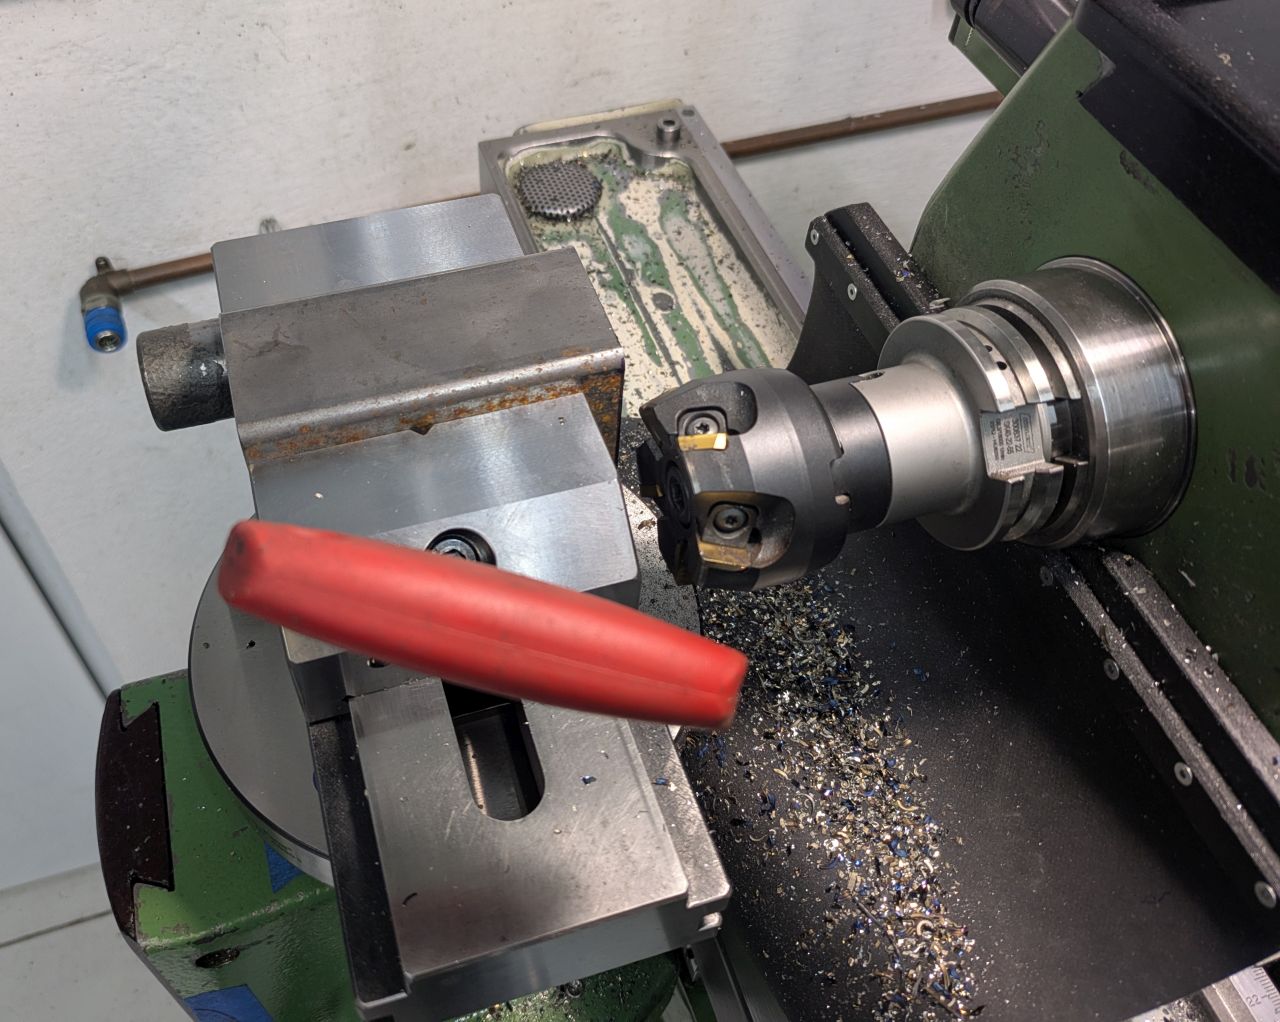
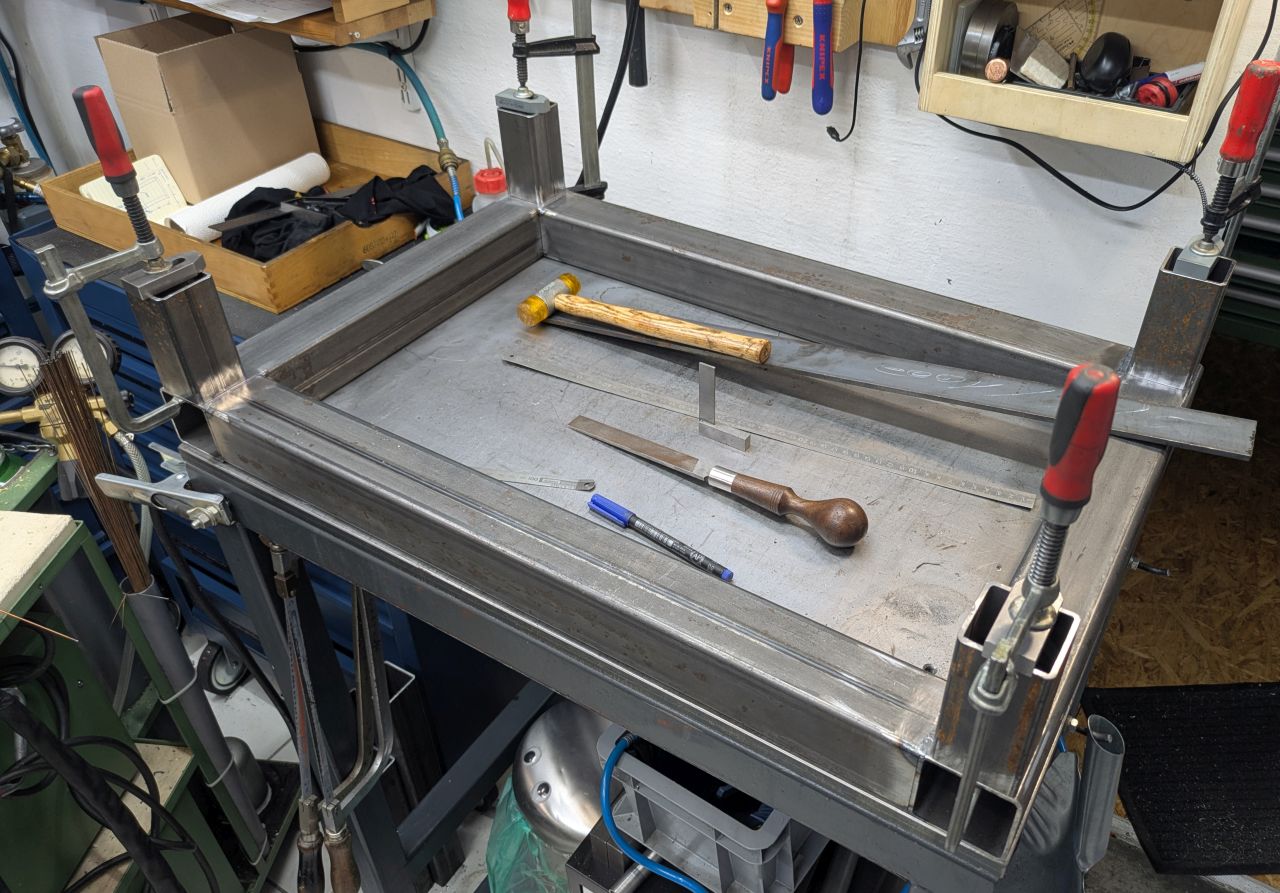
Since I am not really set up for fabrication work with things like a large weld/fixture table and a cold saw to cut square tubing to final size without additional prep, I must improvise a bit.
I cut square tubing with the bandsaw and mill the ends on the FP1 using the horizontal spindle. For me it helps if the joints are already very tight and square before welding. A real fabricator will probably turn up his nose, but I am a machinist, not a fabricator 🙂

Welding the frame and adding the holes for adjustable feet.

Prime and paint:
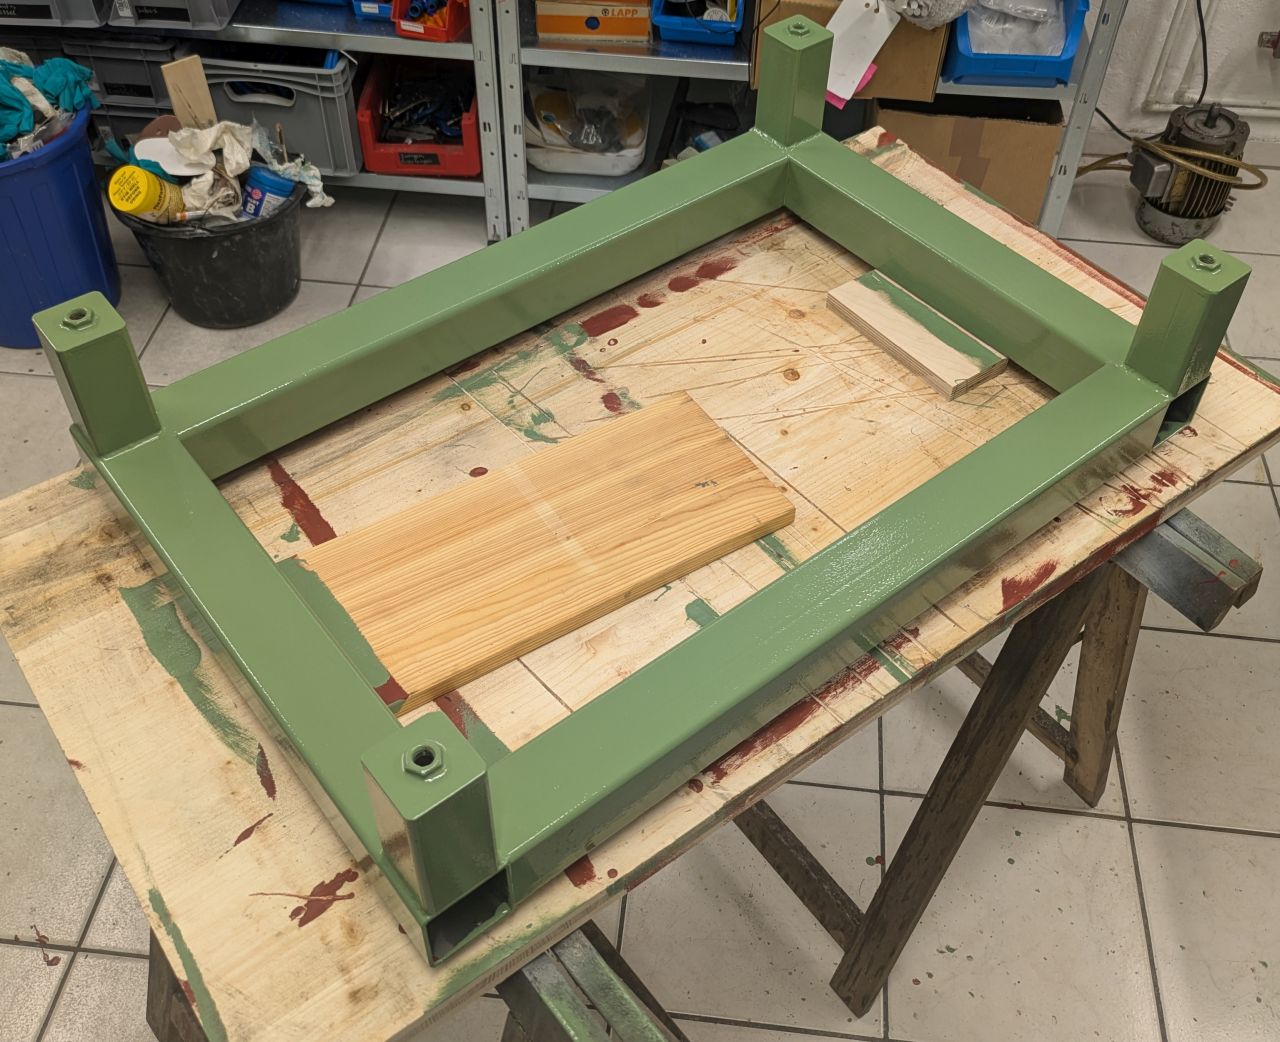
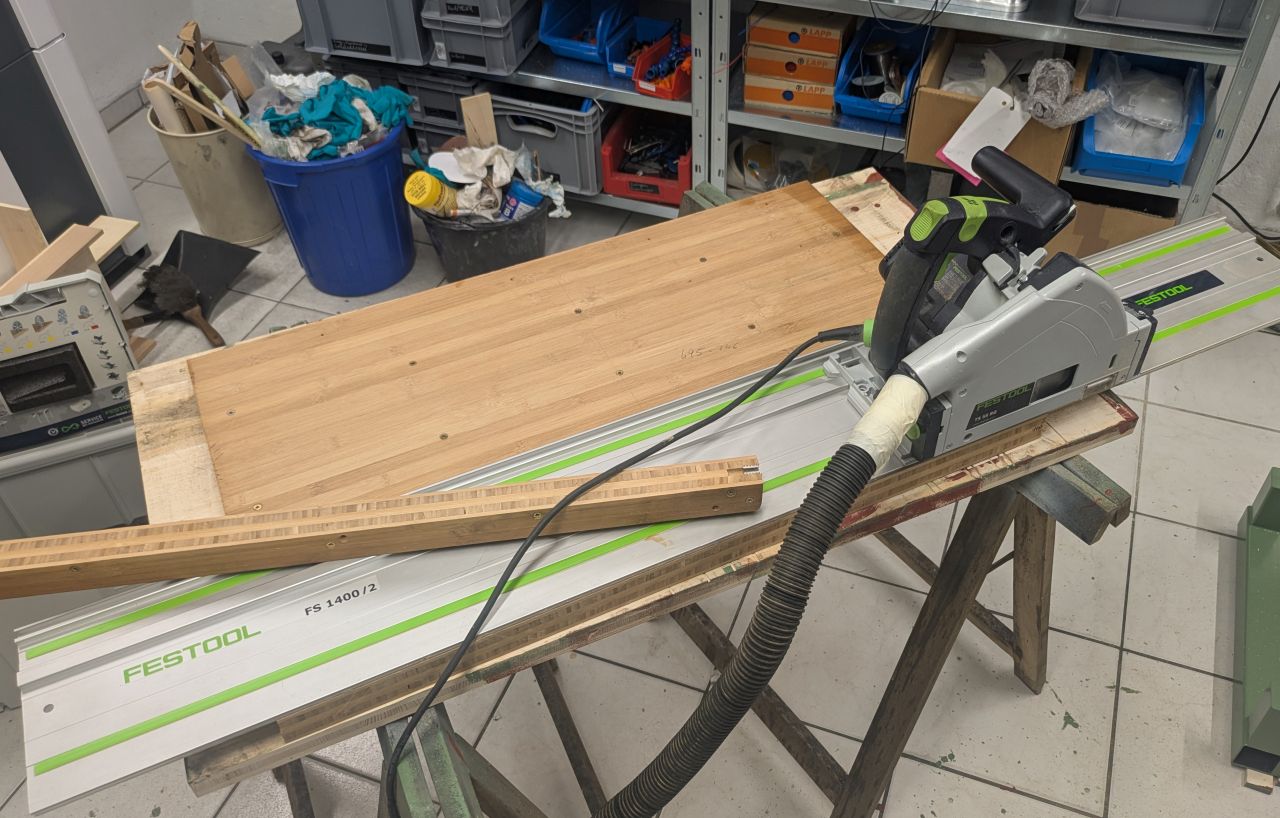
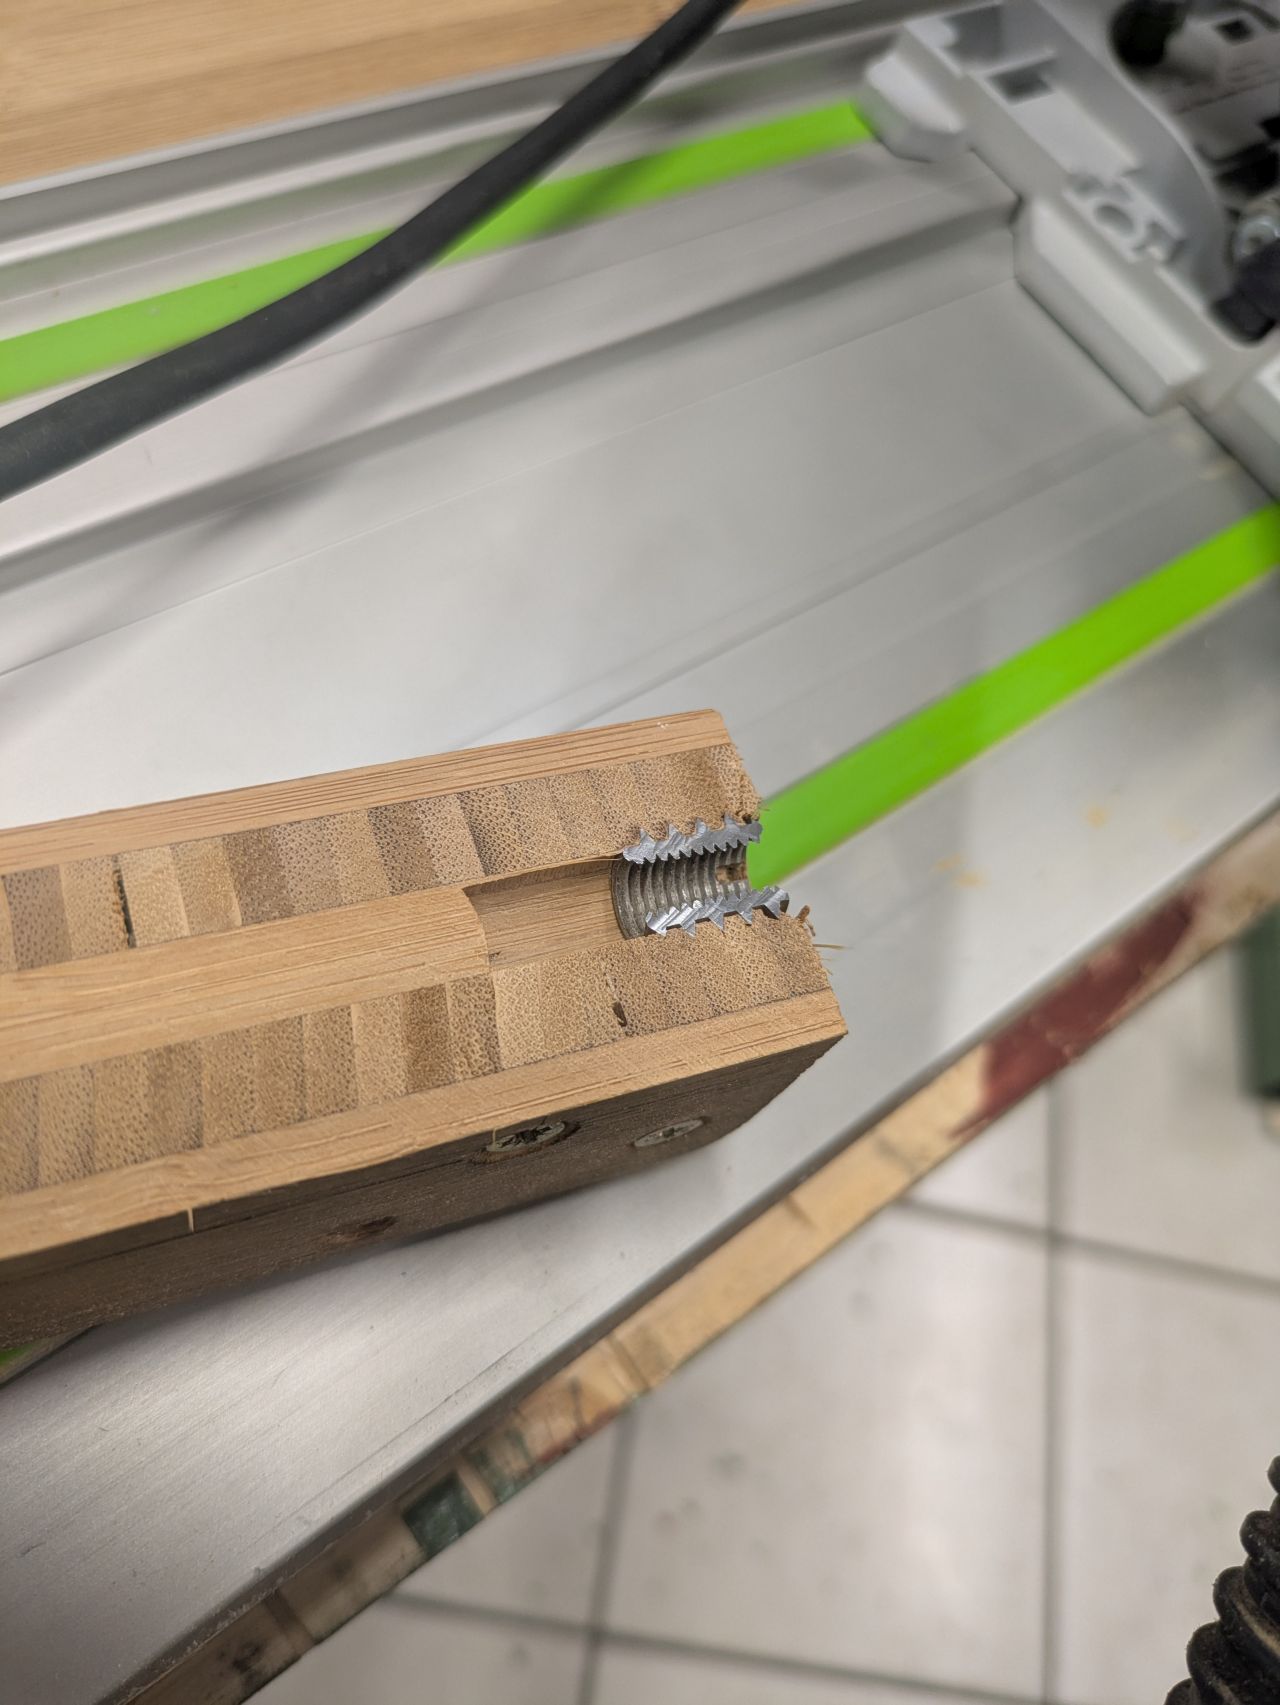
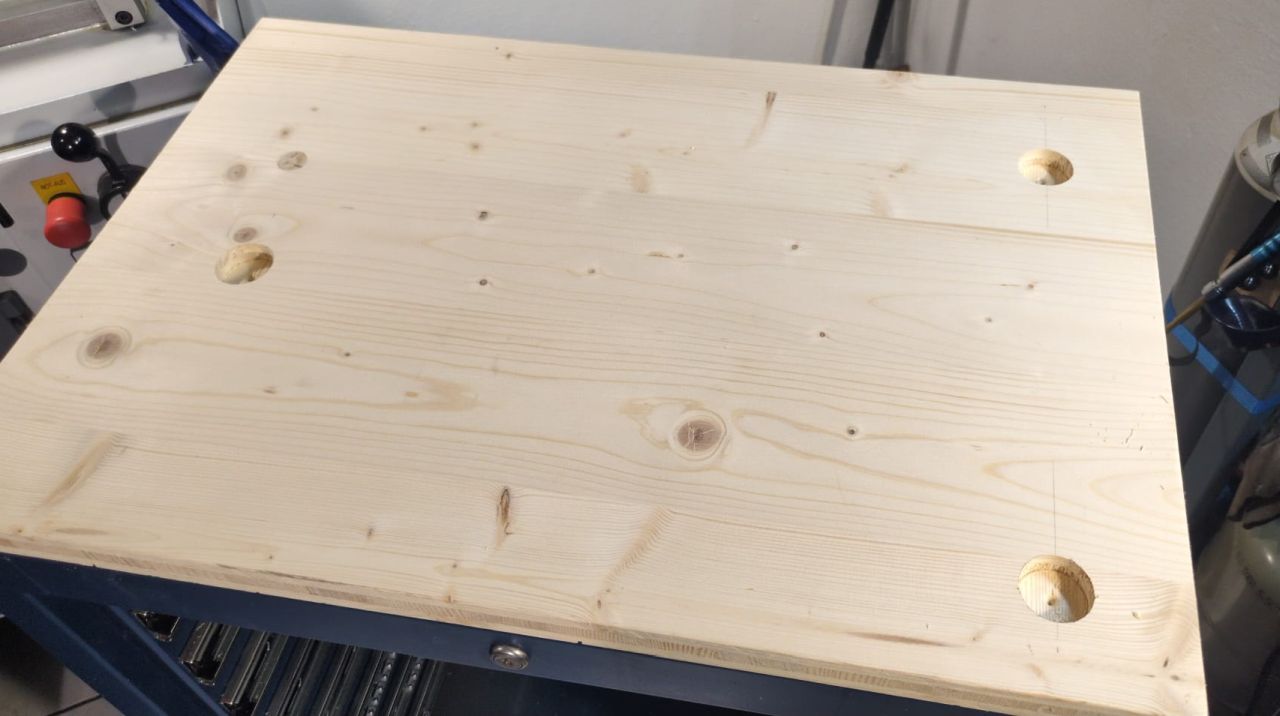
Meanwhile I cut an old bamboo tabletop to size to go on top of the cabinet. And cut into a stainless-steel threaded insert that I had forgotten to remove. That’s a sawblade that will require sharpening.
The cabinet with the frame under it and the bamboo tabletop on top of it. I am very happy how it came out.
Time to rearrange the lathe to gain some useable space. The Weiler Primus is super easy to move with a pallet jack – All that’s required are two pieces of lumber with 100x100mm cross section, since the jack does not go up far enough.
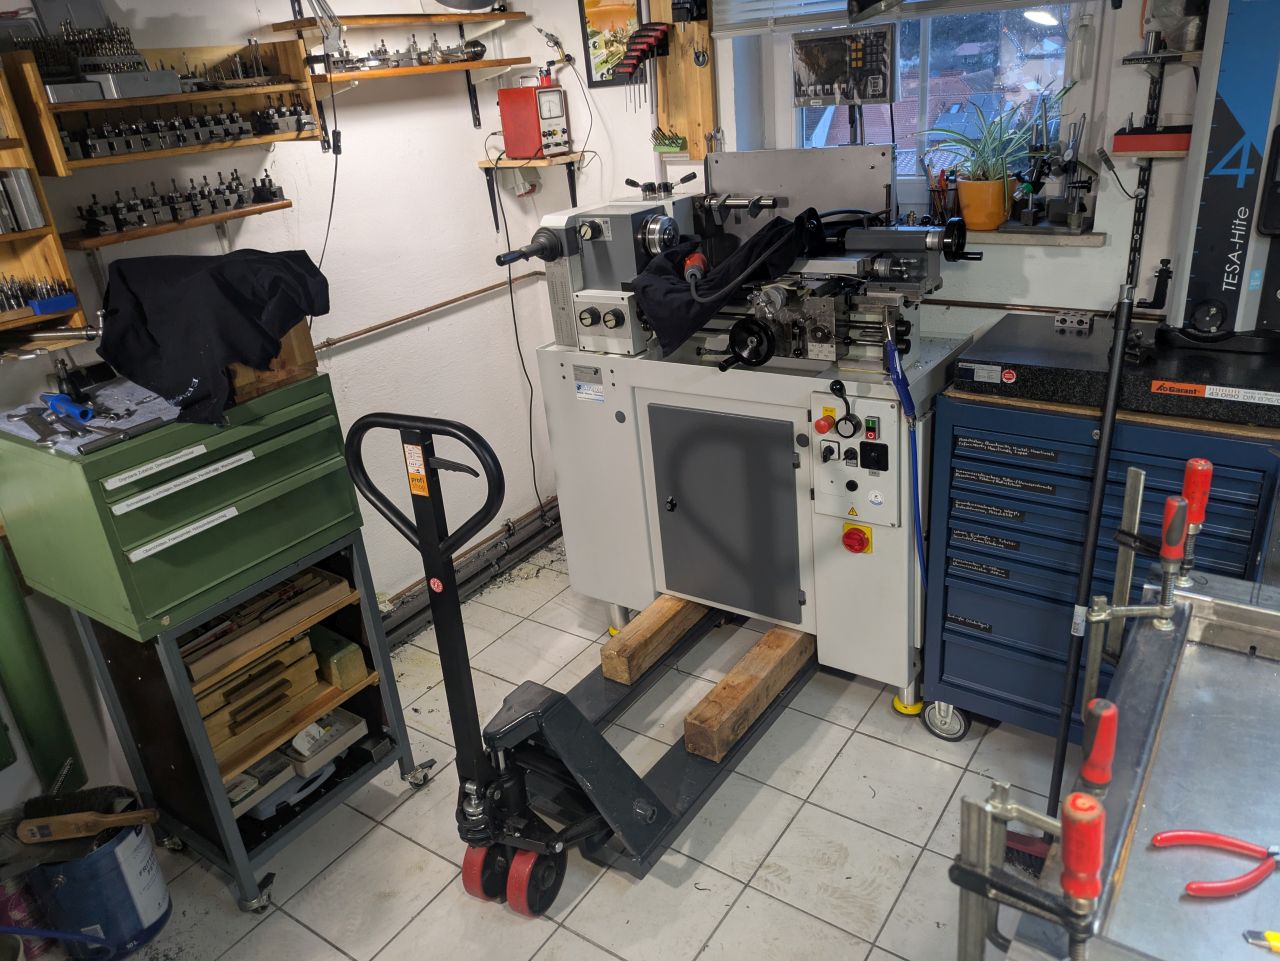
You can also see a tool cart to the right of the lathe, with my surface plate and the heigh gage on top of it. This was another point of unhappiness that I wanted to solve.
The cart is branded Metra and overall, very nice for the money, but with the wheels a bit to wobbly to create a reliable platform for measuring.
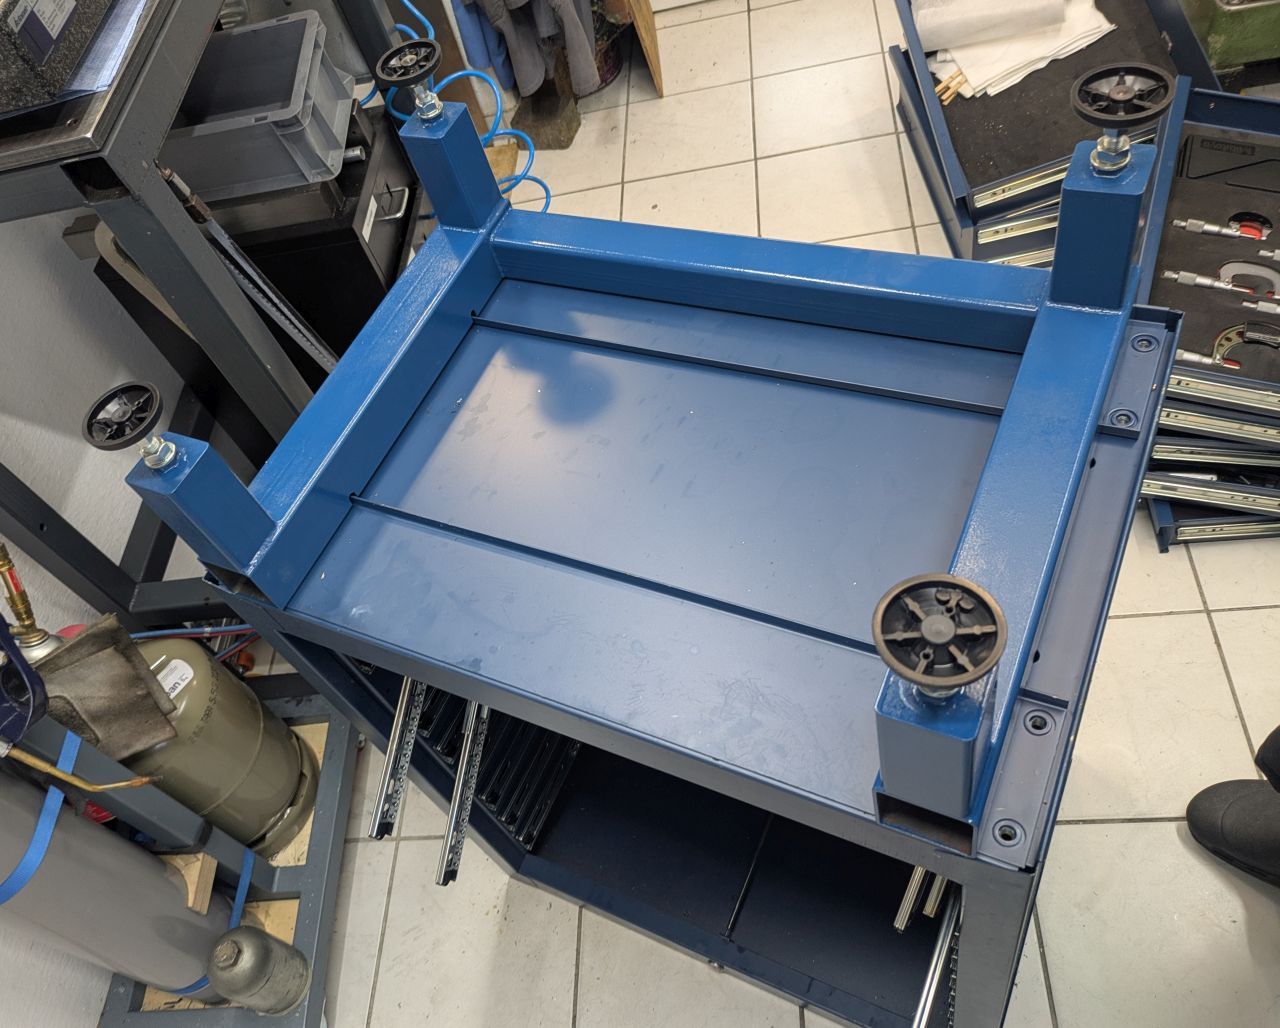
My solution was to fabricate a frame with adjustable feet that bolts to the underside of the cart instead of the wheels. I tried to match the color of the cart to the frame (I used RAL5001, which is very close to the color of the cart.)
With an additional wooden tabletop, the surface plate now rests very nicely on the cart gone cabinet.
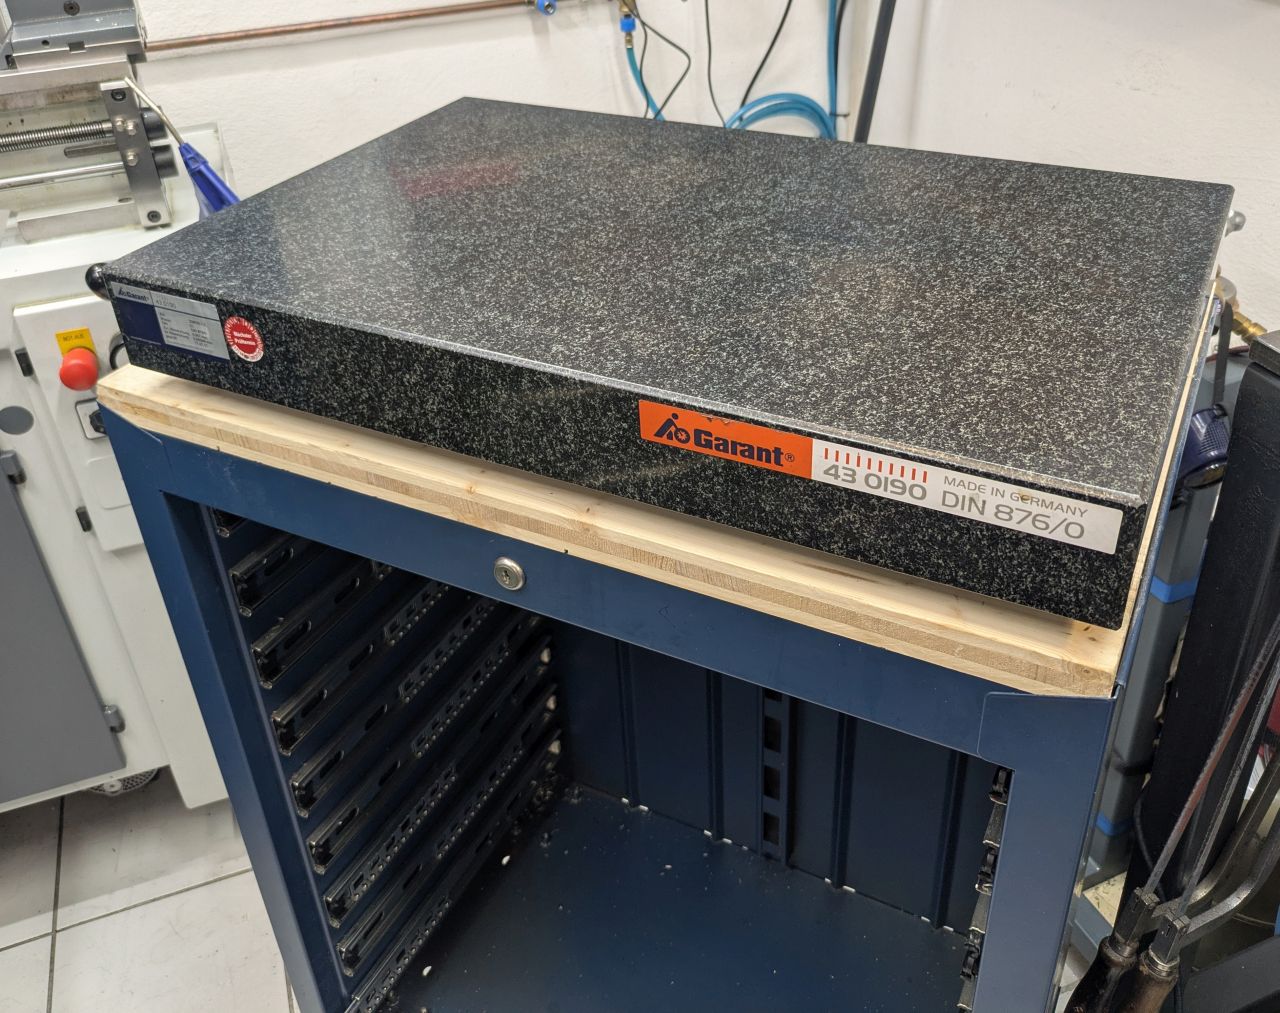
The surface plate has three ball supports glued to its underside. I drilled 35mm holes into the wooden top in the correct spots, added a thick washer and a smaller ball socket washer (from a mill clamping stud kit) on top of it.
The feet of the surface plate rest on the smaller washer and can move a small amount on top of the larger washer, to allow for any misalignment and thermal expansion/contraction, without influencing the flatness of the surface plate.


The rearranged shop – The “new” drawer cabinet next to the milling machine will contain all the smaller accessories like vises, toolholders, collets and setup tooling.
With the lathe in front of the window I gained a bit of space to the left for a small drawer cabinet – Its on wheels so I can access the left side of the lathe, where the coolant tank/pump is located.
The modified cart for the surface plate nests very nice on the right side of the lathe – Its not ideal from a cleanliness perspective, but a small shop has always problems in that regard.

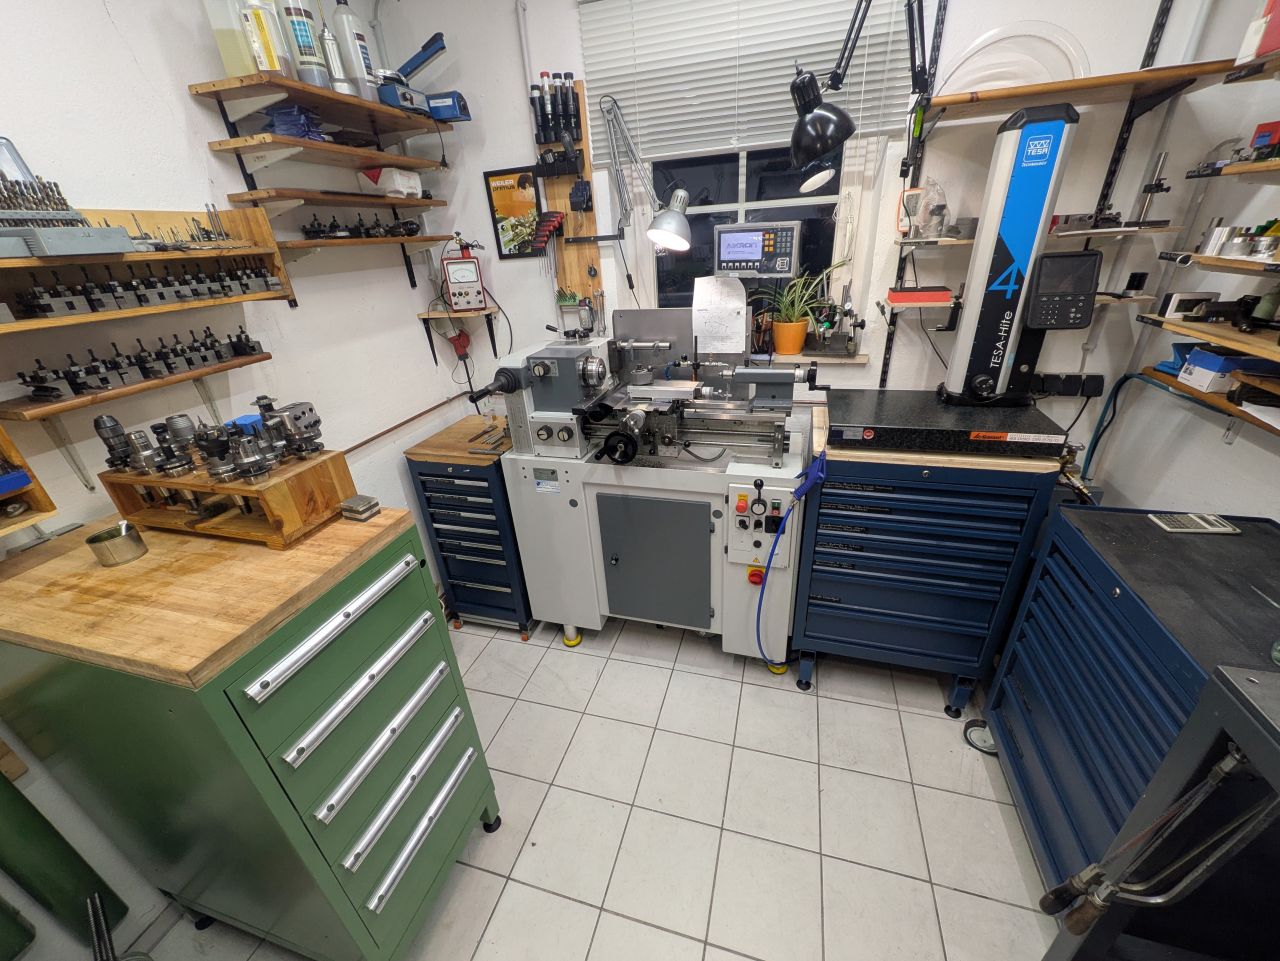
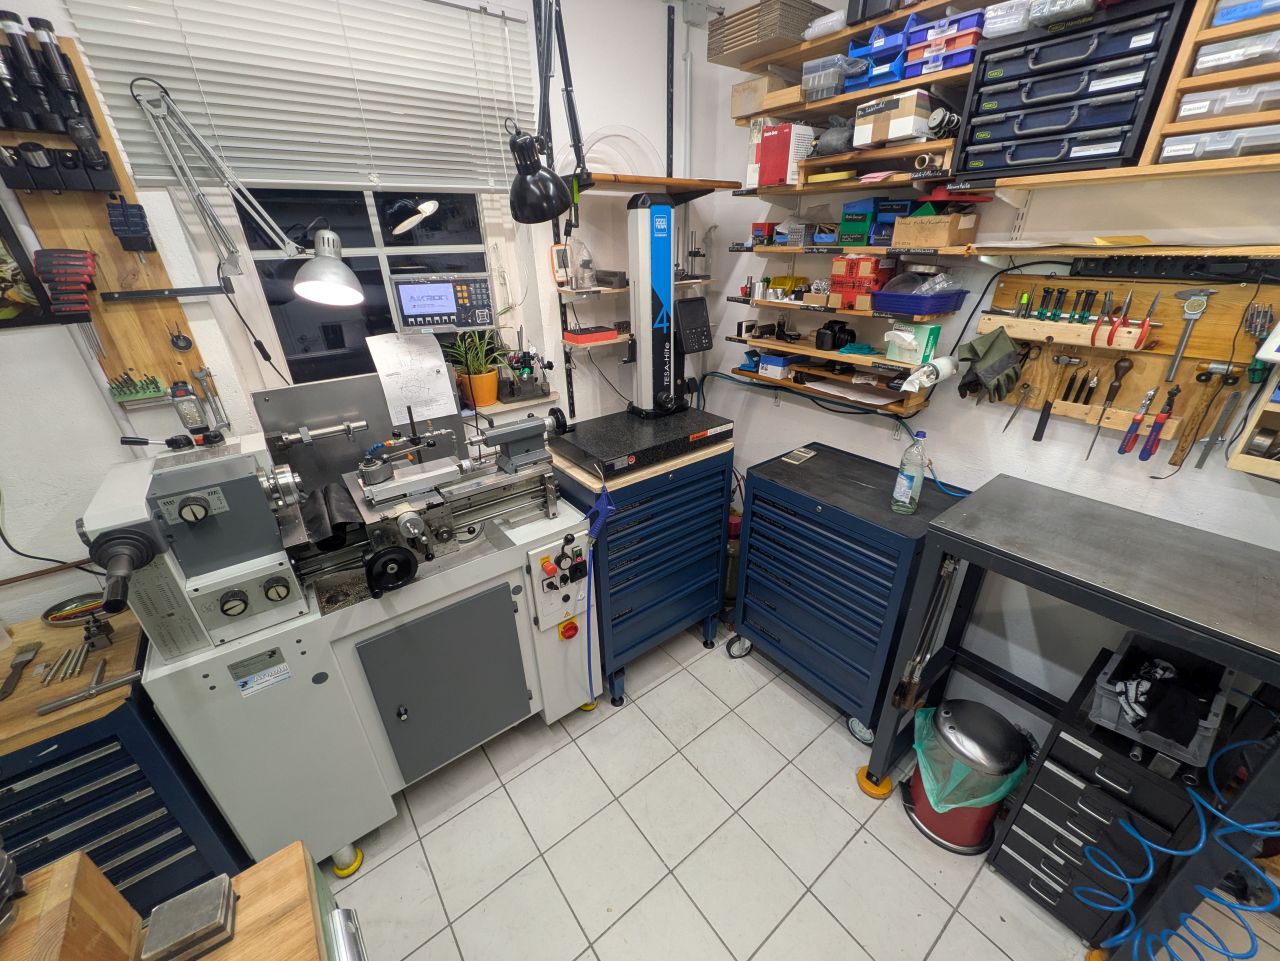
The “dead” corner is a good spot for my oxy-fuel rig.
A re-arranging project like this is very destructive to a shop, but I feel it was worth it, it looks cleaner and more streamlined, yet I gained some storage space.